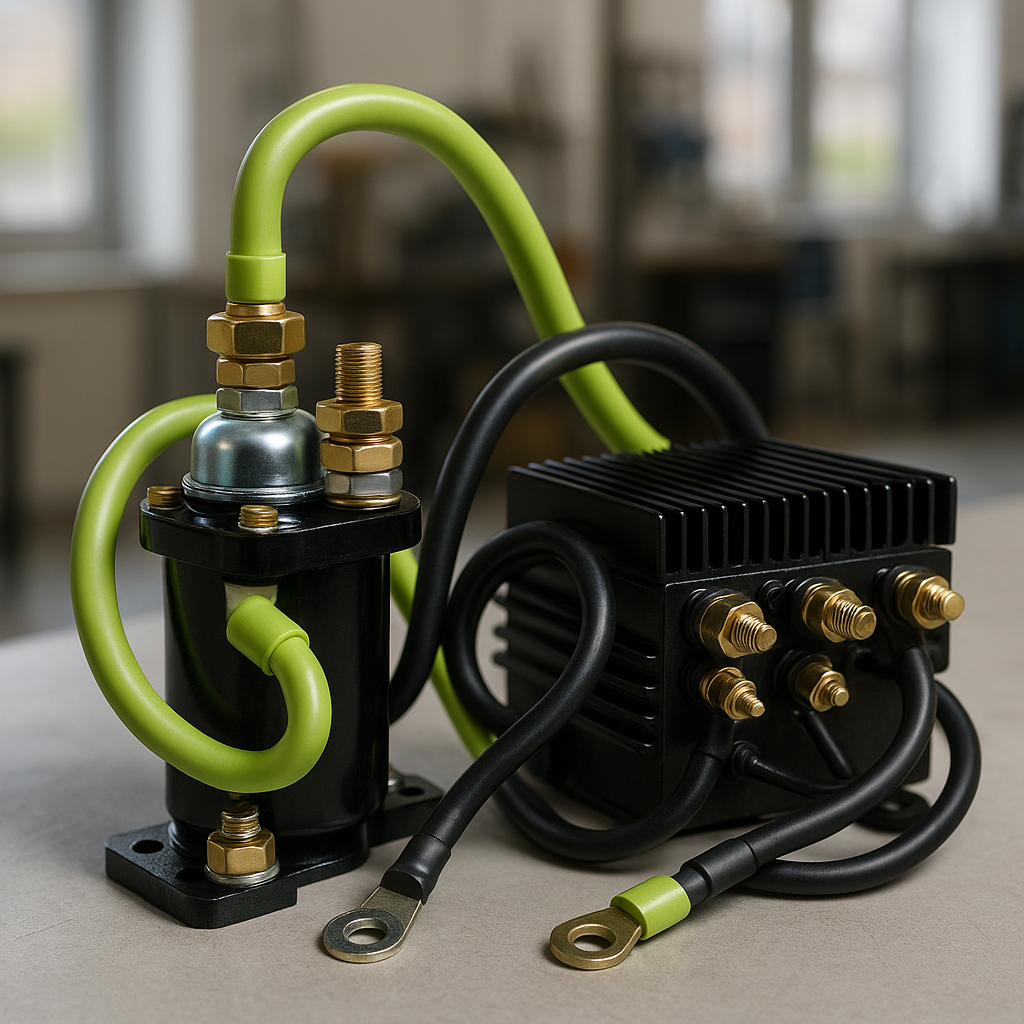
The solenoid is one of the most failure-prone components on any electric golf cart, and it's also one of the most misdiagnosed. It's a high-current relay — when you press the accelerator, a small control signal energizes the solenoid coil, which closes a set of heavy contacts and sends full battery voltage to the motor controller or motor. When it fails, the symptoms range from a loud click with no movement to complete silence when you press the pedal. Before you order a replacement, work through these checks. A bad solenoid often mimics other problems, and other problems often get blamed on a good solenoid.
Common Symptoms of a Failing Solenoid
The classic sign is an audible click when you press the accelerator but the cart refuses to move. That click tells you the coil side of the solenoid is receiving a signal and activating — but the main contacts aren't passing current the way they should. Burned or pitted contacts inside the solenoid are the usual culprit. The opposite scenario — complete silence when you press the pedal — can mean the coil isn't being energized at all, which could be the solenoid coil itself, or it could be a wiring, key switch, or battery issue upstream. A third symptom is the cart moving erratically or cutting out under load, which can indicate contacts that are making intermittent contact as they heat up.
Start With the Battery Pack
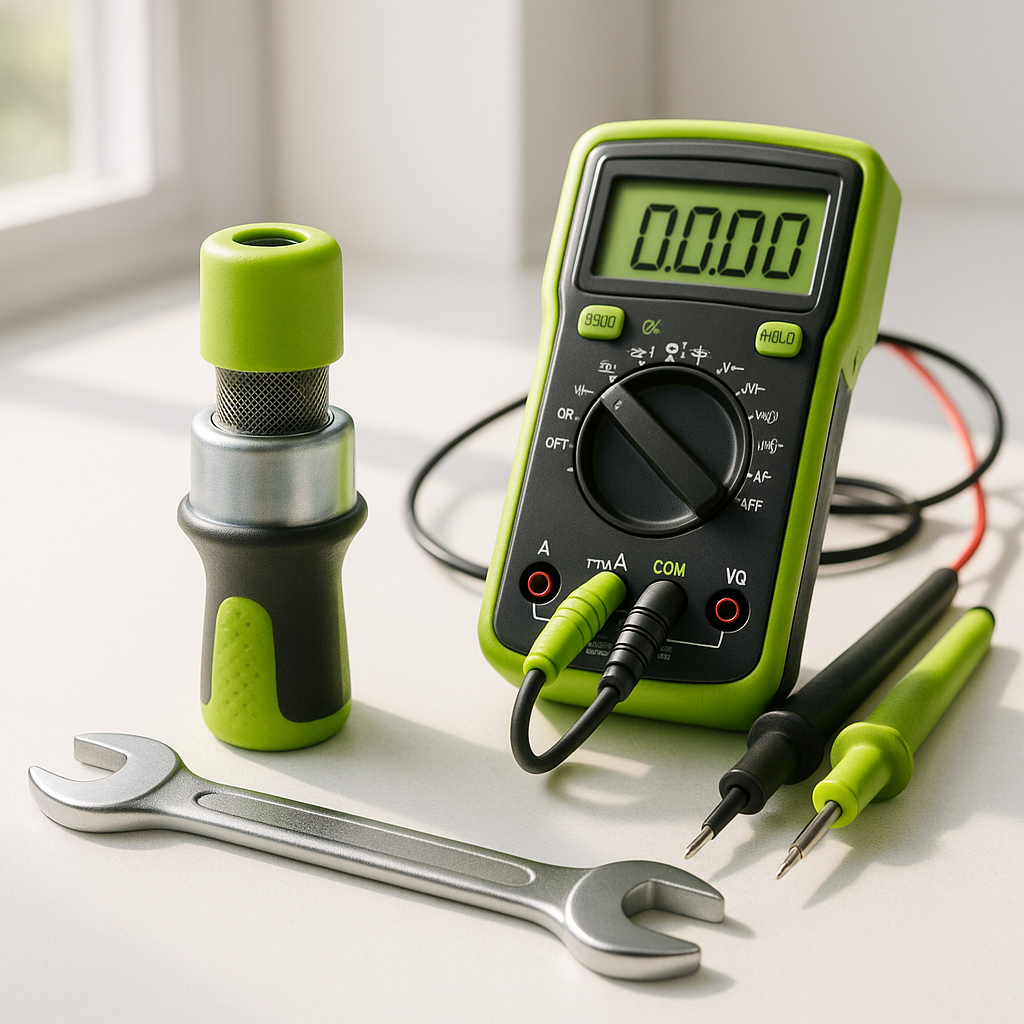
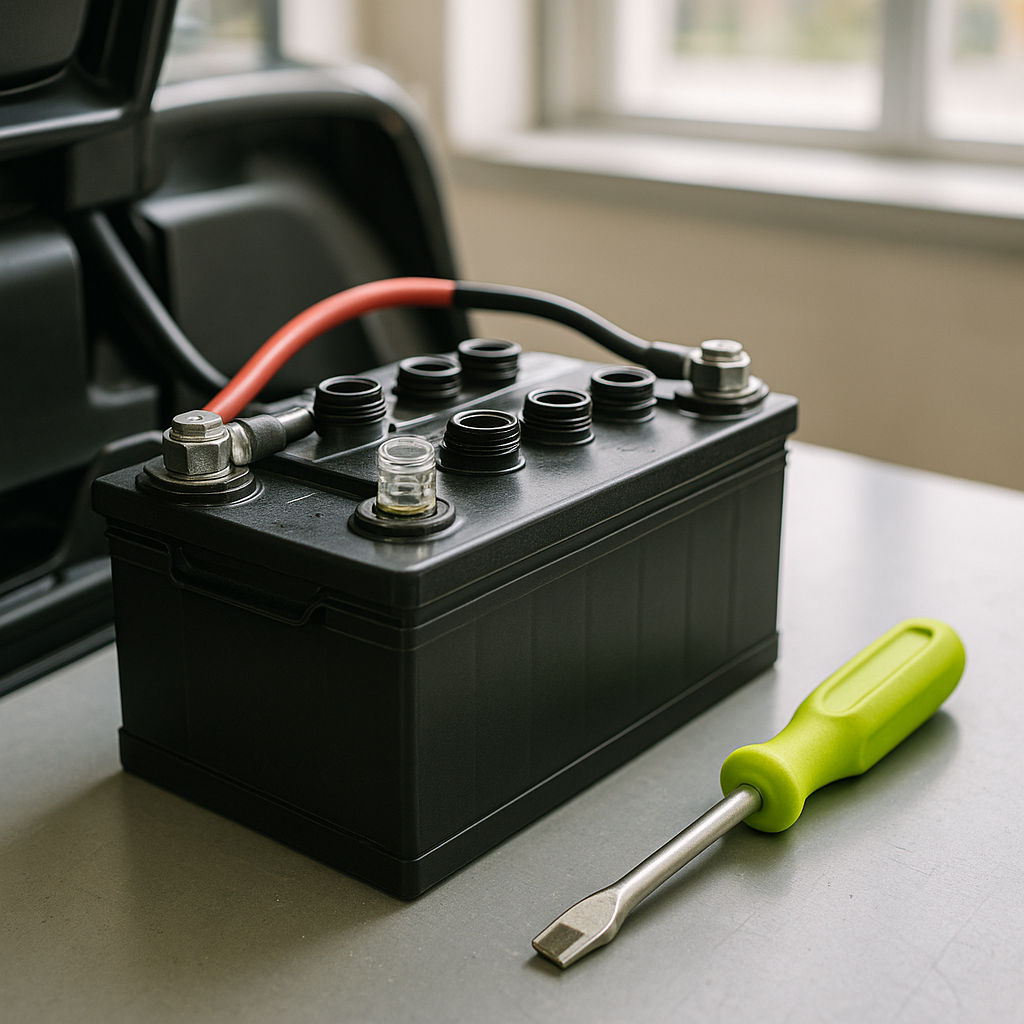
Low battery voltage is the single most common reason a solenoid appears to fail when it hasn't. Solenoid coils need adequate voltage to pull in and hold the contacts closed. If your pack is low — even a few volts below spec under load — the solenoid may click weakly or chatter without fully closing. Before touching anything else, fully charge the pack and measure the total pack voltage with a multimeter. Also check for a weak individual battery in the series string; one bad cell can drag down the whole pack voltage under load even if the resting voltage looks acceptable.
Check the Coil Signal Wires First
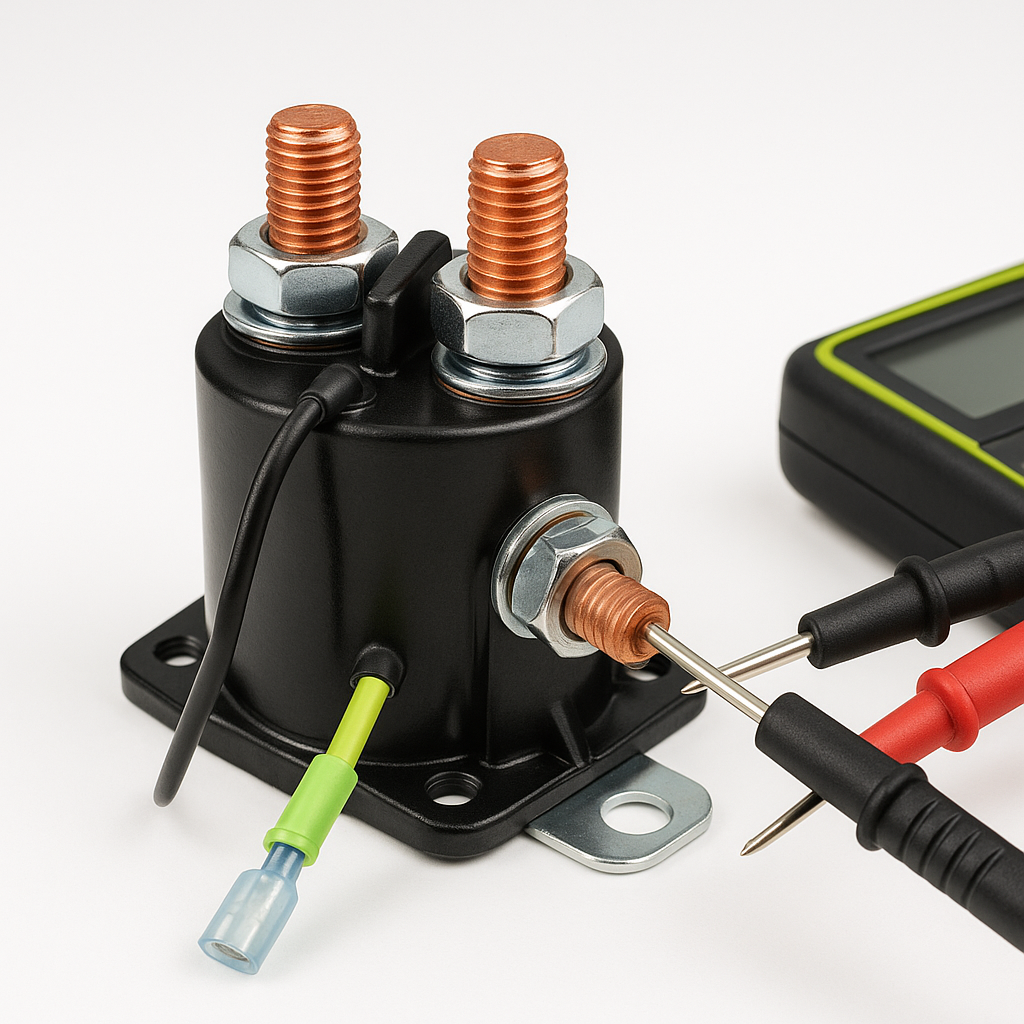
The solenoid has two separate circuits: the small-gauge coil wires (the control side) and the large-gauge main cables (the power side). Start with the coil side. With the key on and the pedal depressed, use a multimeter set to DC voltage and probe across the two small terminals on the solenoid. You should see battery pack voltage (or close to it) appearing there when the cart is commanded to move. If you see little to no voltage on the coil terminals, the problem is upstream — look at the key switch, forward/reverse switch, run/tow switch, and any safety interlocks like the seat switch or brake switch depending on your cart model. The solenoid itself may be perfectly fine.
Test the Main Contacts
If the coil is receiving proper voltage and the solenoid is clicking, but the cart still won't run, the main contacts are likely burned out. With the cart fully OFF and the battery pack disconnected (safety first — these cables carry lethal current), inspect the large terminal posts for corrosion and make sure the cable connections are tight. Some techs test the contacts by measuring resistance or voltage drop across the main terminals while the solenoid is energized, but this is a live high-current test that requires caution and proper meter probes rated for the task. A simpler field check: if you have verified good voltage at the coil, good connections on the main cables, a healthy battery pack, and the cart still won't run, a failed contact set inside the solenoid is the likely conclusion.
Inspect the Wiring and Ground Connections
Corroded or loose connections at the solenoid terminals are extremely common and easy to overlook. Remove each terminal, clean the contact surfaces, and reinstall snugly. Pay particular attention to the ground path — a poor chassis or battery negative ground can cause erratic solenoid behavior that mimics internal failure. Also inspect the small coil wires for cracking, chafing, or melted insulation near the solenoid body, which can indicate the cart has been run with a partially seized or dragging motor that caused prolonged high-current draw.
When to Replace vs. When to Keep Diagnosing
Solenoids are relatively inexpensive and straightforward to swap, so there's a temptation to just replace it whenever a cart won't move. Resist that if you haven't completed the diagnostics above. A new solenoid installed on a cart with burned wiring, a bad controller, or a seized motor will fail again quickly — and you'll have wasted the part. Replace the solenoid when you've confirmed the coil is receiving proper voltage, the main cable connections are clean and tight, and the cart still won't operate. Also replace it if you can hear the contacts chattering or buzzing when they should be holding firmly closed, or if visual inspection shows melting or severe burning around the main terminals. Make sure the replacement is rated for your cart's voltage system — running a mismatched voltage solenoid is a common and avoidable mistake.
Solenoid diagnosis rewards patience and a logical sequence. Work from the battery pack forward, check the control circuit before condemning the power circuit, and don't skip the simple stuff like loose connections and corroded terminals. Most of the time, the fix is either a straightforward solenoid swap or something even simpler that was blamed on the solenoid by mistake.