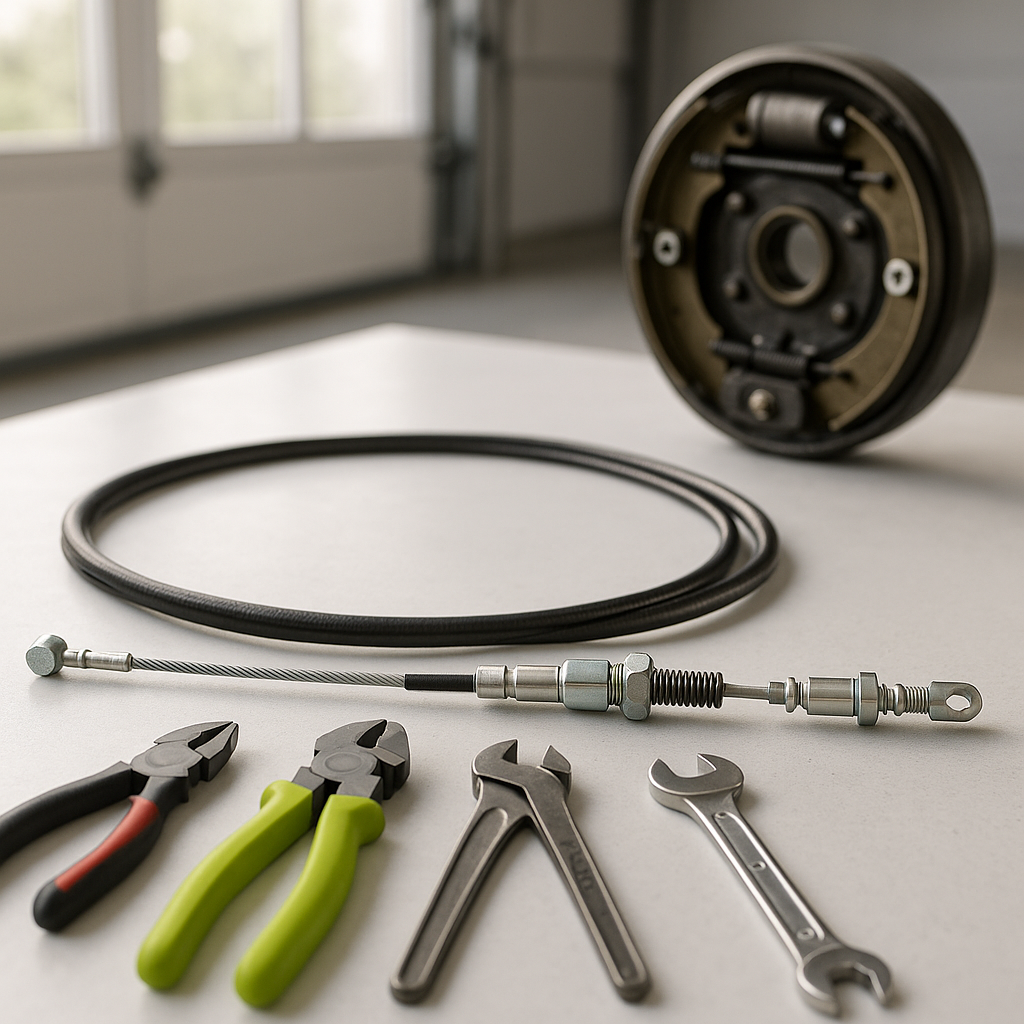
The brake cable is one of the most overlooked components on a golf cart, right up until it fails. Over time, cables stretch, fray, corrode, or snap entirely — and when that happens, your cart's ability to slow down or hold on a slope goes with it. The good news is that replacing a brake cable is a straightforward mechanical job that most cart owners can handle at home with basic tools and a little patience. This guide walks you through the general process so you know what to expect before you get started.
Understand Your Brake System First
Most golf carts use a mechanical cable-actuated drum brake system. When you press the brake pedal, it pulls a cable (or cables) that run to the rear axle and apply the brake shoes against the inside of the drum. Some carts use a single cable that splits to both rear wheels; others use separate cables per side. Before you buy a replacement, figure out which configuration your cart uses and confirm whether the cable runs to both drums or just one side. Your cart's model and year will determine the correct cable length and end fitting style — measure your old cable if you have any doubt.
What You'll Need
You'll generally need a floor jack and jack stands or ramps to safely lift and support the rear of the cart, basic hand tools (wrenches, pliers, and possibly a screwdriver), and penetrating oil if the cable fittings are corroded. Have your replacement cable on hand before you start disassembly — you don't want the cart sitting with the brake disconnected any longer than necessary.
Step 1 — Safely Lift and Support the Rear of the Cart
Park the cart on a flat, hard surface and chock the front wheels so it can't roll. Use a jack to lift the rear of the cart and set it securely on jack stands rated for the weight. Never work under or around a cart supported only by a floor jack. With the rear lifted, you'll have clear access to the brake drums and the cable routing along the undercarriage.
Step 2 — Remove the Old Cable
Trace the cable from the brake pedal or equalizer at the front all the way back to the brake actuating arm at the drum. Note how the cable is routed — through any brackets, guides, or clips — before you remove anything. Take a photo with your phone so you have a reference for reinstallation. Disconnect the cable at the rear first: the end fitting typically clips or threads into the actuating arm on the brake assembly. Then work forward and disconnect it from the pedal linkage or equalizer. Remove any retaining clips or cable guides along the route and pull the old cable free.
Step 3 — Install the New Cable
Route the new cable exactly the same way the old one ran, threading it through all the same brackets and guides. Connect the rear end to the actuating arm first, then route toward the front. Once the cable is fully in place, connect the forward end to the pedal linkage or equalizer. Don't fully tighten adjustment nuts yet — you'll fine-tune tension in the next step.
Step 4 — Adjust Cable Tension
Proper cable tension is critical. Too loose and the brakes won't engage until the pedal is nearly to the floor; too tight and the brakes may drag constantly, causing heat buildup and premature wear. Most brake cable systems have an adjuster nut — either at the equalizer or at the drum end — that lets you dial in tension. With the wheels still off the ground, spin each rear wheel by hand while gradually tightening the cable adjustment until you feel light resistance when the pedal is halfway depressed. The wheels should spin freely with no pedal pressure applied. Once you're close, lower the cart and do a slow test roll, pressing the brake gently to confirm even, predictable engagement. Fine-tune as needed.
Step 5 — Test Before You Ride
Never skip the final test. On flat ground, bring the cart up to a slow walking pace and apply the brakes firmly — the cart should stop straight and promptly without pulling to one side. Then test the parking brake (if your cart has one) on a gentle incline to confirm it holds. If the cart pulls, one side may have more tension than the other; go back and equalize the adjustment. If stopping feels spongy or delayed, the cable may still need tightening. Only once you're satisfied with the brake feel should you return the cart to normal use.
Replacing a brake cable isn't glamorous work, but it's essential maintenance. A fresh cable restores the crisp, confident braking your cart had when it was new — and on hills, around pedestrians, or anywhere with traffic, that matters a lot. Check your cable for fraying and proper tension at least once a season, and you'll catch problems before they become emergencies.


