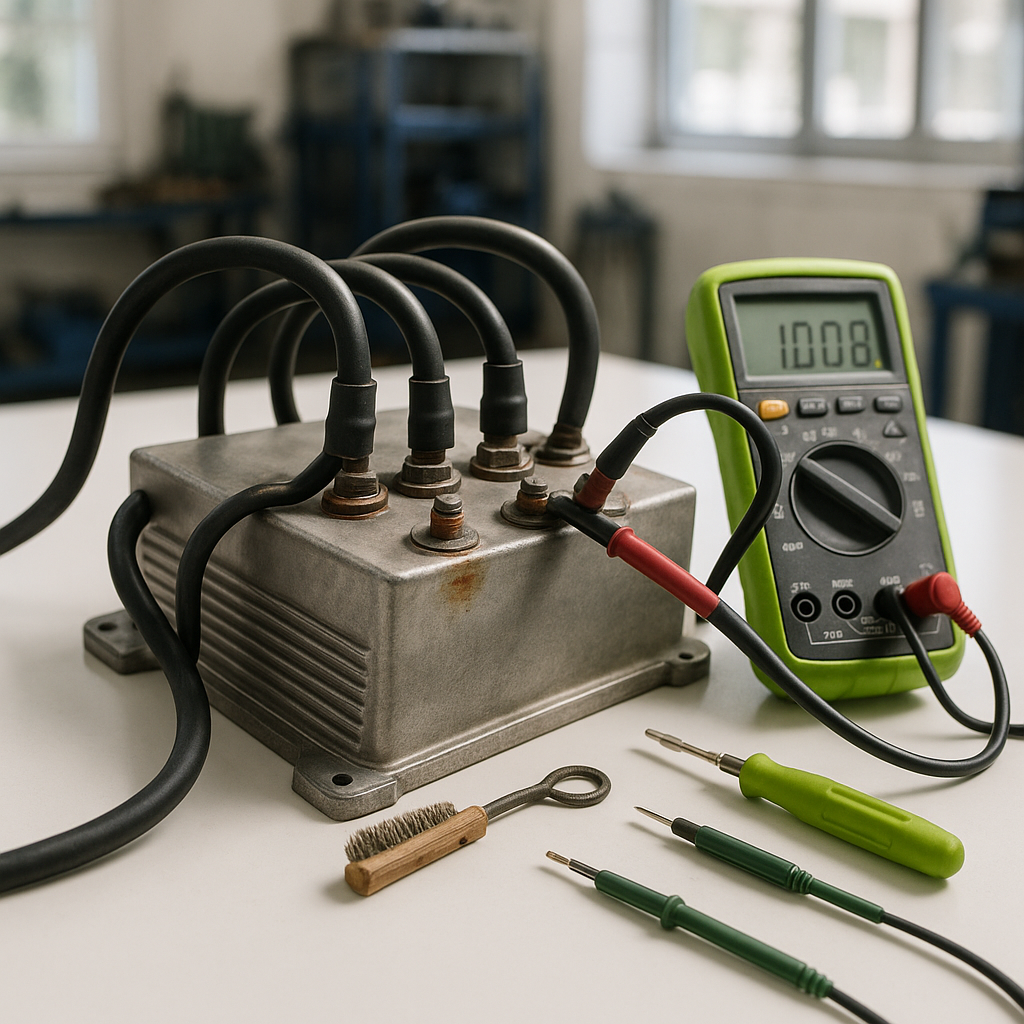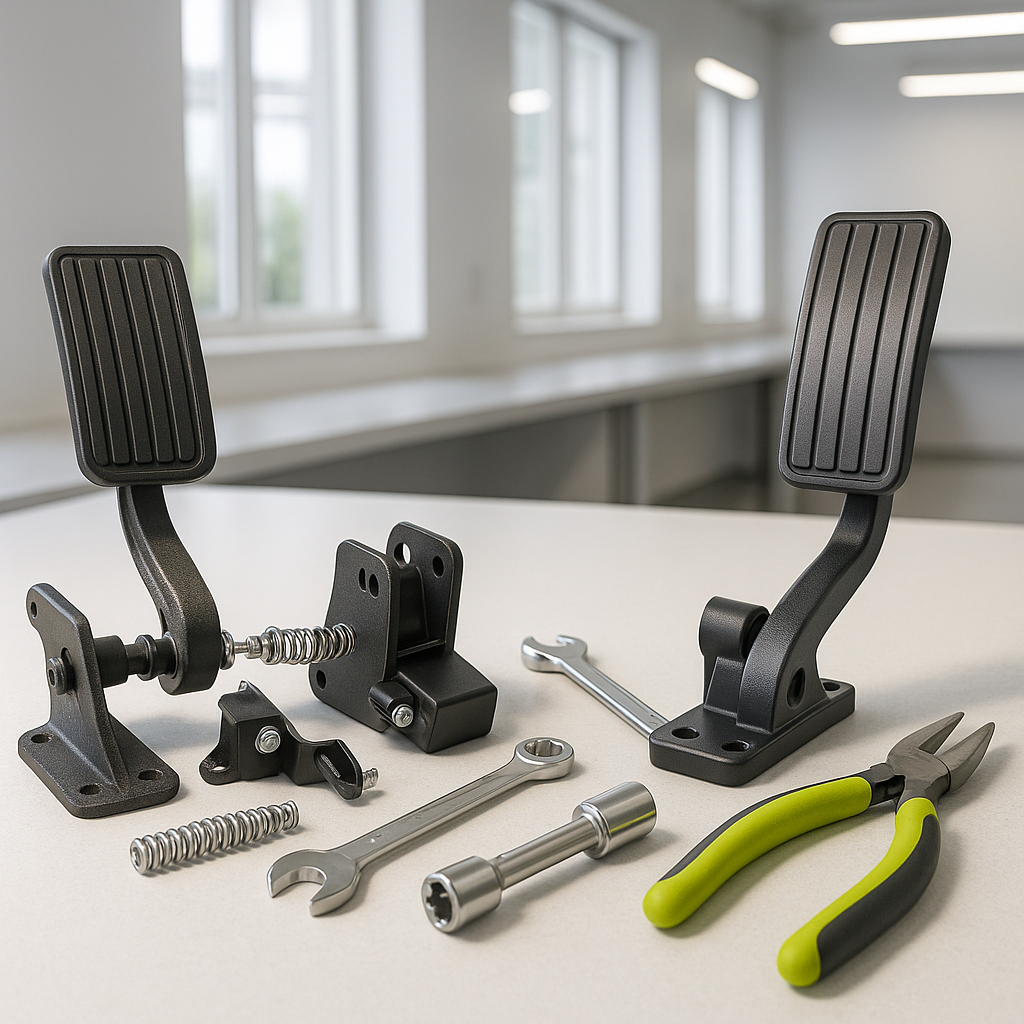
The accelerator pedal assembly is one of the most-used components on any golf cart, and it takes a beating over years of normal operation. On electric carts, the pedal assembly connects directly to the speed controller through an inductive throttle sensor or a potentiometer — sometimes called a "pot box" — that translates pedal position into a speed signal. On gas carts, it links mechanically to the carburetor or throttle body. When the assembly wears out, symptoms range from a jerky or surging ride to a pedal that sticks, returns slowly, or fails to produce a response at all. Replacing it is a straightforward job for a confident DIYer, but it requires understanding what you're working with before you begin.
Know Your System Before You Start
Before ordering a replacement, identify your cart's make, model, and year — and whether it's electric or gas. Electric carts further differ by controller type and sensor style. Some use a simple micro-switch and resistive card setup; others use a Hall-effect sensor. The replacement assembly must match your existing system, because swapping an incompatible sensor type will confuse your controller and the cart won't run correctly. Pull the seat or access panel to look at the existing assembly and note how the sensor or cable connects. Take photos before disconnecting anything — you'll thank yourself later.
Safety First: Disconnect Power
On an electric cart, disconnect the main negative battery cable before doing any work near the pedal assembly or wiring. On gas carts, shut off the fuel valve if one is present and let the engine cool. Chock the wheels and engage the parking brake. The accelerator circuit on electric carts can be live even when the key is off, so skipping the battery disconnect is genuinely dangerous — not just a liability disclaimer.
Removing the Old Assembly
The pedal assembly is typically bolted to the floorboard frame or a mounting bracket underneath the footwell area. You'll usually find two to four bolts or nuts holding it in place. Before unbolting, disconnect the wiring harness connector or throttle cable first — working in the opposite order makes the connector harder to reach once the assembly starts moving. On electric carts with a pot box, the sensor is often secured separately from the pedal arm itself, so check whether you're replacing just the pedal linkage, just the sensor, or the full integrated assembly. Label or photograph every connection. Once the fasteners are removed, the old assembly should lift or slide out of the mounting position.
Installing the Replacement
Set the new assembly into position and hand-thread all fasteners before fully tightening any of them — this lets you align the mounting holes without binding. Once aligned, tighten the mounting hardware evenly. Reconnect the wiring harness or throttle cable. On electric carts, confirm that the connector is fully seated; a partially connected sensor plug is a common source of post-install problems. On gas carts, check that the throttle cable moves freely through its full range without binding against any edges or brackets, and that it has the correct amount of free play at the pedal.
Calibration and Testing
Many electric golf cart controllers need to "see" the pedal sensor go through its full range of motion after a new assembly is installed — a process sometimes called a throttle calibration or pedal initialization. The exact procedure varies by controller brand, but it generally involves turning the key on without pressing the pedal, then pressing it slowly to the floor and releasing it, with the controller storing the low and high positions. Check your controller documentation or the cart's service manual for the specific sequence. Skipping this step often results in sluggish takeoff, reduced top speed, or fault codes. On gas carts, no calibration is needed — just verify idle speed is steady and throttle response is smooth before putting the cart back in service.
Final Checks
Reconnect the main battery cable on electric carts, or open the fuel valve on gas carts, and run the cart through a short test at low speed in a safe area before returning it to normal use. Press the pedal gradually and listen for any unusual sounds, and feel for any sticking or inconsistent response. Check that the pedal returns fully to rest when released — a pedal that doesn't spring back completely is a safety issue, not just an annoyance. If everything feels right, reinstall any floor mats or covers you removed, and the job is done.