The brake drum is one of the most overlooked components on a golf cart, but it does heavy work every single time you slow down. Over years of use, drums can warp from heat cycles, score from worn-down brake shoes, or crack from corrosion. When that happens, no amount of brake adjustment will restore proper stopping performance. Replacing the drum is a straightforward job for anyone comfortable with basic mechanical work — but it does require patience, the right mindset about safety, and a clear process to avoid common mistakes.
Signs Your Brake Drum Needs Replacing
Before you pull anything apart, confirm the drum is actually the problem. Common symptoms include a pulsing or grabbing feeling when braking, a grinding or scraping noise that persists even after fresh brake shoes are installed, visible deep grooves or scoring on the drum's inner surface, or a drum that's visibly cracked or out-of-round. A drum that's merely dirty or lightly rusted from sitting outside often just needs cleaning — but one that's grooved, warped, or below the manufacturer's minimum thickness spec should be replaced outright. Running a finger along the inner braking surface will usually tell you immediately: a smooth surface is fine; ridges you can catch your fingernail on mean it's time for a new drum.
Tools and Prep
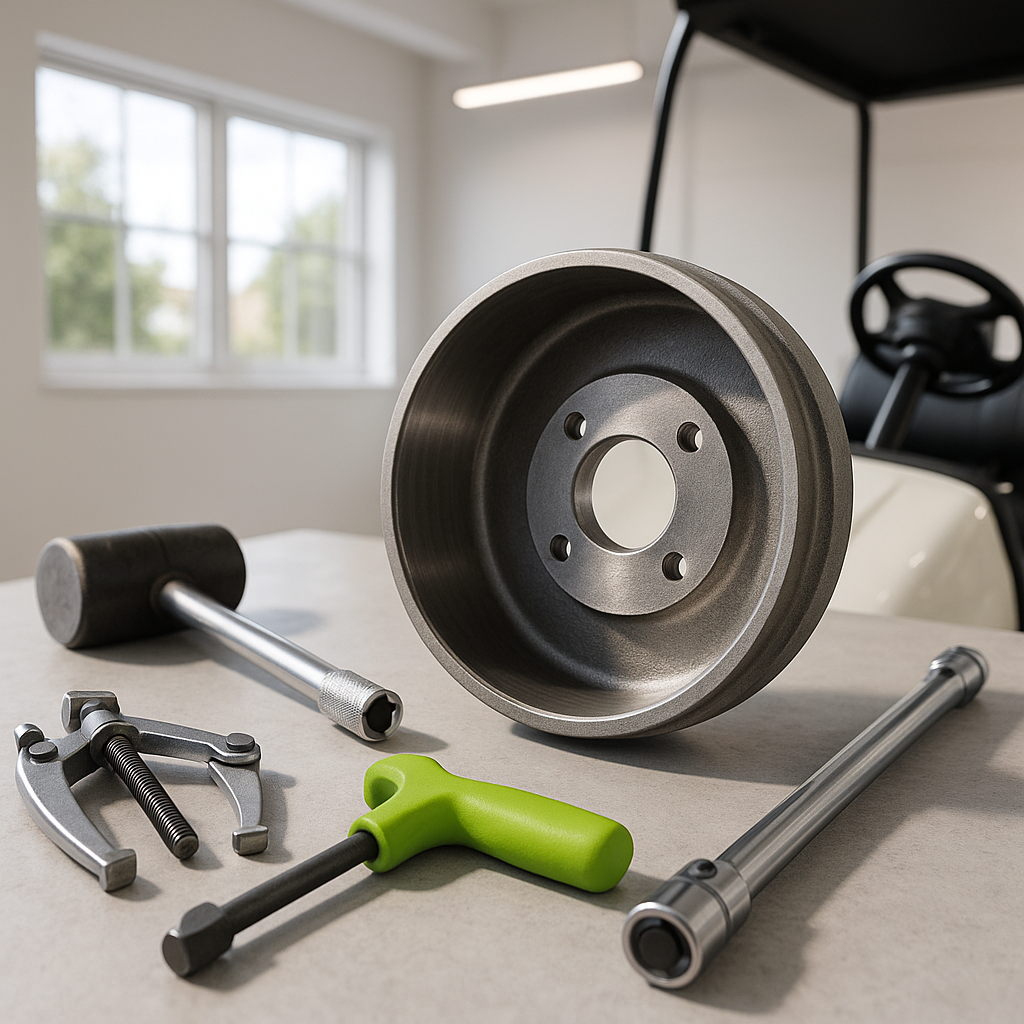
You'll need a floor jack and jack stands rated for your cart's weight, wheel chocks, a lug wrench or impact driver, a drum puller (often necessary — the drum can seize onto the hub after years of heat and corrosion), basic hand tools, and brake cleaner spray. Work on a flat, hard surface and always chock the wheels that are staying on the ground before lifting. Disconnect the battery or turn the cart completely off before you begin — on electric carts especially, you don't want any chance of accidental movement while the wheel is off.
Removing the Wheel and Accessing the Drum
Loosen the lug nuts slightly before you jack the cart up — it's much easier while the wheel is still on the ground. Jack the cart up, support it securely on jack stands, then remove the wheel completely. With the wheel off, you should have a clear view of the brake drum sitting over the hub assembly. Check whether there's a retaining screw holding the drum to the hub — many golf cart designs use one or two small screws that must come out first. Once any retaining hardware is removed, try pulling the drum straight off by hand. If it won't budge (very common), a drum puller threaded into the drum's puller holes is the safe way to break it free. Avoid hammering on the drum aggressively — you can damage the hub or bearing behind it.
Inspecting What's Behind the Drum
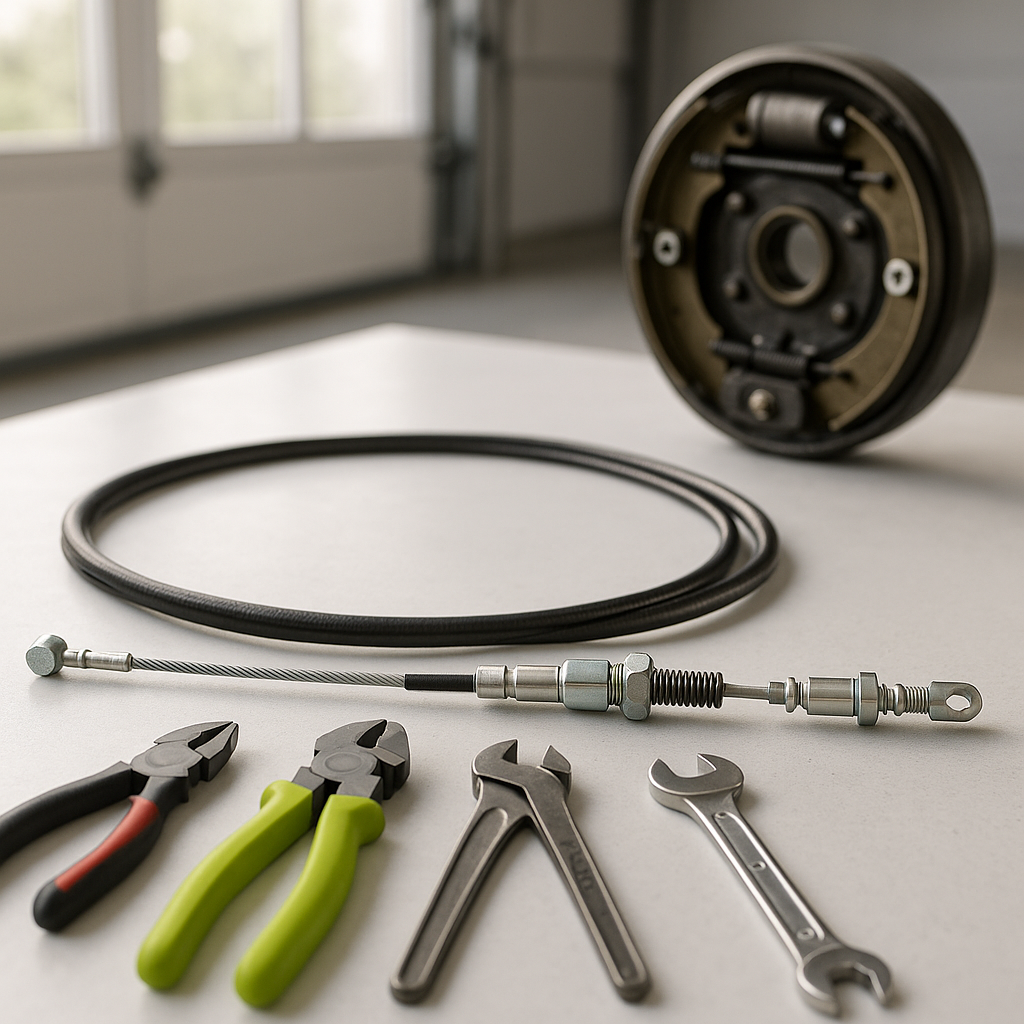
With the drum off, take a moment to inspect the brake shoes, wheel cylinder (on hydraulic systems), and the backing plate before installing anything new. If the shoes are worn down, glazed, or contaminated with grease, replace them now — putting a fresh drum over worn shoes just means you'll be back here sooner. Clean the entire area with brake cleaner and let it dry fully. Check the wheel bearing for roughness or play while you're at it. This is the right time to address everything, not piecemeal later.
Installing the New Drum
Before installation, wipe the inner braking surface of the new drum with brake cleaner to remove any protective coating or machining oils applied during manufacturing — this step is often skipped and can cause a glazed, low-friction surface right out of the gate. Slide the new drum over the hub. It should slip on without forcing it; if it's tight, check that the brake shoes haven't been adjusted outward too far. Once seated, reinstall any retaining screws snugly. Reinstall the wheel, hand-tighten the lug nuts in a star pattern, lower the cart off the jack stands, then torque the lug nuts to the specification for your cart model.
Bedding In the New Drum
New drums and shoes need a brief break-in period to seat properly against each other. In an open area, drive at a slow walking pace and apply the brakes firmly but not abruptly to a full stop. Repeat this several times, allowing a minute or two between stops so heat can dissipate. You're not trying to test the brakes aggressively — you're encouraging even contact between the shoe lining and the drum's surface. After bedding in, check the brake adjustment and retighten lug nuts once more. Stopping feel should improve noticeably compared to what you were dealing with before.
Brake drums are inexpensive relative to what they protect against — namely, a cart that can't stop reliably on a slope or in an emergency. If you've been putting up with noisy, pulsing, or weak brakes, a drum replacement combined with fresh shoes is often the complete fix. Take your time with the job, keep everything clean, and inspect everything while you're in there. It's one of the more satisfying DIY repairs on a golf cart because the results are immediate and obvious.