A failing motor controller is one of the more frustrating problems to track down on an electric golf cart. The symptoms often overlap with a bad solenoid, weak batteries, or a faulty speed sensor, so it's easy to spend money on the wrong part. The good news is that with a multimeter, a basic understanding of how the system works, and some methodical testing, you can usually confirm whether the controller is truly the culprit before pulling it out.
Understand What the Controller Actually Does
The motor controller is the brain of an electric golf cart's drivetrain. It takes the DC voltage from your battery pack and regulates how much power gets delivered to the motor, translating throttle input into smooth speed variation. On older carts, this was done with a series of contactors and resistors. On modern carts, solid-state controllers use high-frequency switching (PWM) to do the same job more efficiently. When a controller starts to fail, it typically loses the ability to regulate output correctly — which shows up as erratic speed, no movement at all, jerky acceleration, or reduced top-end performance.
Start with the Easy Stuff First
Before suspecting the controller, rule out the common culprits. Check your battery pack voltage under load — low or unbalanced batteries mimic controller failure almost perfectly. Inspect all cable connections at the controller for corrosion, looseness, or heat damage. Test your solenoid by listening for an audible click when you press the accelerator; if there's no click, the problem may be upstream of the controller entirely. Also check any inline fuses or reset buttons — many controllers have a thermal protection circuit with a small reset button on the unit itself that trips under overload conditions.
Reading Fault Codes (If Your Cart Supports It)
Many newer electric golf carts with solid-state controllers have some form of diagnostic output. Depending on the brand and generation of your cart, this might be a blinking LED on the controller itself, a sequence of audible beeps, or a readout through a handheld programmer or diagnostic tool. Consult your cart's service manual to decode what the flash pattern or code means — some indicate overvoltage or undervoltage faults, others point to throttle sensor errors or motor faults. A fault code that points clearly to an internal controller error is strong evidence you need a replacement, but codes that reference external sensors are worth chasing first.
Testing Voltage In and Out of the Controller
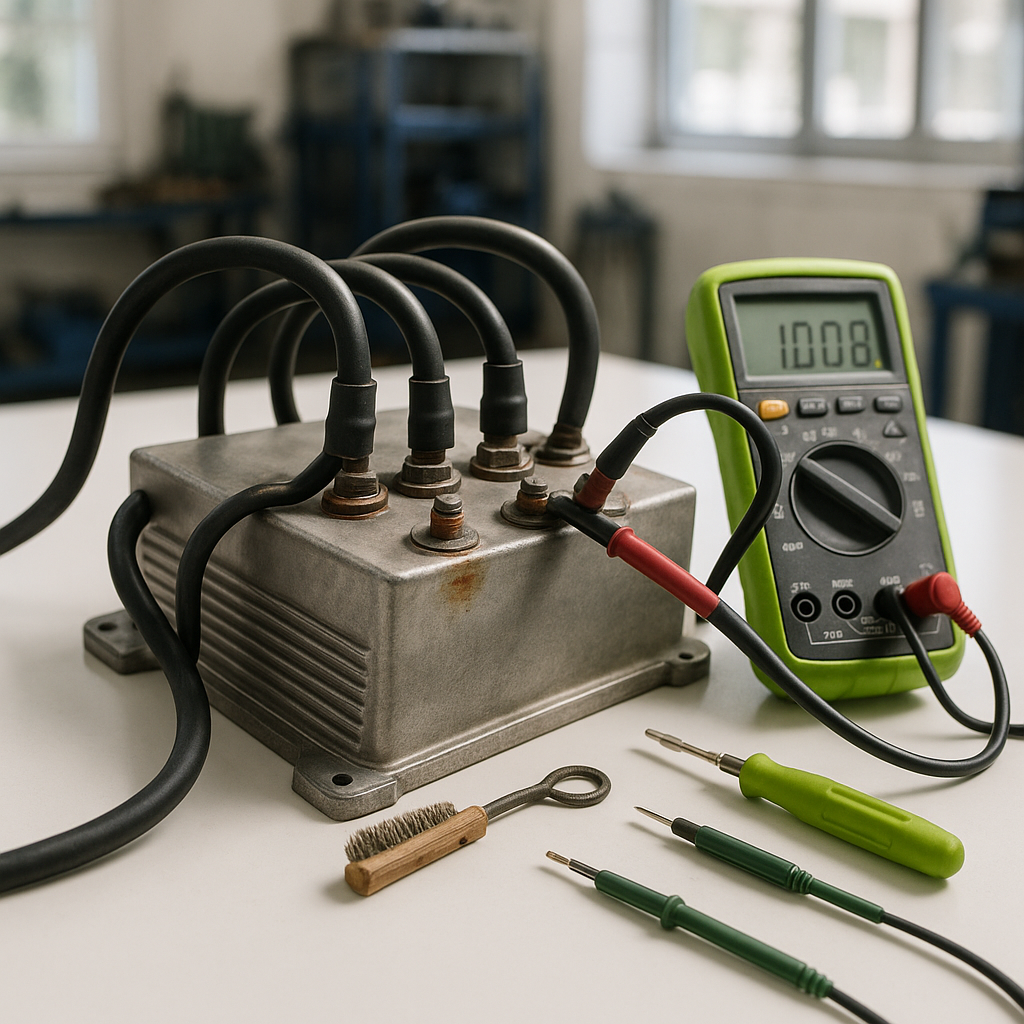
With a multimeter set to DC voltage, measure the voltage coming into the controller from the battery pack. It should be close to your pack's rated voltage when the cart is sitting still. Next — with care and proper safety precautions, keeping hands clear of terminals — have a helper press the accelerator while you observe whether voltage is being passed through to the motor output terminals. On a healthy controller, you should see output voltage vary proportionally with throttle position. No output voltage despite good input voltage and a functioning solenoid is a strong indicator of internal controller failure. A controller that outputs full voltage immediately with no throttle modulation suggests the PWM regulation circuitry has failed.
Check the Throttle Pot (Potentiometer) Signal
A very common misdiagnosis is blaming the controller when the real fault is the throttle position sensor — often called the throttle pot or ITS (Inductive Throttle Sensor) on newer carts. The controller can only respond to the signal it receives. If that signal is missing, erratic, or out of range, the controller may go into a fault state or simply not respond. With a multimeter, you can usually measure the reference voltage supplied by the controller to the throttle sensor and the return signal voltage as the throttle is depressed. The signal should sweep smoothly and proportionally. A signal that jumps, flatlines, or stays at zero while the throttle moves freely points to a sensor problem, not a controller problem.
Heat and Physical Inspection
Controllers fail from heat, vibration, and moisture over time. After a drive, feel the controller housing — it should be warm but not too hot to touch. Excessive heat often means the controller is working harder than it should, sometimes because of internal resistance from failing components. Visually inspect the unit for burn marks, swollen or cracked housing, corrosion around terminals, or signs of moisture intrusion. Any of these physical signs alongside performance issues is a reliable indicator that the controller has reached the end of its service life.
When You've Confirmed It's the Controller
If you've ruled out batteries, connections, solenoid, and throttle sensor — and the controller shows no output, throws persistent internal fault codes, or shows physical damage — it's time to replace it. When sourcing a replacement, match your cart's make, model year, battery pack voltage, and the amperage rating of the original unit. Upgrading to a higher-amperage controller can improve performance, but only if your motor, wiring, and solenoid are rated to handle the increased current. Taking the time to diagnose properly means you'll install the right part with confidence — and not find yourself chasing the same ghost a second time.