Installing a lift kit is one of the best upgrades you can make to a golf cart — more ground clearance, bigger tires, better off-road capability. But a lift changes the suspension geometry of your cart, and that change almost always affects wheel alignment. Skip the alignment check and you'll pay for it in uneven tire wear, wandering steering, and extra stress on your spindles and tie rods. This guide walks you through how to inspect and correct alignment after a lift, using straightforward methods that don't require a professional alignment rack.
Understand What Changes When You Lift a Golf Cart
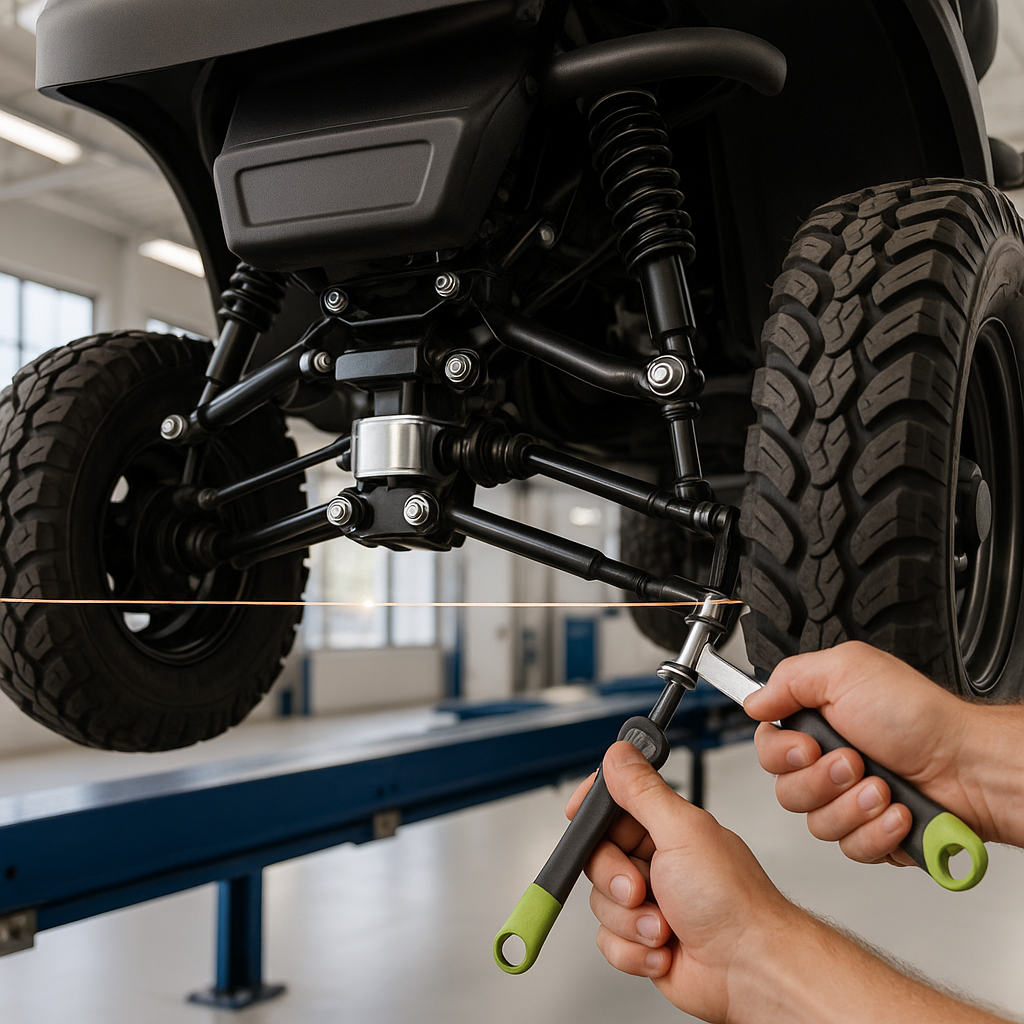
When you raise the front end of a golf cart with a lift kit, the spindles, A-arms (on independent suspension carts), or leaf spring perches shift position relative to the frame. This alters the angle of the wheels and the length relationship of the tie rods. The two alignment values that matter most on a golf cart are toe (whether the fronts of the tires point inward or outward) and camber (whether the tops of the tires lean in or out). Toe is adjustable on virtually every golf cart. Camber is typically fixed by the suspension design, but a lift can push it out of spec — especially on older or worn suspension components. If your camber looks dramatically off after a lift, that usually points to a worn ball joint, bent spindle, or a lift design that doesn't suit your cart model.
What You'll Need
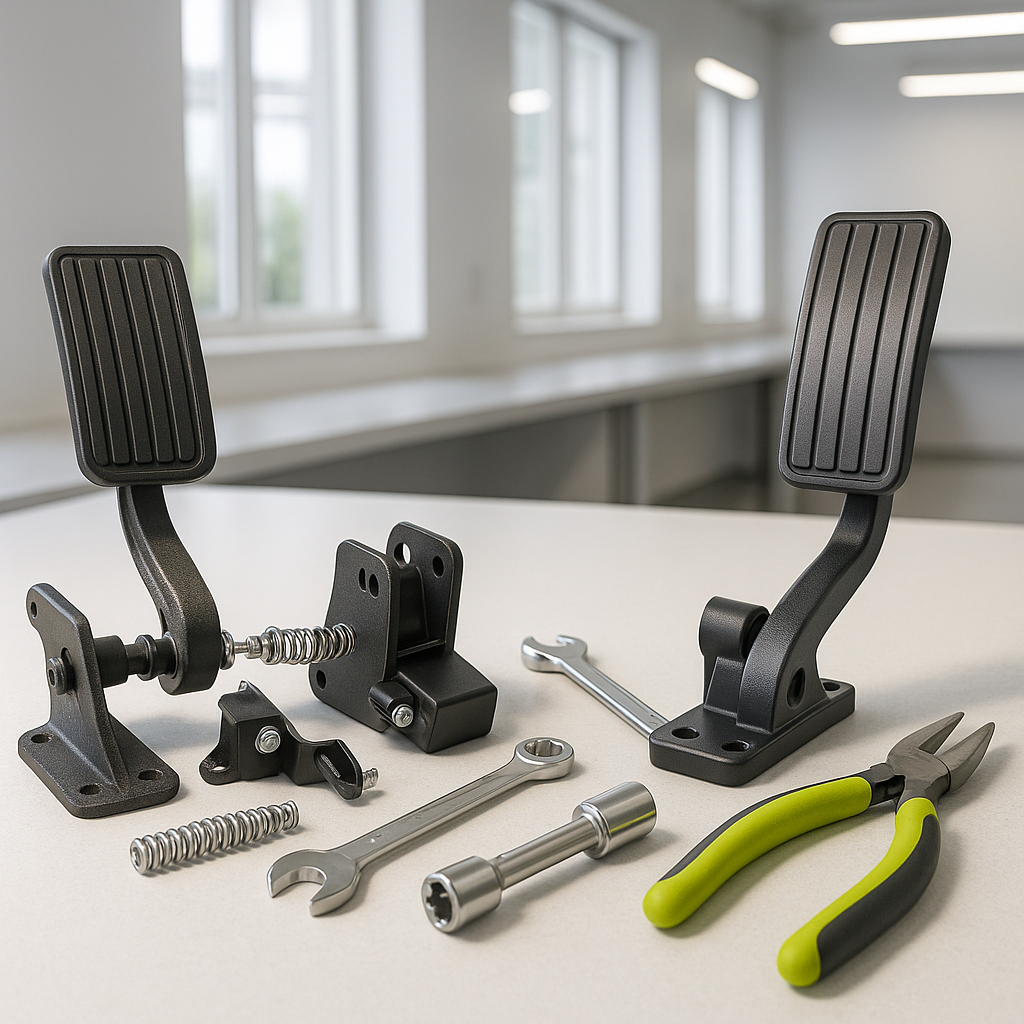
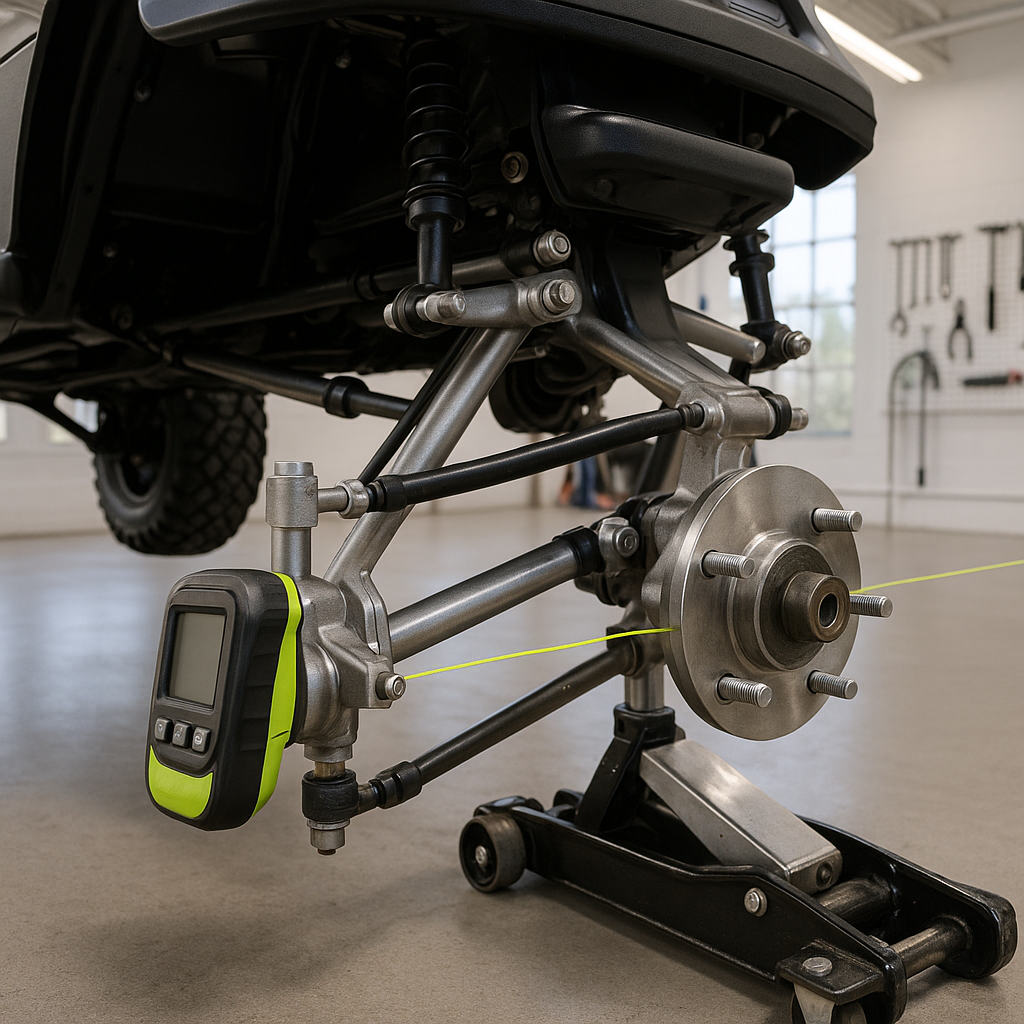
You don't need special equipment to do a basic toe check. A tape measure or a long ruler, a flat level surface (your garage floor works fine), and a piece of chalk or tape are all you really need for a manual measurement. A dedicated toe bar or alignment string kit makes the job faster and more repeatable, but it's not required. You'll also need whatever wrench or spanner fits your tie rod jam nuts — typically a standard open-end wrench — and the ability to safely lift and support the front of the cart if you need to inspect components underneath.
How to Check Toe Manually
Park the cart on flat, level ground and push it straight forward a few feet so the wheels settle into their natural position — don't just roll it backward and stop. With the steering wheel centered, mark the sidewall of each front tire at its centerline height, both at the front of the tire and the rear of the tire. Measure the distance between your two front marks and then the distance between your two rear marks. If the front measurement is smaller than the rear, you have toe-in. If it's larger, you have toe-out. Most golf carts are set up with a small amount of toe-in from the factory — typically just a few millimeters — to keep the cart tracking straight and to compensate for the slight toe-out that develops under load. After a lift, this value often shifts, and you may find yourself with excessive toe-out, which causes tire scrub and a wandering feel.
Adjusting Toe with the Tie Rods
Toe is corrected by lengthening or shortening the tie rods. On most golf carts, each tie rod has a threaded sleeve or adjustable end with a jam nut that locks the setting in place. Loosen the jam nut, then turn the tie rod sleeve — clockwise or counterclockwise depending on the thread direction — a small amount, then recheck your measurement. Make equal adjustments to both sides when possible to keep your steering centered. Once you've reached the correct toe spec (refer to your cart's service manual for the exact value, or aim for the factory setting if you can find it documented), tighten the jam nuts firmly to lock the setting. Recheck after tightening, since tightening the jam nut can sometimes shift the adjustment slightly.
Check Your Steering Wheel Centering
After adjusting toe, drive the cart slowly in a straight line and note whether the steering wheel sits centered when the cart is tracking straight. If the wheel is noticeably off-center, your tie rod adjustments were uneven between sides. You can correct this by transferring a small amount of adjustment from one side to the other — shortening one tie rod by the same amount you lengthen the other — which moves the steering center without changing the overall toe value.
Inspect These Components While You're In There
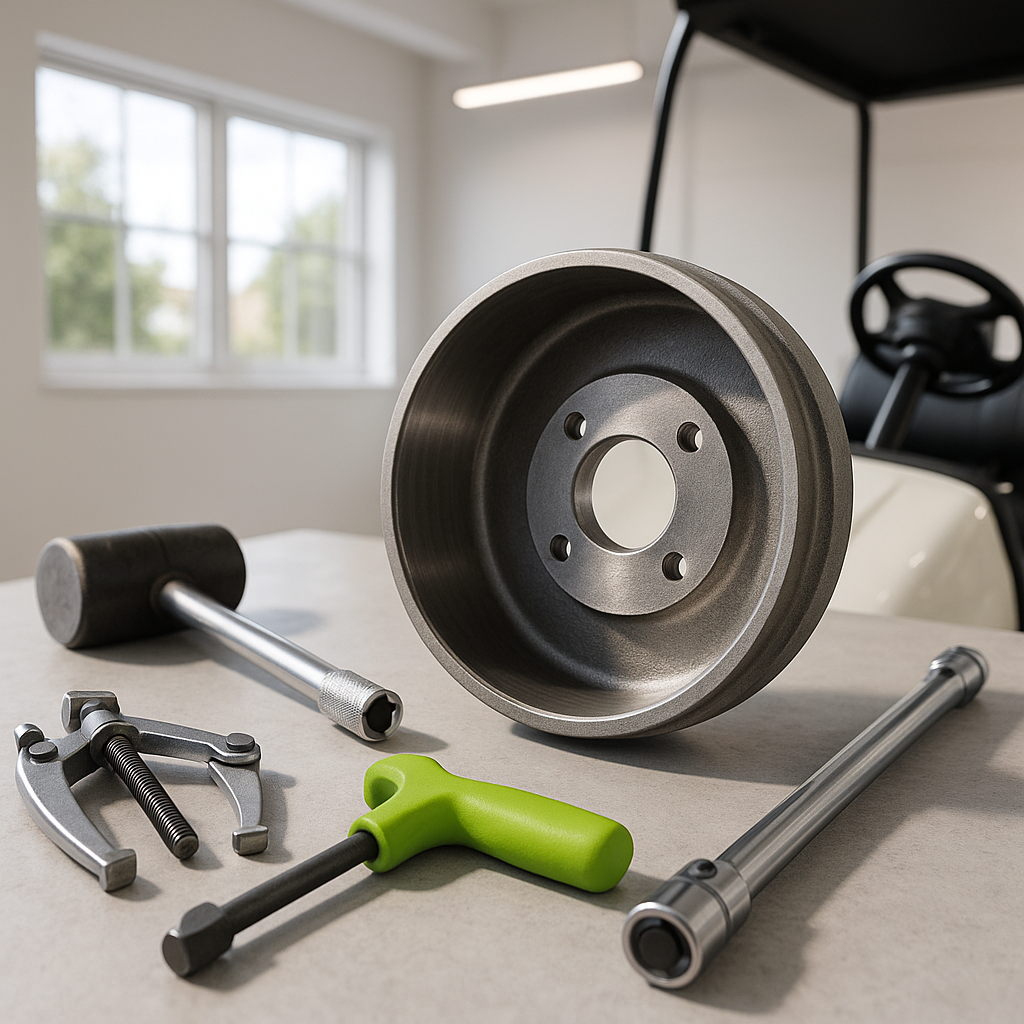
An alignment check after a lift is also a good time to inspect the front end more thoroughly. Check your tie rod ends for looseness by grabbing the rod and trying to move it — there should be no play or clunking. Check ball joints the same way. Lift each front wheel off the ground and try rocking it from the top and bottom; any looseness there points to a worn ball joint or wheel bearing. Look at your drag link and steering column connections for looseness or damage. Lift kits put additional stress on these components, particularly when you're running larger, heavier tires, so finding a worn part now is far better than finding it on the trail.
When to Get a Professional Alignment
For most golf cart owners, a manual toe check and tie rod adjustment is all that's needed after a lift. But if your cart still pulls to one side after adjusting toe, if a tire is wearing in an unusual pattern across its width, or if the steering feels heavy or inconsistent, there may be a camber or caster issue that's harder to address without proper equipment. Some golf cart service shops have alignment equipment, and it's worth a visit if you've already addressed toe and the problem persists. This is also worth considering if you've installed a more aggressive lift — four inches or more — where the geometry changes are larger and more complex.