Installing a lift kit is one of the most satisfying upgrades you can make to a golf cart — more ground clearance, bigger tires, a more aggressive stance. But there's a step most DIYers skip entirely: realigning the front wheels afterward. When you raise the suspension, you change the angles at which your spindles, A-arms, and tie rods sit relative to the ground. Ignore that geometry shift and your cart will pull to one side, wear through tires unevenly, and handle sloppily. Alignment isn't optional after a lift — it's part of the job.
Understand What Changes When You Lift
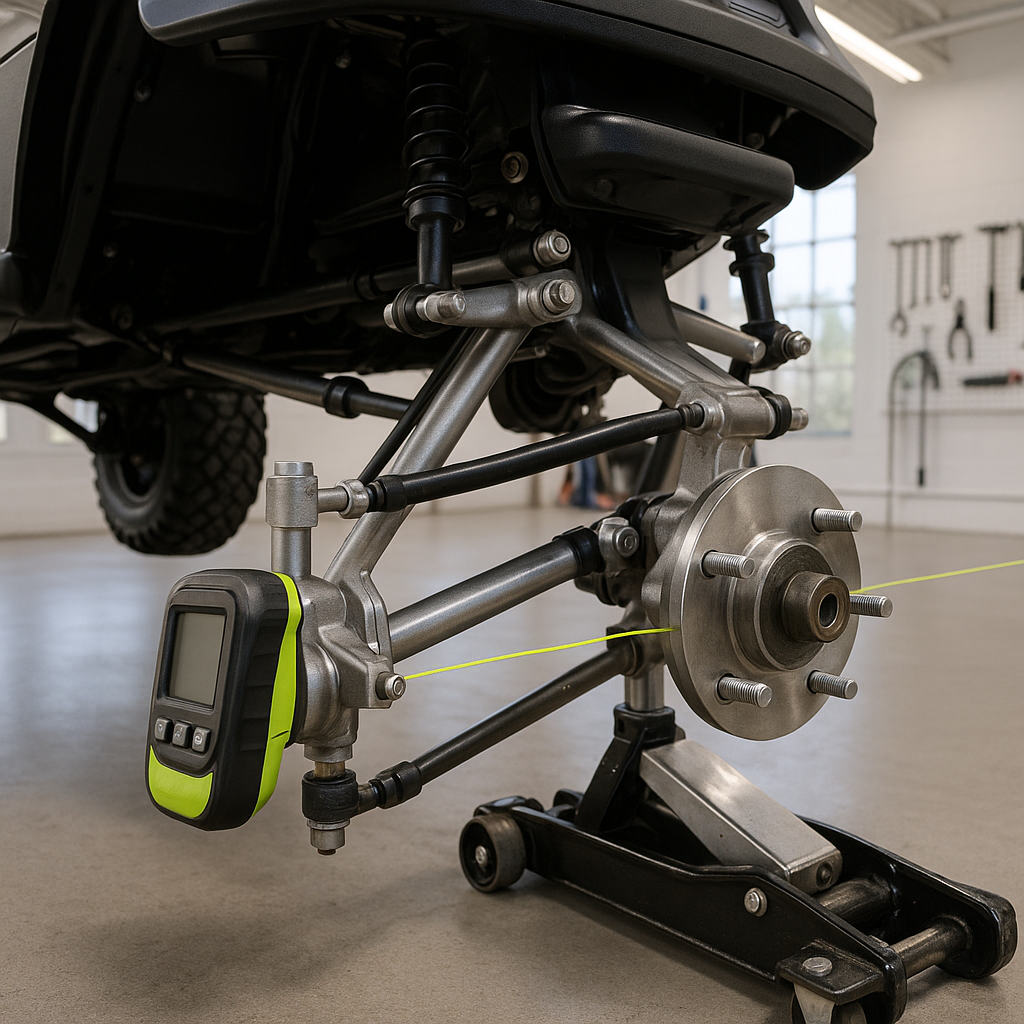
Golf cart front suspensions are relatively simple compared to full-size vehicles, but the same physics apply. When the suspension drops lower (because the body is now higher), your tie rods — which were designed to run parallel to the ground at stock ride height — now angle upward or downward. This changes your toe setting, which is the degree to which your front tires point inward or outward when viewed from above. Most lifts push the front wheels into toe-out, which creates a wandering, unstable feel and accelerates inside tire wear. Some configurations go toe-in instead. Either way, you need to measure and adjust before you put serious miles on the cart.
Tools You'll Need
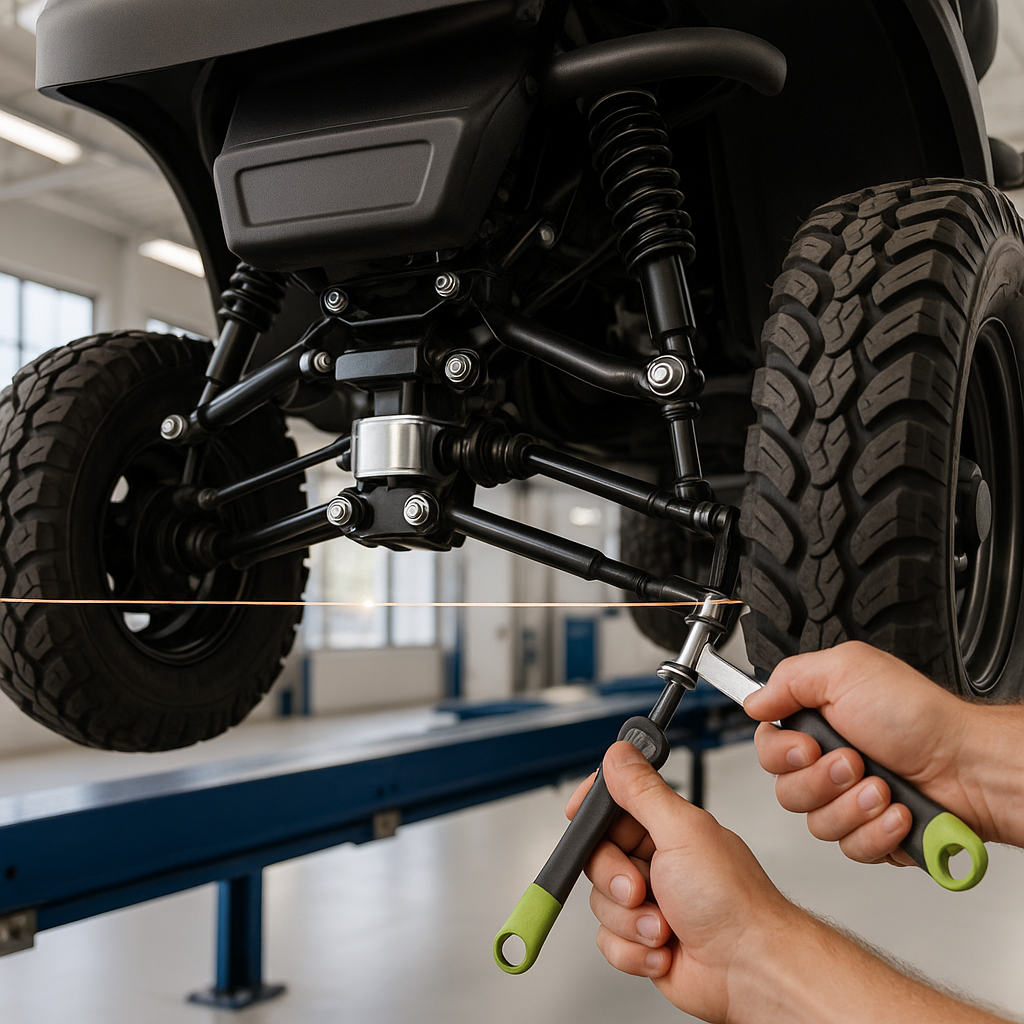
You don't need a shop alignment rack for a golf cart. A basic toe check requires a tape measure or a dedicated string-line setup, a flat level surface, a straight edge or piece of string long enough to span the front of the cart, and a marker or chalk to reference points on your tires. A helper makes the process easier. If your cart has adjustable camber (some lifted A-arm kits allow this), you'll also want an angle gauge or a smartphone level app, though camber adjustment is less critical than toe on most golf cart setups.
How to Check Toe (Step-by-Step)
Park the cart on a flat, hard surface and point the steering wheel straight ahead. Mark the center of each front tire's tread at hub height — once on the front face of the tire and once on the rear face, as far back as the tire allows. Measure the distance between your front marks (the leading edge measurement), then measure between your rear marks (the trailing edge measurement). If the front measurement is smaller than the rear, you have toe-in. If it's larger, you have toe-out. Consult your lift kit's documentation for the manufacturer's recommended toe spec — many golf cart lifts call for a small amount of toe-in (typically just a few millimeters) to promote stable straight-line tracking, but always follow the guidance specific to your kit and cart model.
Adjusting Toe via the Tie Rods
Toe is corrected by lengthening or shortening the tie rods. On most golf carts, each tie rod has a threaded sleeve or adjustable end that you can turn to change its effective length. Loosen the lock nut on the tie rod end, then turn the sleeve — clockwise or counterclockwise depending on which direction you need to move the wheel. Make small adjustments, recheck your measurements, and repeat. Adjust both sides evenly when possible so you don't introduce a steering pull. When your measurements are where you want them, tighten the lock nuts securely and recheck one final time, since tightening can shift the setting slightly. Make sure no tie rod component is at the extreme end of its thread engagement — you want solid, full thread contact.
Check Your Steering Wheel Centering
Once toe is set, drive the cart slowly in a straight line and note whether the steering wheel sits centered. If the wheel is cocked to one side while the cart tracks straight, your tie rod adjustments were uneven — one side was lengthened or shortened more than the other. Go back and equalize the adjustments between left and right. This step matters because an off-center wheel is a sign of asymmetric toe, which will cause uneven tire wear even if the total toe number looks acceptable on paper.
Check for Bump Steer While You're At It
Bump steer is a condition where your wheels toe in or out as the suspension compresses and rebounds — the steering changes direction on its own when you hit a bump. It's caused by tie rods that are now running at a significantly different angle than the steering rack or drag link they connect to, which is common after aggressive lifts. A simple test: with the cart on level ground, have a helper compress each front corner of the suspension by hand while you watch the wheel direction. If the wheel visibly steers left or right as the suspension moves, you may need corrective tie rod relocation brackets — some lift kits include these, others require them as an add-on. Addressing bump steer isn't always possible without additional parts, but at minimum you should know whether your cart has it before driving it hard on rough terrain.
Final Check: Tire Wear and a Test Drive
After completing your alignment, take the cart on a slow test drive and release the steering wheel briefly on a flat stretch to confirm it doesn't pull. Then check back on tire wear after the first few rides — even wear across the tread face means your toe is in good shape. Feathering or scalloping on one edge of the tread is a sign something is still off. Alignment on a lifted golf cart isn't a one-and-done task either; recheck it after the first few hundred miles, since new lift hardware can settle slightly as components seat themselves under load.