Battery cables don't get much attention until something goes wrong — and by the time they cause obvious trouble, they've usually been quietly robbing your cart of power for a while. Corroded, loose, or undersized cables create resistance in the circuit, which means heat, voltage drop, and sluggish performance. In serious cases, a bad cable connection can cause enough heat to melt insulation, damage terminals, or create a fire hazard. The good news: diagnosing cable problems is straightforward and doesn't require expensive tools.
Start With a Visual Inspection
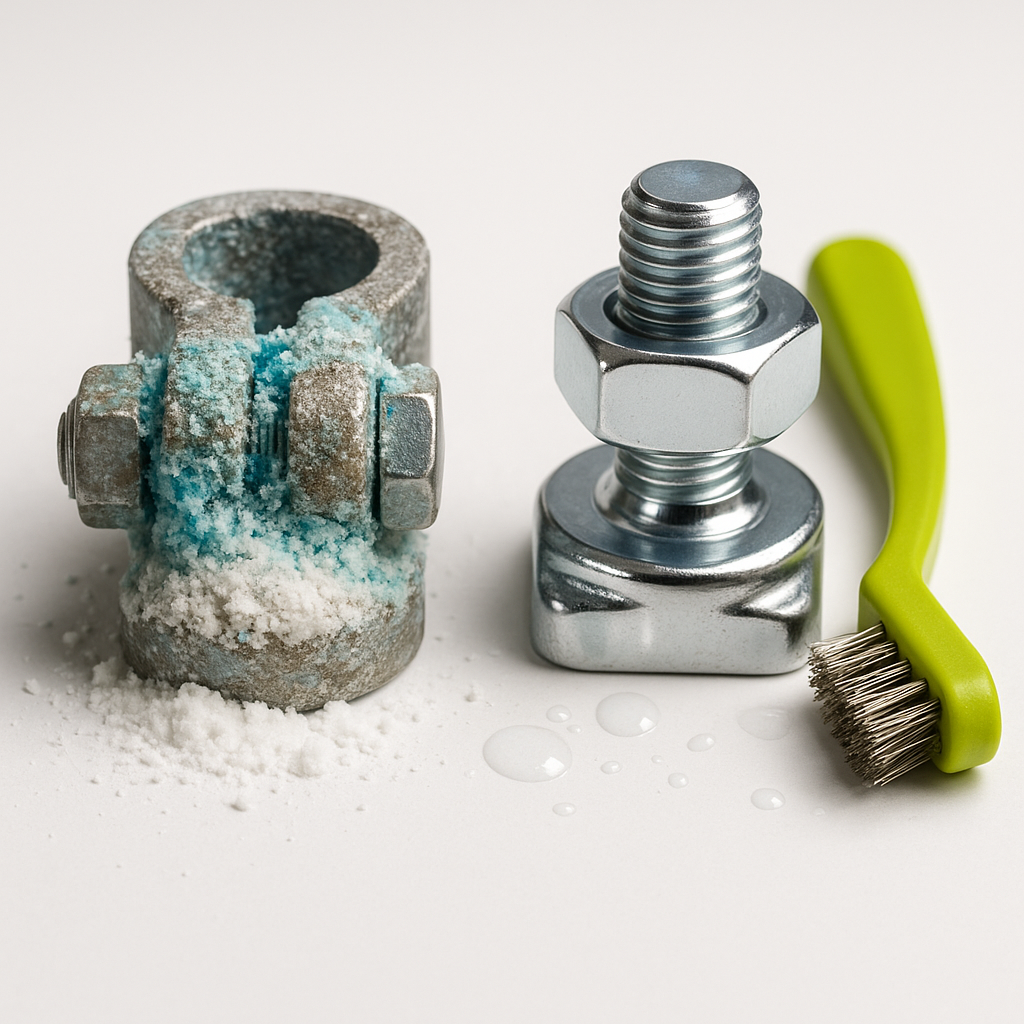
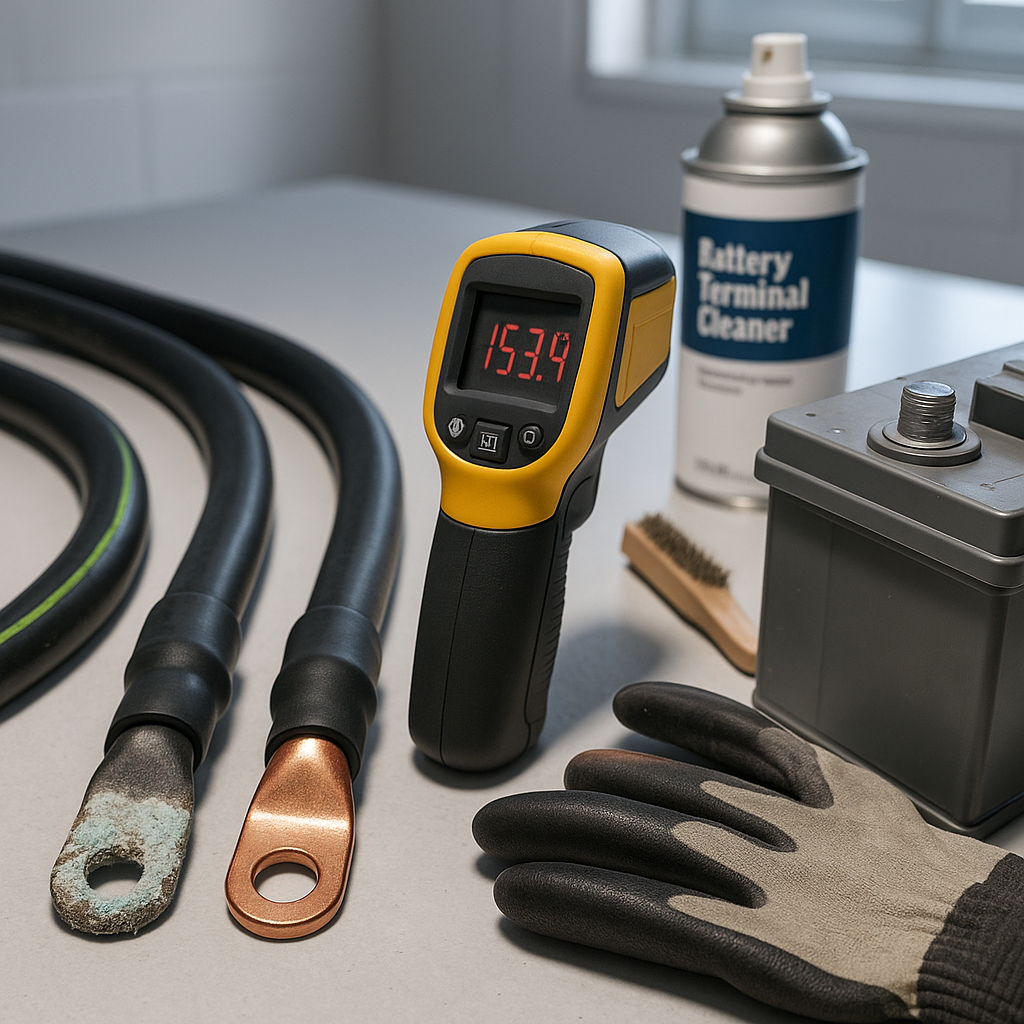
Pull out your battery compartment and look at every cable end and terminal connection. You're looking for white, blue, or greenish buildup around the terminals — that's corrosion, and it acts as an insulator rather than a conductor. Also check the cables themselves: look for cracked, brittle, or melted insulation, especially near the terminal ends where heat tends to concentrate. Any cable with darkened insulation near the connector is a red flag that excessive heat has passed through that connection. Don't just look at the top of the terminals — lift cables where you can and inspect underneath. Corrosion hides.
Check Every Connection for Tightness
Loose connections are just as problematic as corroded ones. A terminal that looks clean but isn't firmly seated on the battery post creates a high-resistance point that generates heat under load. With the cart off and keys removed, try to wiggle each cable end by hand. There should be zero movement. If a terminal rocks or lifts even slightly, it needs to be tightened down — and once you've retightened it, inspect the post and cable lug for damage or deformation that might prevent a solid contact surface. This check takes five minutes and catches a surprising number of problems.
Use a Multimeter to Find Voltage Drop
A voltage drop test tells you whether a connection that looks fine is actually conducting properly. Set your multimeter to DC voltage, then — with the cart under load (someone pressing the accelerator while the cart is held stationary, briefly) — probe across each individual connection: one lead on each side of a terminal joint. A healthy connection should show near-zero voltage drop. Any reading significantly above that across a single connection point indicates resistance at that joint. Work through the cable run from battery to controller systematically. This test finds problems that are invisible to the eye and is the most reliable way to confirm a bad cable or connection before replacing anything.
Inspect Cable Gauge and Condition Along the Full Run
Cables that are too small for the current they're carrying will run hot and degrade faster than properly sized cables. While you may not be able to change what's installed without a full replacement, you can spot cables that have been repaired with undersized wire, spliced incorrectly, or substituted with the wrong gauge. Look for any point where a cable appears noticeably thinner than the rest of the run, any splice joints wrapped in electrical tape, or any cable that seems shorter than it should be and is being pulled tight at the terminal — tension at a terminal speeds up failure. The full cable length should route cleanly without sharp bends or contact with metal edges that could abrade the insulation over time.
Check the Ground Cable and Frame Connections
Ground cable problems are frequently overlooked because people focus on the positive side of the circuit. A corroded or loose ground connection causes the same resistance and heat issues as a bad positive connection — and can produce some stranger symptoms, including erratic controller behavior or flickering lights in addition to power loss. Trace the ground cable from the battery pack to its connection point on the frame or motor, and inspect that chassis connection just as carefully as any battery terminal. Clean the contact surface if there's any rust or corrosion between the cable lug and the frame.
When to Replace Rather Than Clean
Cleaning corroded terminals with a wire brush and baking soda solution can restore a connection that's just accumulated surface buildup. But if the copper strands inside the cable are darkened, brittle, or have any green corrosion that's worked its way into the wire itself, cleaning won't fix it — the cable needs to come out. Same goes for any cable where the insulation has cracked through to the conductor, where a terminal has been crimped more than once, or where heat damage is visible anywhere along the run. Cables are a relatively inexpensive part of the electrical system compared to the components downstream. If there's any doubt about a cable's integrity, replace it.