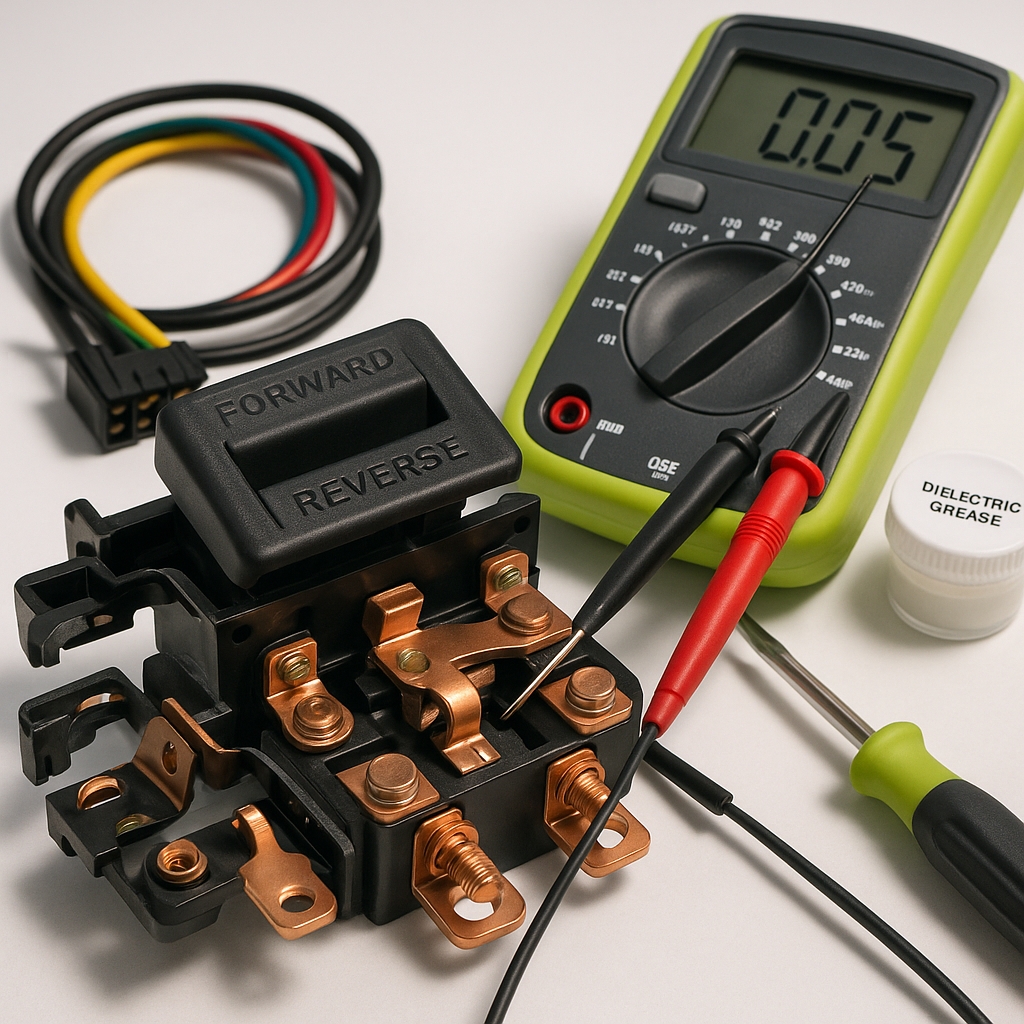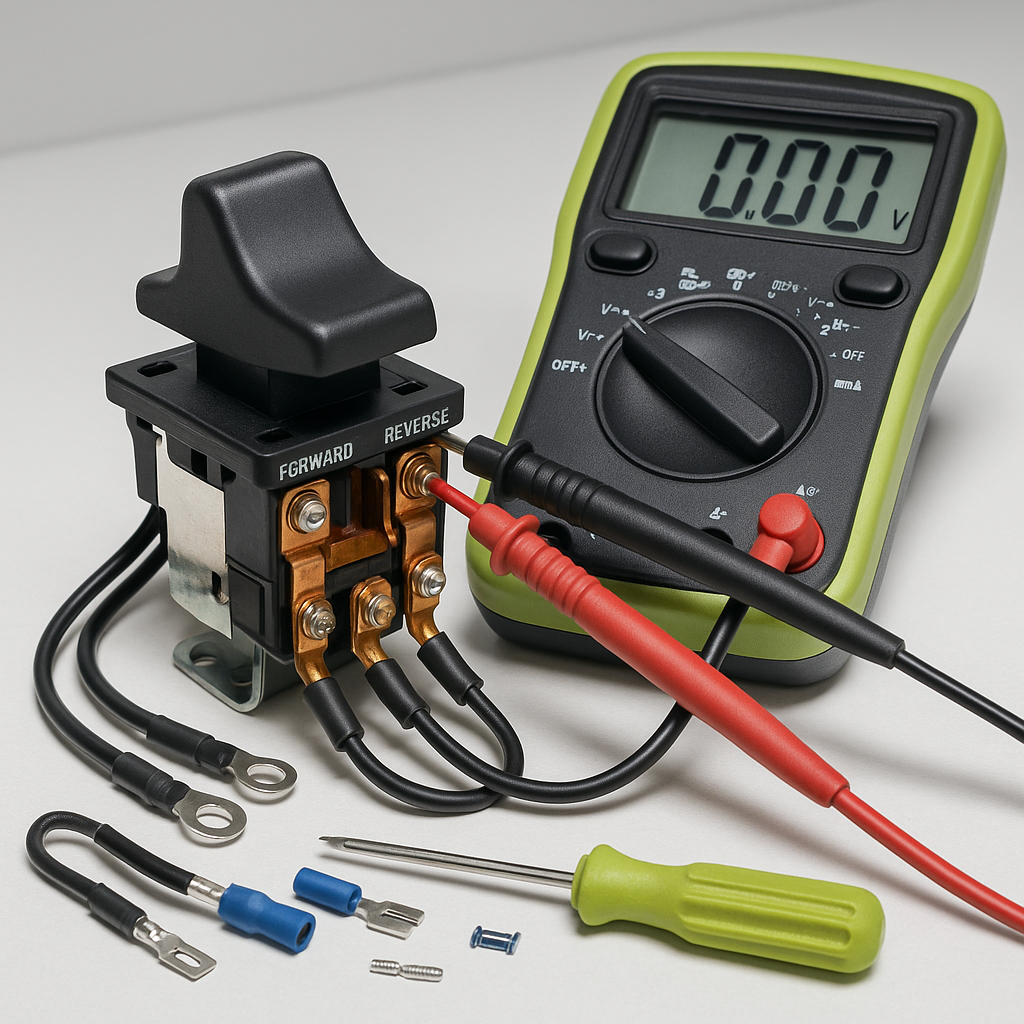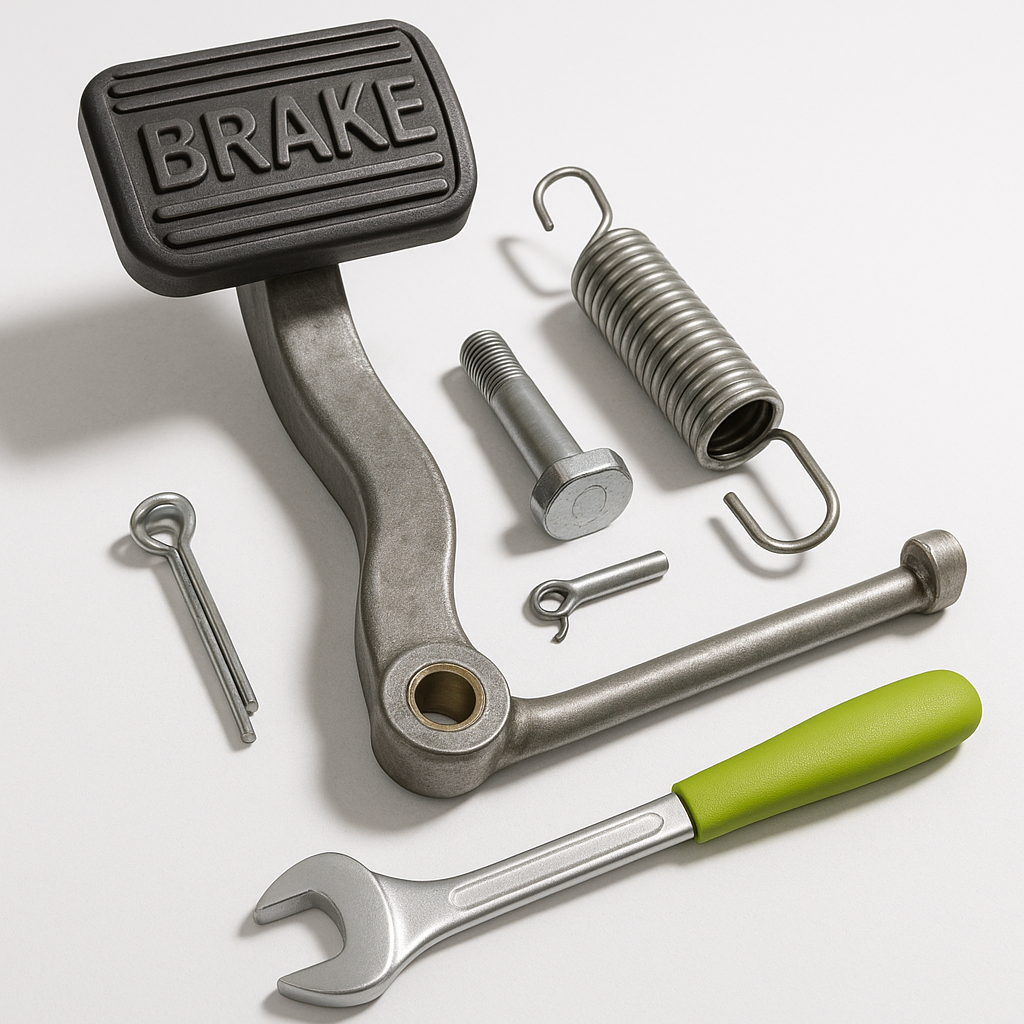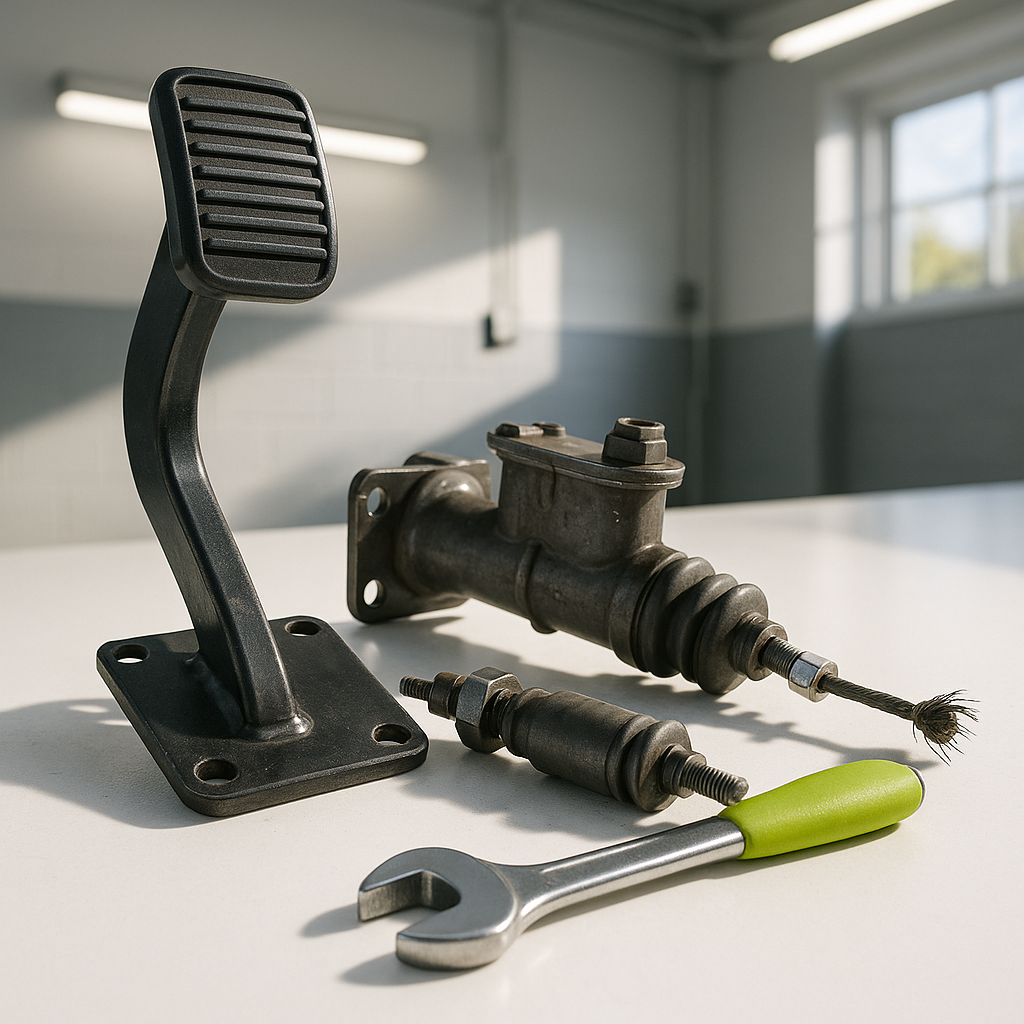
When you press your golf cart's brake pedal and it sinks toward the floor with little pushback, or you have to mash it down hard before anything happens, don't ignore it. This isn't a "keep an eye on it" situation — it's a safety issue that can mean the difference between stopping in time and not. The good news is that mechanical brake systems on most golf carts are relatively simple, and a methodical inspection will usually point you to the culprit quickly.
Understand What You're Working With
Most golf carts use a mechanical drum brake system, not hydraulic brakes like a car. That means there's no brake fluid to leak — instead, a cable or rod transfers pedal movement to the brake shoes inside each drum. This is actually helpful for diagnosis: a low, spongy pedal on a hydraulic system points to air or fluid loss, but on a cable-actuated system, the problem is almost always mechanical — something has stretched, slipped, worn out, or broken in the linkage between your foot and the drums. Knowing this narrows your search considerably.
Start With the Brake Cable and Linkage
Get the cart safely on a flat surface, set the parking brake if it still works at all, and chock the wheels before getting under or behind it. Trace the brake cable from the pedal all the way back to where it connects at each rear wheel. Look for obvious breaks, kinks, or fraying in the cable itself. Check the cable housing — if it's cracked or collapsed, the cable can't pull efficiently and you lose pedal travel to compression instead of actual braking force. Also inspect the clevis pins, clips, and any linkage rods in the system. A missing cotter pin or a worn clevis hole can allow the connection to slip enough that pedal movement doesn't translate into braking action.
Check Cable Adjustment
Brake cables stretch over time, especially if the cart sees frequent use or if the brakes have been running slightly out of adjustment for a while. Most golf cart brake systems have an adjustment point — typically at the equalizer bar, at the cable end near the wheel, or sometimes at the pedal itself. If the cable has stretched significantly, there may not be enough tension left to engage the shoes properly before the pedal bottoms out. Compare the current cable slack against what the adjustment hardware allows. If you're already at the end of the adjustment range, the cable has stretched beyond what adjustment alone can fix and needs replacement.
Inspect the Brake Shoes and Drums
Pull the rear wheels and drums if you haven't already. Worn-out brake shoes are one of the most common reasons a pedal travel increases dramatically — when the friction material wears thin, the shoes have to travel farther to contact the drum surface, which eats up pedal stroke before you get any real stopping force. Look at the lining thickness on each shoe. Also examine the inside surface of the drum for scoring, deep grooves, or glazing. A heavily scored drum reduces contact area and effective braking even with fresh shoes installed. If the drum is worn past serviceable limits, resurfacing or replacement is the right call.
Look at the Wheel Cylinders and Hardware (If Applicable)
Some older or higher-spec golf carts do use hydraulic wheel cylinders at the rear drums even with a mechanical pedal linkage. If your cart has this setup, a leaking or seized wheel cylinder can absolutely cause pedal problems — look for brake fluid residue around the backing plate or inside the drum. Seized cylinders won't push the shoes outward properly, causing late engagement and a pedal that feels low. Check that all the brake hardware — return springs, hold-down clips, and adjuster stars — is intact and in place. A missing or broken return spring causes shoes to drag and can wear unevenly in ways that affect pedal feel.
Test the Pedal Pivot and Mounting
Walk back up to the pedal itself. Check that the pedal arm pivots freely on its shaft and isn't binding. A bent pedal arm or a worn pivot bushing can cause inconsistent pedal travel. Also confirm that the pedal's return spring is still in place and functioning — without it, the pedal may not fully release between brake applications, which affects starting position and effective travel. Push the pedal by hand slowly and watch the full linkage move. The motion should be smooth and continuous from pedal to drum without any slack, binding, or slop in the middle.
When to Stop and Get Help
If you've inspected the cable, linkage, shoes, drums, and hardware and everything looks serviceable but the pedal is still low or ineffective, it's worth having a qualified technician look at the system before you drive the cart again. Brake problems are not the place to guess and hope — especially if you're on terrain with any slope at all. Replace worn cables, shoes, or hardware one area at a time so you can confirm what actually fixed the problem. And once everything is back in order, re-adjust the system and test braking at slow speed in a safe open area before returning the cart to normal use.