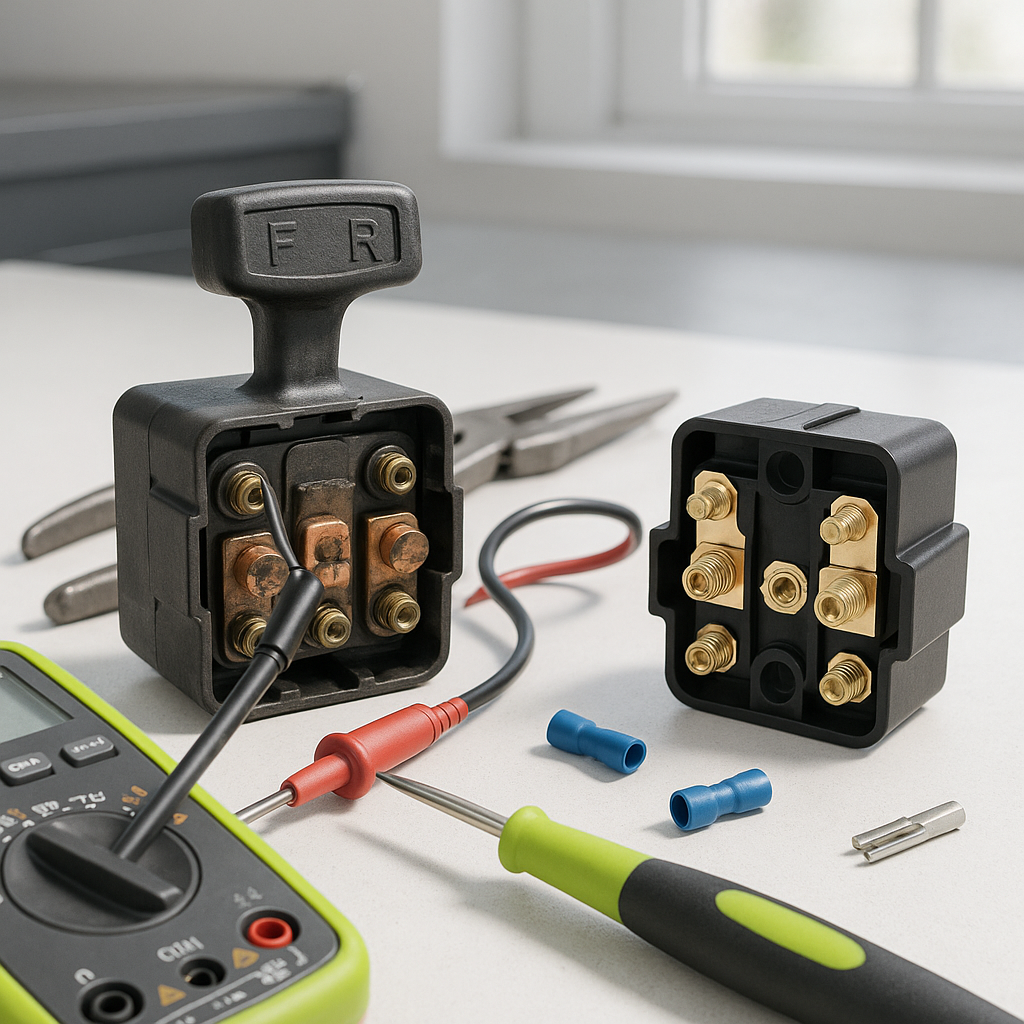
The forward/reverse switch — sometimes called the F&R switch or direction switch — is one of the most mechanically abused components on any golf cart. Every time you flip direction, it takes the full load of switching high-current circuits. Over time, the internal contacts burn, corrode, or simply wear out. When they do, the symptoms range from annoying to completely disabling: the cart may only go forward, only go in reverse, refuse to move at all, or behave erratically depending on how the switch is held. The good news is that diagnosing and replacing this switch is one of the more approachable DIY jobs on a golf cart — no special tools required, just patience and basic electrical caution.
Understanding What the F&R Switch Actually Does
On electric golf carts, the forward/reverse switch controls the polarity of current flowing to the motor or, on newer carts, sends a directional signal to the controller. On older series-wound motor setups, flipping the switch physically reverses the field winding connections, which changes the direction the motor spins. On newer carts with solid-state controllers, the switch is more of a signal switch, telling the controller which direction the driver has selected. Either way, the switch sits in a high-wear location — typically on the dashboard or near the accelerator — and gets toggled constantly. The contacts inside are rated for a certain number of cycles, and eventually they fail.
Symptoms of a Bad Forward/Reverse Switch
The most obvious sign is directional loss — the cart moves in one direction but not the other, or not at all. But the symptoms can be subtler. You might notice the cart hesitates before moving, or it only works when you hold the switch firmly in a particular position (a classic sign of a failing contact). On some setups, a bad switch can trigger a fault code on the controller or cause the solenoid to click repeatedly without the cart actually moving. Intermittent behavior is often the first clue — if the problem comes and goes based on how you position the switch or whether you wiggle it, that's a strong indicator the internal contacts are the culprit.
How to Diagnose the Switch Before You Replace It
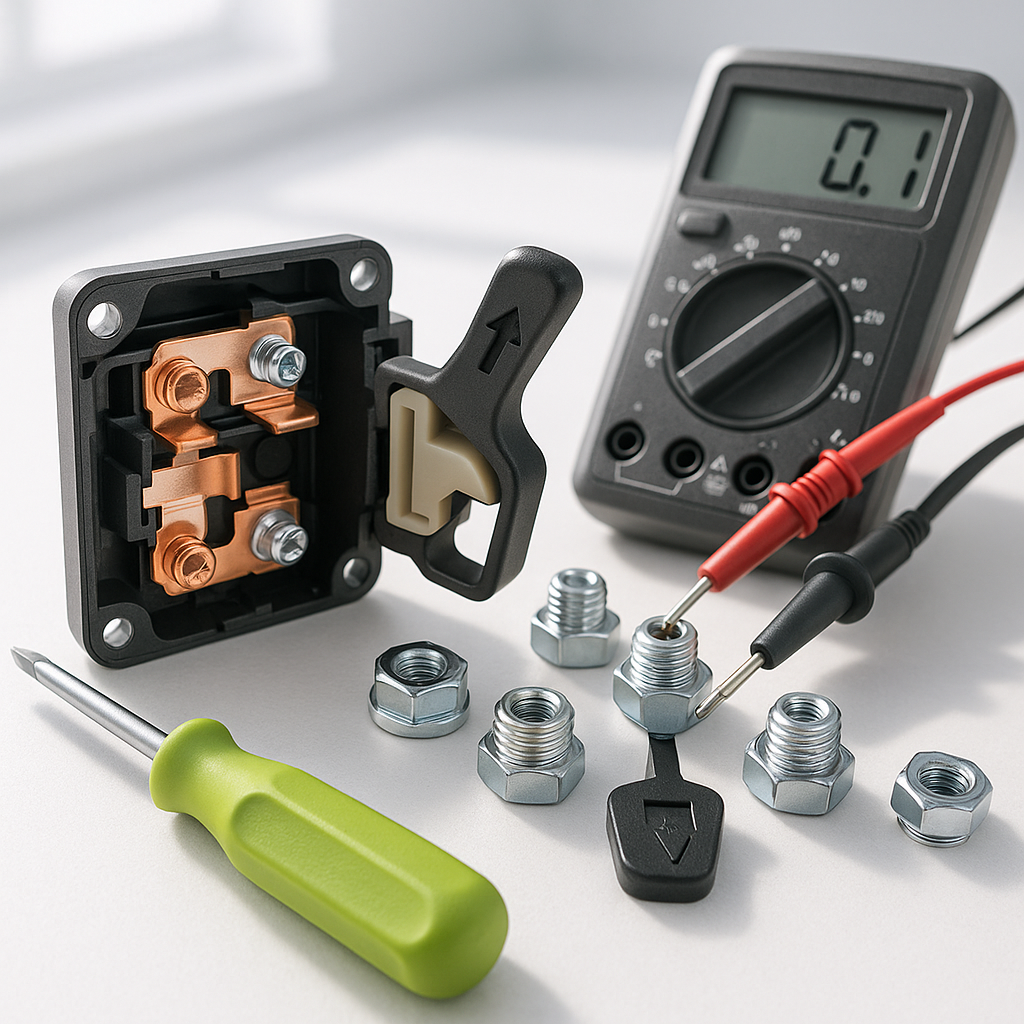
Before ordering a replacement, confirm the switch is actually the problem. Start by disconnecting the battery pack completely — on electric carts this is non-negotiable before touching any wiring. With the batteries disconnected, locate the F&R switch and identify its terminals. Most switches have clearly labeled terminals for common, forward, and reverse connections. Using a basic multimeter set to continuity or resistance, test each direction position: with the switch in forward, you should have continuity across the forward terminals; in reverse, continuity across the reverse terminals. If you get no continuity in one or both positions, or if the reading is erratic, the switch has failed. Also visually inspect the terminals for heavy arcing, burning, or corrosion — these are visible signs of a worn-out switch.
Choosing a Replacement Switch
Forward/reverse switches are not universally interchangeable, even though many look similar. The key factors are the number of terminals, the current rating, and whether your cart uses a mechanical or signal-type switch. EZGO, Club Car, and Yamaha carts each have their own configurations, and even within a brand, different model years may use different switches. Check your cart's model and year against the switch specifications before purchasing. If you're unsure, photograph your existing switch and its wiring before removal — this makes it much easier to match the replacement and reconnect everything correctly.
Replacing the Switch: General Process
Once you have the correct replacement, start by fully disconnecting the battery pack and waiting a few minutes for any residual charge in capacitors to dissipate. Take clear photos of the existing wiring — label each wire with masking tape if needed, noting which terminal it connects to. Remove the switch from its mounting location, which typically involves unscrewing a panel or dash section and unbolting or unclipping the switch body. Disconnect the wires one at a time, transferring them to the matching terminals on the new switch. Avoid leaving any terminals loose or reversed — on mechanical switches especially, a crossed wire can cause the cart to run backward when you select forward, which is a serious safety hazard. Once wired, remount the switch, reconnect your batteries, and test both directions in a safe open area before returning the cart to normal use.
Safety Notes Worth Taking Seriously
Golf cart electrical systems carry enough current to cause serious burns or start a fire if wires are shorted. Always disconnect the full battery pack — not just the main fuse — before working on the switch. Keep metal tools away from exposed terminals. If your cart has a tow/run switch, set it to tow mode before working. And never test the switch with someone in the cart's path — run your initial directional test with the cart on flat ground, in open space, and be ready for it to move immediately when you engage the accelerator. A simple swap done correctly should leave you with clean directional response and no fault codes. Done carelessly, it can leave you worse off than when you started.