If your golf cart moves in one direction but not the other, or doesn't respond at all when you flip the direction switch, the forward/reverse (F&R) switch is one of the first things to check. It's a mechanical switch that takes a lot of abuse over time — repeated flipping, moisture, vibration, and corrosion all wear it down. The good news is that diagnosing it is straightforward, and replacing it is a job most cart owners can handle with basic tools and some patience.
Understand What the F&R Switch Actually Does
The forward/reverse switch does more than just tell the cart which way to go. On electric carts, it physically reverses the polarity of current flowing to the motor, which changes the direction of rotation. On gas carts with electric reverse, it controls a solenoid or relay system. Because the switch handles real electrical load every time it's used, the internal contacts wear down and eventually fail to make solid contact. A partially failed switch can cause sluggish response, intermittent movement, or complete loss of motion in one or both directions.
Safety First: Disconnect Power Before You Touch Anything
Before you open up the switch or probe any wiring, disconnect your battery pack or pull the main battery cable. On electric carts, there's enough voltage in the system to cause serious injury if you short a terminal. If your cart has a key switch, turn it off and remove the key. Some techs also engage the parking brake and chock the wheels as a habit — it's worth doing.
How to Diagnose the Switch Before Replacing It
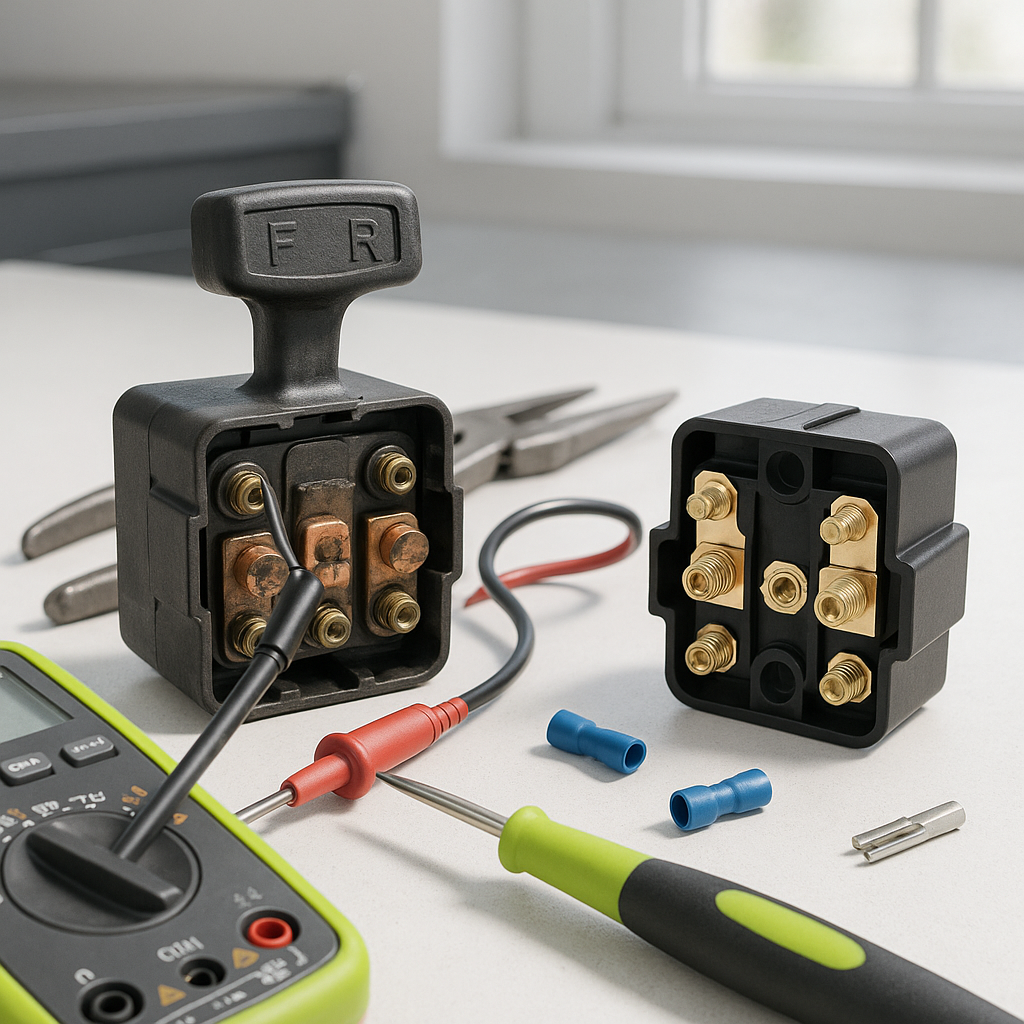
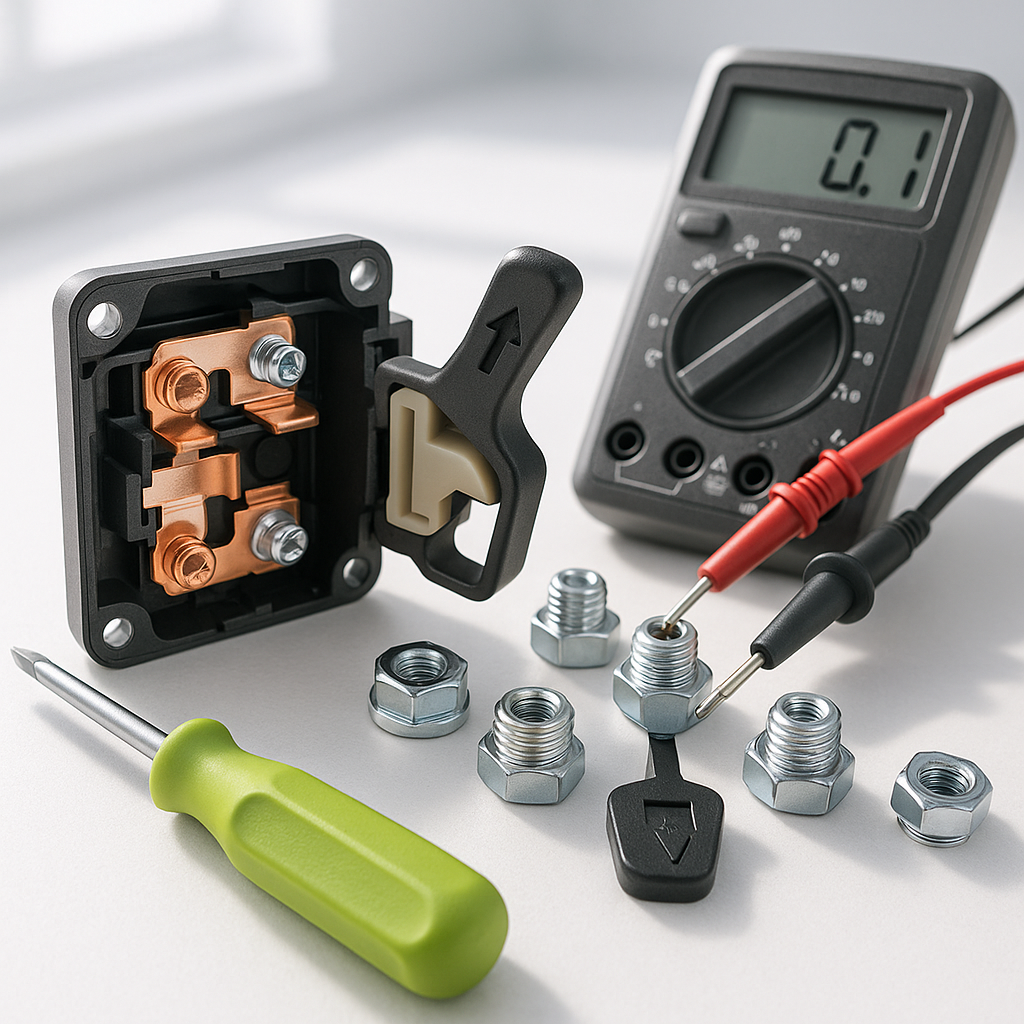
Start with a visual inspection. Remove the switch from its housing or at least expose its terminals. Look for obvious corrosion, burned contacts, or melted plastic around the terminals — any of those are signs the switch has failed. Next, use a multimeter set to continuity or resistance mode. With the switch in the forward position, there should be continuity across the correct terminal pairs; in reverse, a different set should show continuity. Consult the wiring diagram for your specific cart model to know which terminals correspond to which position. If a terminal pair shows no continuity when it should, or shows continuity when it shouldn't, the switch is faulty. If the switch tests clean mechanically, move on to inspecting the wiring connected to it — corroded or loose spade connectors can mimic a bad switch.
Removing the Old Switch
Most F&R switches are mounted near the driver's side floorboard area or under the dash, depending on the cart model. After disconnecting battery power, photograph or sketch the wiring layout before removing any connectors — this is the step people skip and then regret. Label your wires with masking tape if needed. Disconnect each terminal carefully, then remove the mounting hardware holding the switch in place. Some switches use a mounting bracket, others thread directly into a panel. Keep all hardware organized.
Installing the Replacement Switch
When sourcing a replacement, make sure it matches your cart's make, model, and year — forward/reverse switches are not universally interchangeable even if they look similar, because the terminal configuration and number of positions can differ between manufacturers and voltage systems. Mount the new switch in the same orientation as the old one. Reconnect each wire exactly as it was before — this is where your photo or diagram saves you. Once everything is connected, reconnect the battery and test the switch through its full range of motion before buttoning anything back up. The cart should move smoothly in both directions with no hesitation.
When the Switch Isn't the Problem
If you've replaced the F&R switch and the problem persists, the issue is likely downstream. On electric carts, a failed solenoid, a bad motor, or a controller problem can all produce similar symptoms. A faulty micro-switch on the accelerator pedal can also prevent movement in both directions. Systematically work through each component in the circuit rather than replacing parts at random — a basic wiring diagram for your cart model is an invaluable resource at this stage.
Maintenance Tips to Extend Switch Life
A little preventive care goes a long way. Keep the switch area dry and clean — moisture is the fastest way to corrode contacts. Periodically inspect the terminals for green or white buildup and clean them with an electrical contact cleaner. Avoid forcing the switch handle if it feels stiff; that's a sign corrosion or wear is already developing inside. Some cart owners apply a small amount of dielectric grease around the housing to keep moisture out. Treat the switch gently and it can last for years without issue.