Brake adjustment is one of the most overlooked maintenance tasks on a golf cart, and it's one of the most important. Unlike car brakes, golf cart drum brake systems rely on mechanical linkages — cables, adjusters, and springs — that stretch and settle over time. The result is a brake pedal that travels too far before engaging, uneven braking from side to side, or a cart that just doesn't stop the way it should. The good news: adjustment is straightforward, requires basic tools, and doesn't require removing the wheels in most cases.
Understanding How Golf Cart Brakes Work
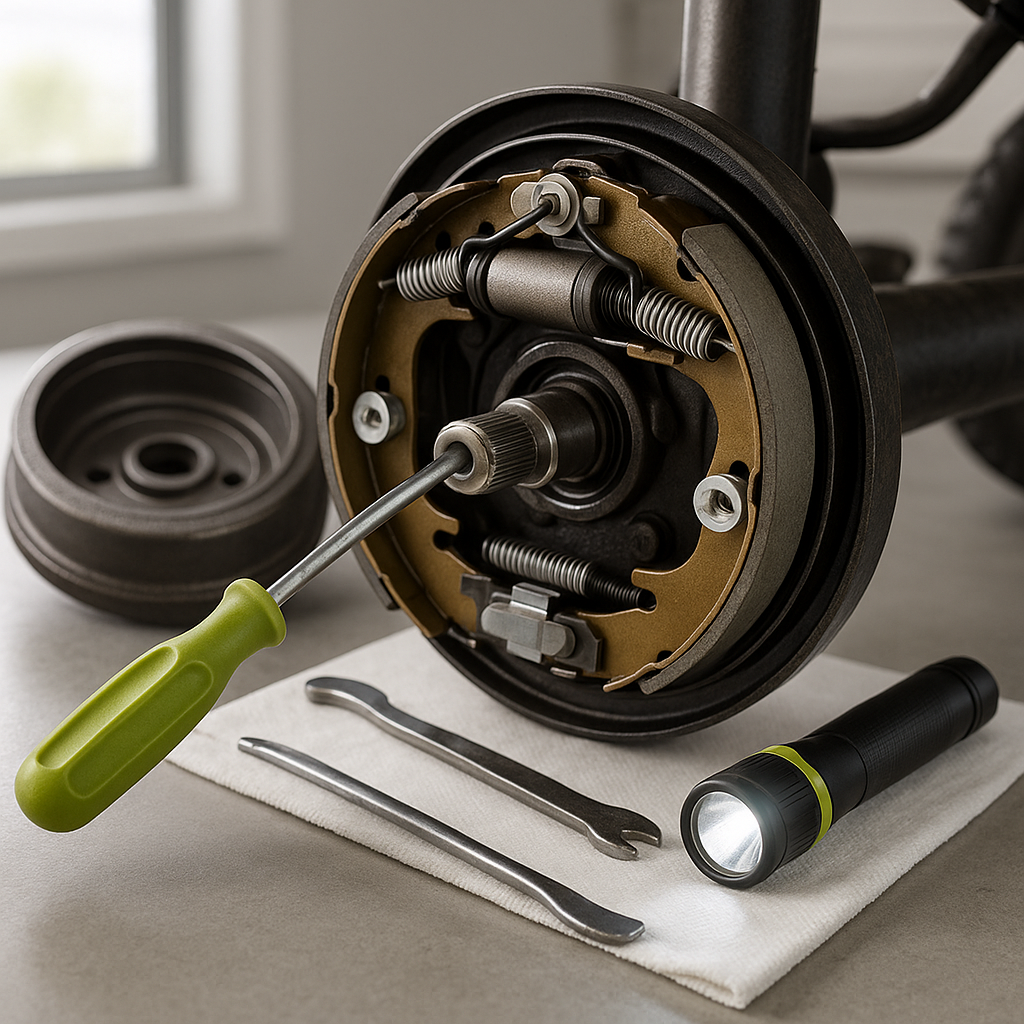
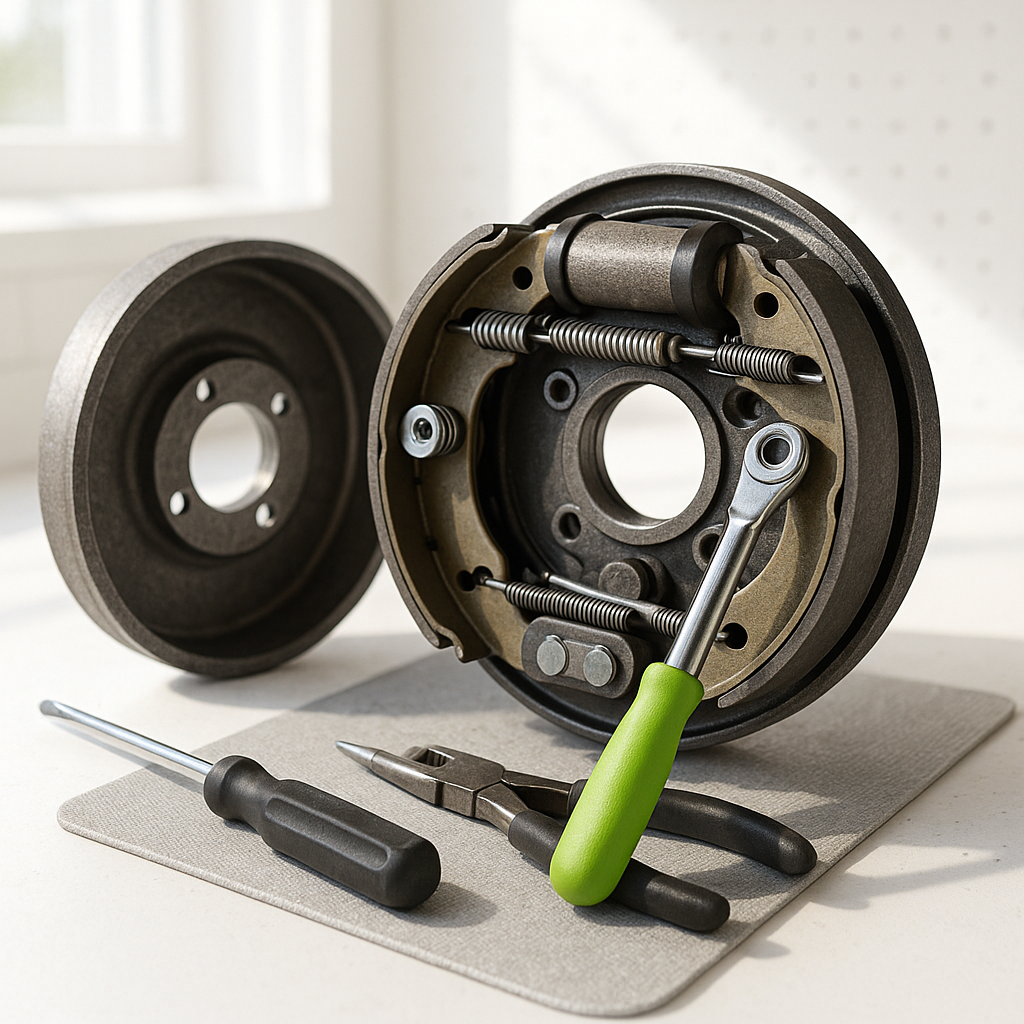
Most golf carts use a rear drum brake system. When you press the brake pedal, a cable or rod pulls on a lever at the rear axle, which actuates the brake shoes inside the drum. The shoes press outward against the drum's inner surface, creating friction that slows the cart. The adjustment you're making controls how much free play exists in the system before the shoes contact the drum — too much free play and braking is delayed or weak; too little and the brakes can drag, causing premature wear and heat buildup. Some carts also have a separate parking brake adjustment, which is often a secondary setting on the same cable system.
Before You Start: Safety and Inspection
Park on a flat surface and chock the front wheels before you get under or behind the cart. If your cart is electric, put it in tow/maintenance mode to prevent accidental engagement of the motor. Before adjusting anything, do a quick visual inspection: look at the brake cable for fraying, kinking, or rust at the housing ends. Check that the cable is properly seated in all its guides and brackets. Look at the equalizer bar — the crosspiece that splits brake force to both rear wheels — to make sure it's sitting level. If the cable is frayed or the equalizer is bent, adjustment won't fix the underlying problem and replacement is the right next step.
Adjusting the Rear Brakes
The primary adjustment point on most golf carts is at the rear axle, where the brake cable attaches to the actuating lever. There's typically a threaded rod end or an adjuster nut at this connection point. Loosen the jam nut (the locking nut that holds the adjustment in place), then turn the adjuster to shorten or lengthen the effective cable length. Shortening the cable — pulling more tension into the system — engages the brakes with less pedal travel. Make small adjustments: a quarter to a half turn at a time, then test. You're aiming for firm pedal engagement within the first half to two-thirds of total pedal travel, with no brake drag when the pedal is fully released. Once you've found the right position, hold the adjuster in place and re-tighten the jam nut firmly against it.
Checking for Even Engagement
After adjusting, physically spin each rear wheel by hand with the brakes fully released. Both wheels should spin freely with similar resistance. If one drags noticeably more than the other, the equalizer bar may be off-center, or one side of the brake hardware may be worn or sticking. Center the equalizer if it's shifted, and address any sticky or binding shoes before finishing. Even, balanced braking is what you're after — a cart that pulls to one side under braking is a cart that's going to handle unpredictably when you need it most.
Parking Brake Adjustment
If your cart has a dedicated parking brake lever, it typically works off the same cable system but has its own adjustment point — often a nut on the lever itself or a secondary adjuster somewhere along the cable run. The parking brake should hold the cart on a slight grade without requiring you to yank the lever to its absolute limit. If you have to pull it nearly all the way to get the cart to stay put, take up some slack at the adjustment point. If it holds the cart but the lever only moves an inch or two before locking, back the adjustment off slightly so there's some mechanical range left in the lever travel.
Testing and Final Checks
Once everything is adjusted and jam nuts are tightened, take the cart for a slow test in a safe area. Apply the brakes firmly from a walking pace — the cart should stop promptly, in a straight line, without the pedal going all the way to the floor. Then test the parking brake on a gentle slope. If the pedal still feels spongy after proper adjustment, the issue is likely worn brake shoes or a stretched cable that's reached the end of its usable adjustment range — both are replacement jobs, not adjustment fixes. Brake adjustment is a tune, not a repair. It works best when the underlying components are still in serviceable condition.
Plan to check your brake adjustment at least once a season, or any time you notice changes in pedal feel. Cables stretch gradually, and what felt fine in the spring may be noticeably soft by fall. It's a five-minute job when you stay on top of it — and the kind of thing you'll be glad you didn't skip the first time you need to stop in a hurry.