Drum brakes don't announce when they need attention — they just gradually stop working as well as they should. A pedal that travels too far before biting, a cart that pulls to one side, or shoes that drag and create heat are all signs that your drum brakes are out of adjustment. The good news is that adjusting them is a straightforward job you can handle at home with basic tools. It just requires patience and a systematic approach.
How Drum Brake Adjustment Works
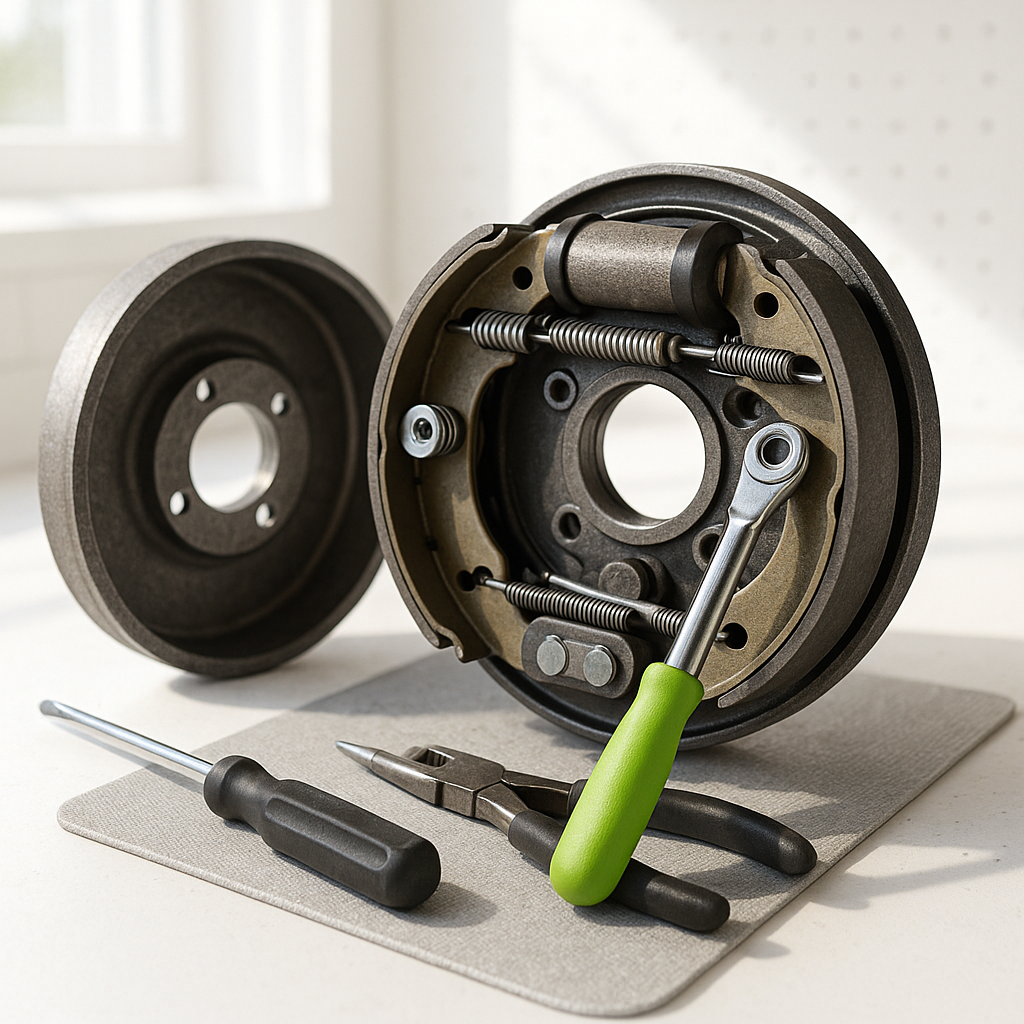
Inside each brake drum is a set of curved brake shoes lined with friction material. These shoes press outward against the inside of the drum when you apply the brakes. Over time, as the lining wears down, the gap between the shoes and drum increases — which is why the pedal or cable has to travel farther to engage them. Adjustment closes that gap back up to the correct clearance. Most golf cart drum brake assemblies use a star wheel adjuster (also called an adjuster screw) that expands or contracts to move the shoes closer to or farther from the drum surface.
Before You Start: Safety First
Always chock the wheels on the end of the cart you're NOT working on before lifting anything. Work on a flat, firm surface. If you're working on a gas cart, make sure the engine is off and cooled down. On an electric cart, disconnect the main battery connection or turn the key off and remove it. Never work under a cart supported only by a floor jack — use jack stands once the cart is lifted.
Step 1: Remove the Wheel and Drum
Loosen the lug nuts before lifting the cart, then raise the rear (or front, depending on your brake configuration) and support it securely on jack stands. Remove the wheel. The brake drum typically slides or pulls straight off the hub — on some carts it may be held by a retaining screw or require light tapping with a rubber mallet to break it free. If the drum is difficult to remove, back off the adjuster slightly first so the shoes aren't holding it in place.
Step 2: Inspect Before You Adjust
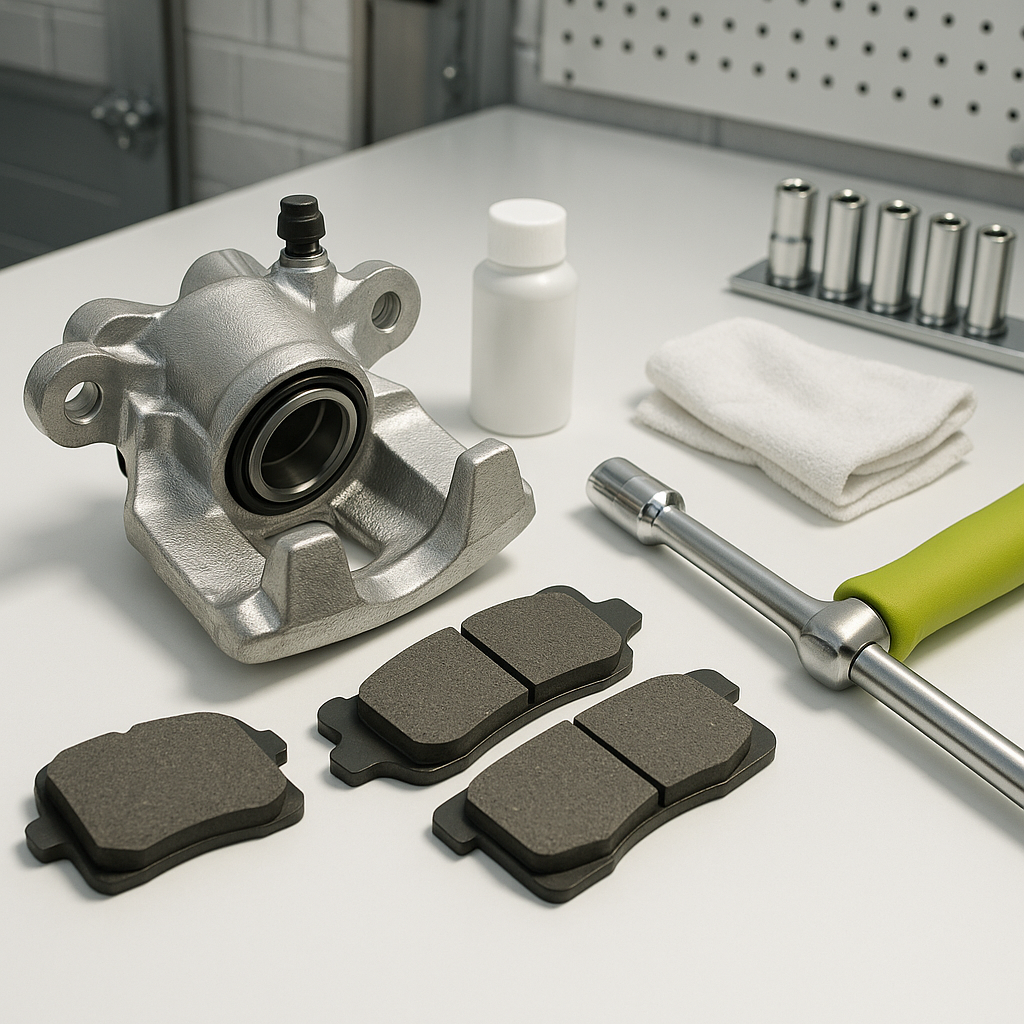
With the drum off, take a few minutes to look at the overall condition of the brake assembly. Check the lining thickness on the shoes — if the friction material is worn close to the metal backing plate, adjustment alone won't fix the problem and you'll need to replace the shoes. Look for cracking, glazing, or contamination from grease or brake fluid. Spin the adjuster star wheel by hand to confirm it moves freely — a corroded or frozen adjuster should be cleaned or replaced before you attempt to set the gap. Also check the wheel cylinder (on hydraulic systems) for any signs of leaking.
Step 3: Adjust the Star Wheel
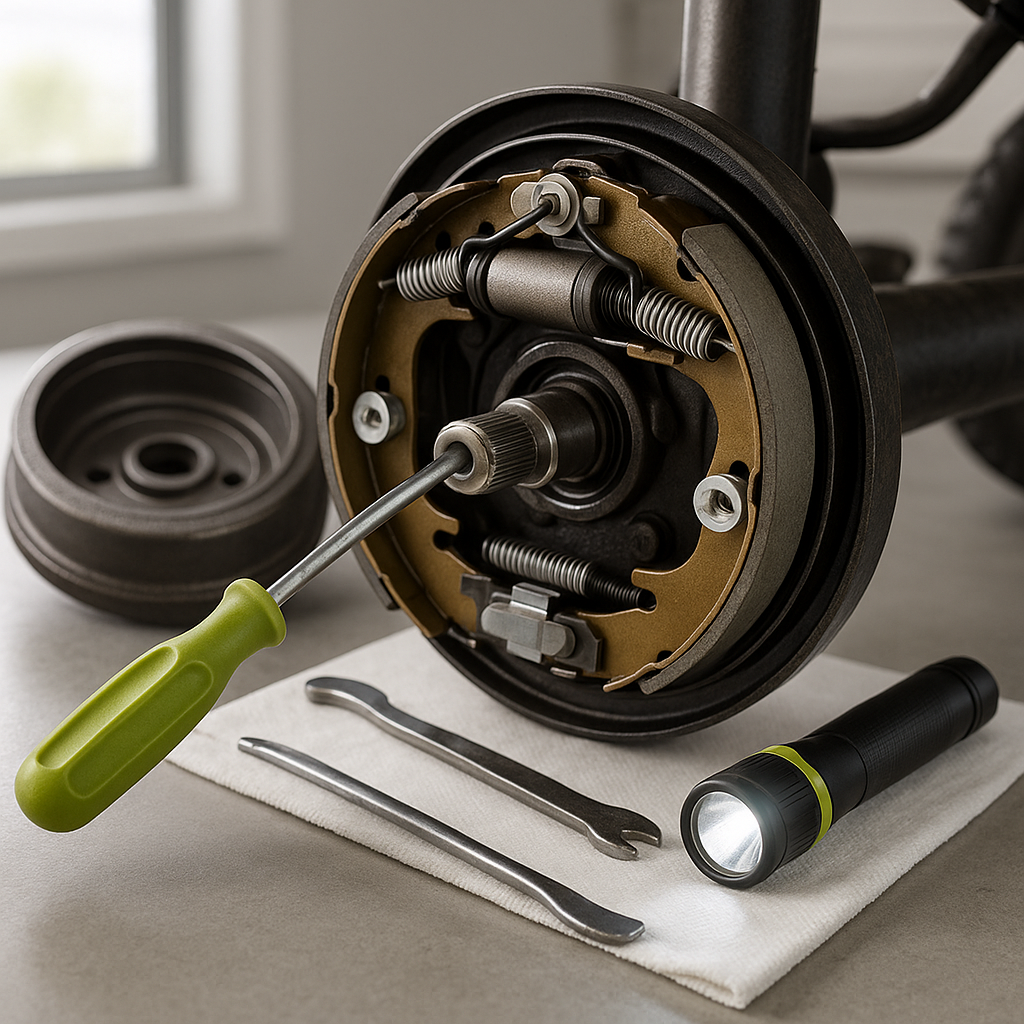
Reinstall the drum loosely over the hub so it can rotate freely. Reach through the adjuster access slot — usually a small rubber plug or opening in the brake backing plate — with a brake spoon or flathead screwdriver. Turn the star wheel to expand the shoes outward until you can feel the drum starting to drag as you rotate it by hand. Then back the adjuster off in small increments until the drum spins freely with only a very slight, even drag. The goal is zero to minimal clearance without binding. Repeat this process on the opposite side of the axle, matching the adjustment as closely as possible so braking effort is equal on both sides.
Step 4: Reinstall, Test, and Fine-Tune
Once adjusted, fully reinstall the drum and wheel, torque the lug nuts in a star pattern to the appropriate specification for your cart, and lower it off the stands. Before driving, pump the brake pedal several times to seat the shoes — you may notice the pedal firms up after a few pumps, which is normal. Then do a slow, controlled brake test in a safe area. If the cart pulls to one side, the brakes are uneven and you'll need to revisit the adjustment on the pulling side. If the wheels lock up too aggressively or you smell heat, the shoes are adjusted too tight and need to be backed off slightly.
How Often Should You Adjust Drum Brakes?
There's no universal mileage or hour interval — it depends on how much you use the cart, what terrain you cover, and how aggressively you brake. A good rule of thumb is to check brake feel every season and inspect the adjustment any time you notice pedal travel increasing, dragging sounds, or uneven braking. Carts used on hilly terrain or for utility work tend to need more frequent attention than those used strictly on flat courses. Building a quick brake check into your seasonal maintenance routine is the simplest way to stay ahead of problems.