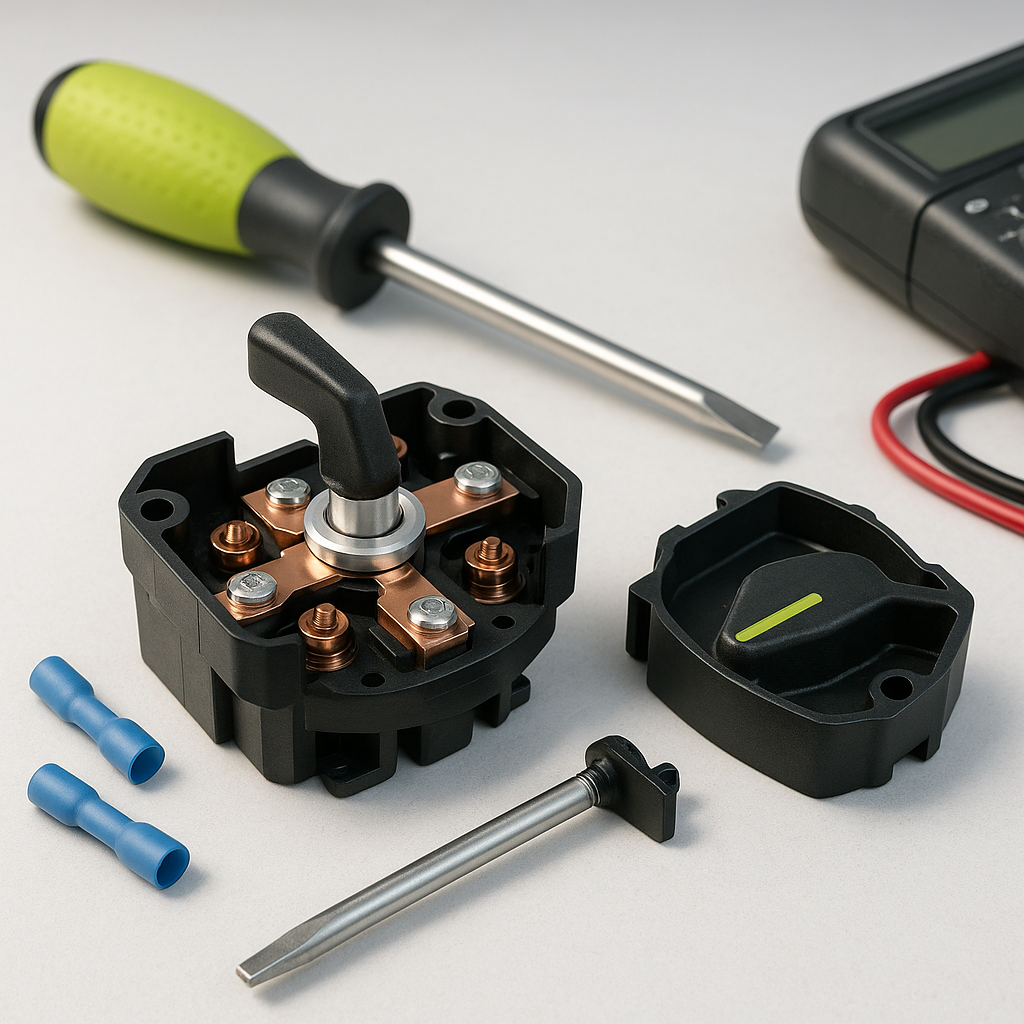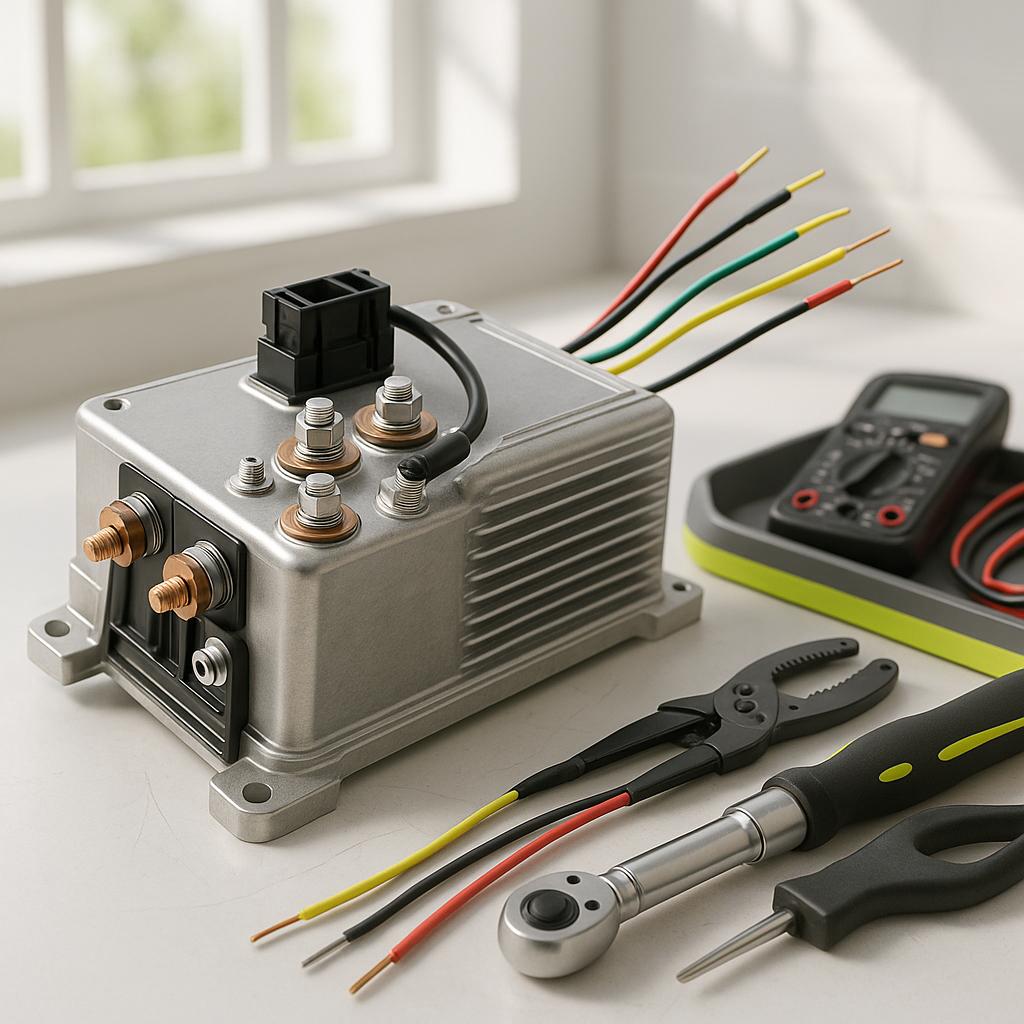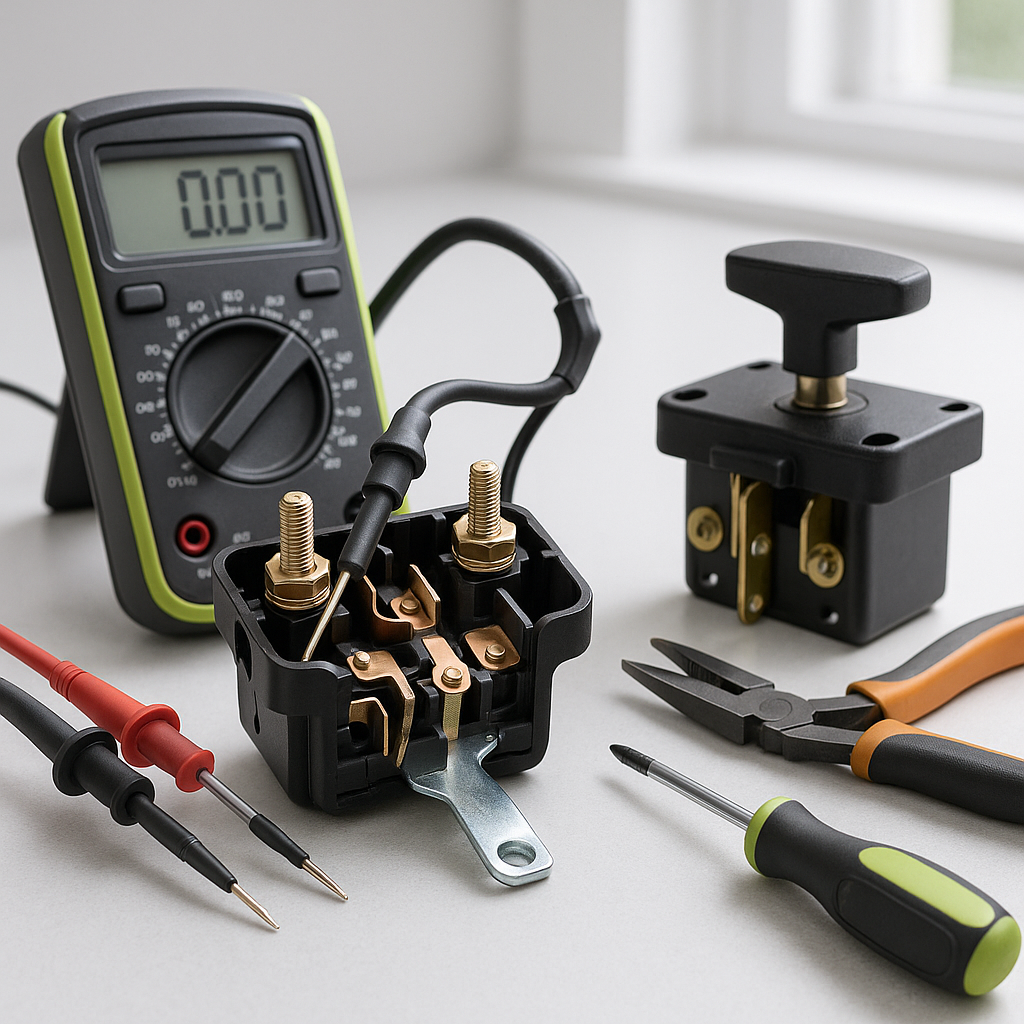
The forward/reverse switch (sometimes called the F&R switch or direction switch) is one of the most overlooked components on a golf cart, yet it's one of the first things that fails when a cart starts behaving strangely. If your cart won't move in one or both directions, runs sluggishly, or throws an unexpected jolt when you switch directions, don't immediately assume the motor or controller is toast. The F&R switch is a simpler, cheaper fix — and it's worth ruling out first.
How the Forward/Reverse Switch Works
On electric golf carts, the F&R switch physically reverses the polarity of current flowing to the motor, which is what changes the direction of rotation. It's typically a multi-terminal rotary or toggle switch mounted near the floorboard or under the dash. On older or simpler carts, it does this job mechanically through internal contacts. On newer carts, the switch sends a signal to the controller, which handles the actual direction change electronically. Either way, the switch sees a lot of use and its internal contacts wear out, corrode, or burn over time.
Symptoms of a Failing F&R Switch
Common signs include: the cart moves in one direction but not the other; you hear the solenoid click but the cart doesn't respond; the cart hesitates or lurches when changing directions; or the cart works intermittently and seems to "come back" after wiggling the switch handle. Burned or corroded contacts can also cause arcing, which you might smell or see as scorch marks around the switch housing. Any of these warrant a closer look before you start replacing expensive drivetrain parts.
How to Test the F&R Switch
Start with basic safety: put the cart on a flat surface, chock the wheels, and disconnect the main battery pack before poking around. Once you've located the switch and traced its wiring, use a multimeter set to continuity or resistance mode. With the switch in the forward position, test across the terminal pairs that should be closed according to your cart's wiring diagram — you should see continuity (near-zero resistance). Switch to reverse and verify that a different set of terminals closes. If you get no continuity in one position, high resistance in both, or inconsistent readings when you wiggle the switch, the switch itself is the problem. A visual inspection for burned terminals, melted plastic, or corroded contacts can also tell you a lot without any tools at all.
Replacing the Switch: General Process
Before you disconnect anything, take clear photos of the existing wiring from multiple angles — this is your insurance policy. F&R switches typically have four to six terminals, and getting them back in the wrong order will cause the cart to run backward when you want forward, or worse. Label each wire with tape and a marker as you remove it. Unscrew or unclip the old switch from its mounting bracket, noting how it's oriented. Install the new switch in the same orientation, reconnect the wires to the matching terminals on the new switch, and secure the mounting hardware snugly. Avoid overtightening terminals, as the tab connectors on these switches can crack or strip.
Before You Button Everything Back Up
With the wiring reconnected but before closing up the cart, do a quick sanity check: reconnect the batteries, keep the cart on a safe, open surface, and test both directions at low speed. If the cart goes the wrong way when you select forward, two of the motor field wires are swapped — swap them and retest. Check that the switch handle moves cleanly through its range of motion without binding. If it feels sloppy or doesn't click into position positively, the mounting or the switch itself may be the issue. Once everything checks out, reinstall any panels or floor covers you removed.
Maintenance Tips to Extend Switch Life
F&R switches fail faster when they're exposed to moisture, dirt, and vibration without protection. If your cart sees wet or muddy conditions regularly, a simple splash guard or even a rubber boot around the switch housing can significantly extend its life. Periodically inspect the switch terminals for greenish corrosion and clean them with electrical contact cleaner if needed. Avoid forcing the switch handle — if it feels stiff or grinding, that's a sign the contacts inside are wearing, and addressing it early is cheaper than waiting until it fails completely mid-round.
Replacing a forward/reverse switch is one of the more approachable electrical jobs on a golf cart — it doesn't require special tools, the parts are generally affordable, and the job is reversible if you've documented your wiring carefully. When a cart stops moving in one direction, checking the F&R switch before chasing bigger problems can save you real time and money.