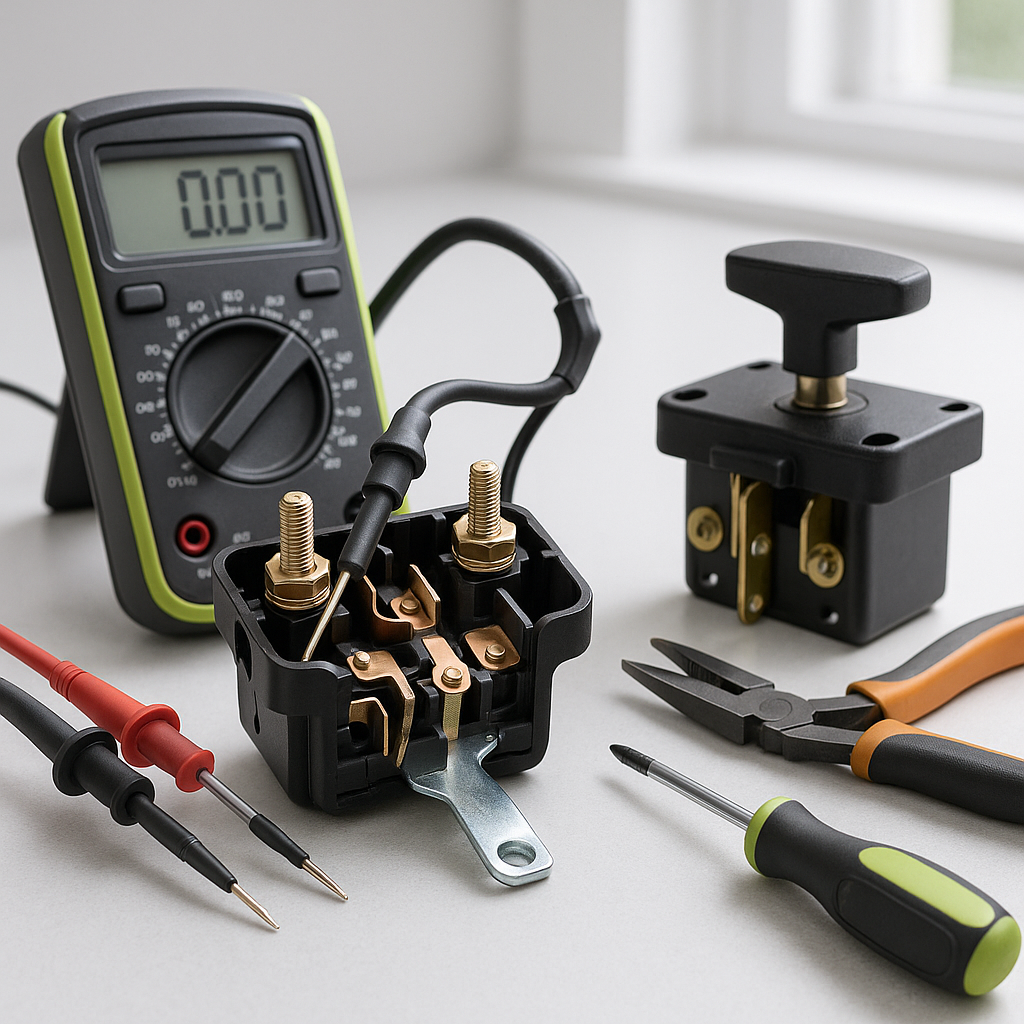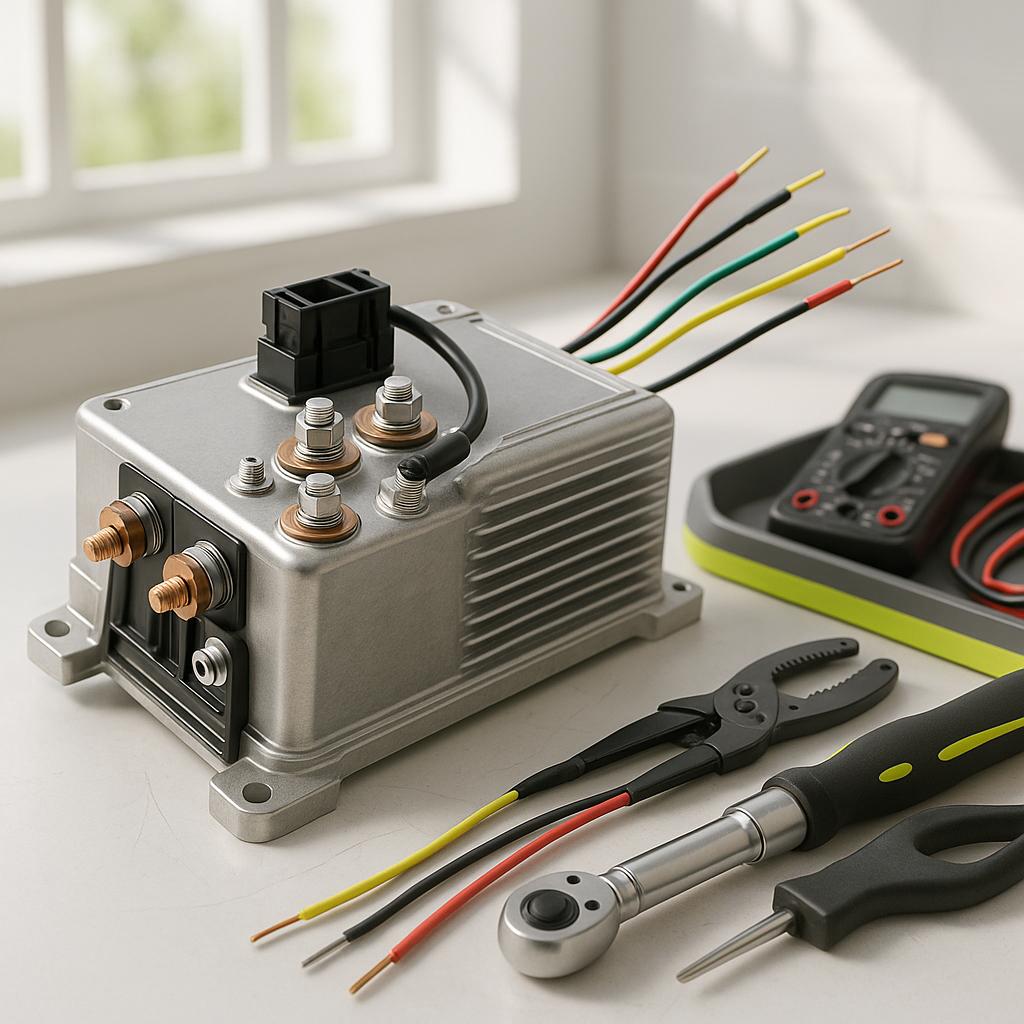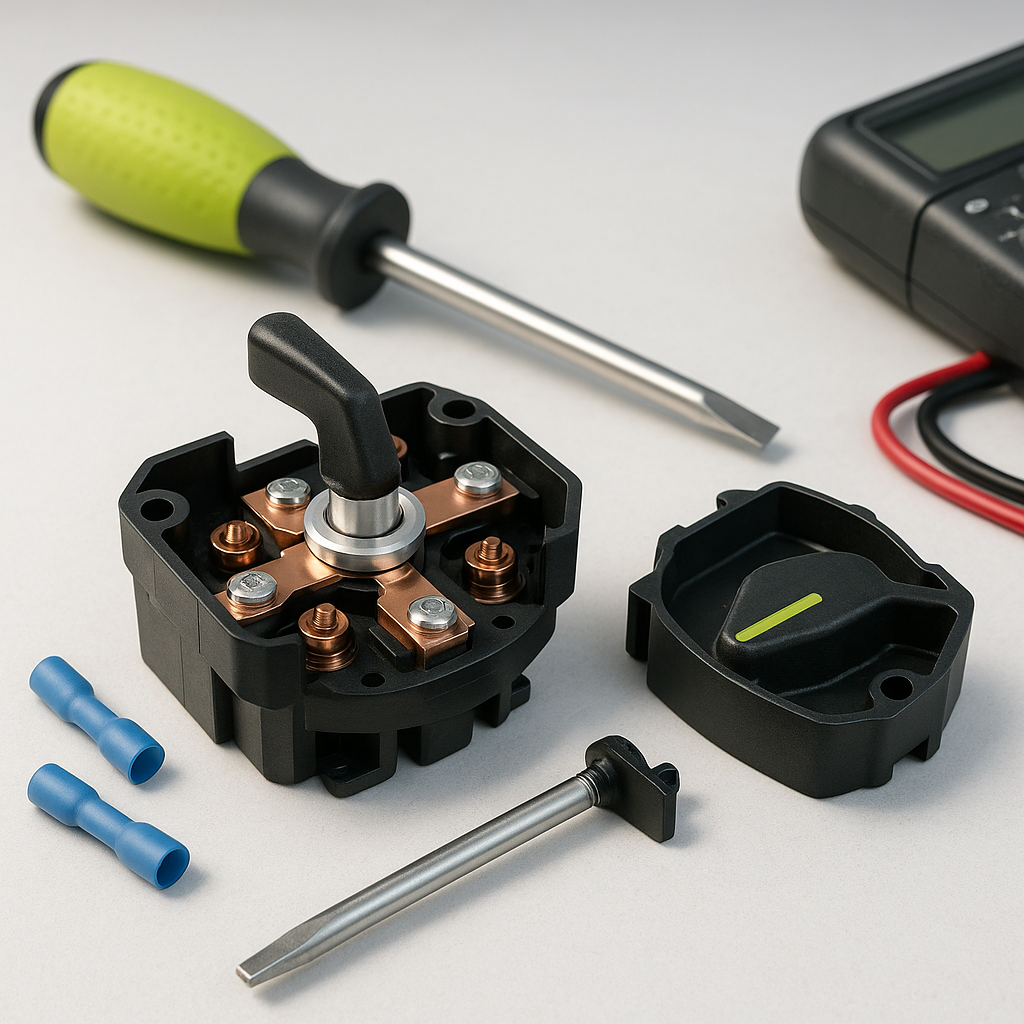
The forward/reverse switch is one of the most-touched mechanical components on any golf cart. Every time a driver shifts direction, that switch takes the load. Over time, the internal contacts burn, corrode, or wear down — and when that happens, you'll notice symptoms like sluggish direction response, the cart only moving in one direction, or the cart not moving at all even though the batteries are fully charged. Replacing the switch is a manageable DIY job, but because it sits in the middle of the drivetrain control circuit, working safely around it is non-negotiable.
Safety First: Disconnect Before You Touch Anything
Before you pull a single wire, disconnect the main battery pack. On an electric cart, this means either disconnecting the negative cable from the battery bank or pulling the main fuse/disconnect plug if your cart has one. The forward/reverse switch carries significant current, and accidental contact across terminals while the system is live can arc, damage components, or cause serious injury. Do not skip this step. Also engage the parking brake and chock the wheels — you don't want the cart rolling while you're working underneath or inside the dash area.
Locate the Switch and Photograph the Wiring
The forward/reverse switch is typically mounted near the floor area, either under the seat or along the lower dash, depending on your cart's make and model. Before disconnecting any wires, take several clear photos of the existing wiring from multiple angles. On most carts, the F&R switch has multiple terminals and the wiring color coding can vary by manufacturer and year. Those photos are your roadmap for reassembly — don't rely on memory. If wires are not already labeled, use masking tape and a marker to tag each one before removal.
Remove the Old Switch
Once you've documented the wiring, carefully remove each wire from its terminal. Some switches use spade connectors that simply pull off; others use screw-down terminals that require a screwdriver. Work through them one at a time and keep your photos handy. After the wiring is free, the switch itself is usually held in place by a bracket and two or more bolts or screws. Remove the fasteners and pull the switch out of its mount. Inspect the old switch up close — burned or pitted contacts are a clear sign of the failure mode, and that information can be useful if you're troubleshooting a pattern of premature wear (often caused by connection issues elsewhere in the circuit).
Install the Replacement Switch
Mount the new switch into the same bracket position and secure the fasteners. Then reconnect each wire to its correct terminal, working from your photos and wire labels. Take your time here — an incorrectly wired F&R switch can cause the cart to run in the wrong direction, fail to move, or in the worst case damage the motor or controller. Double-check every terminal against your reference photos before moving on. Make sure each connection is firm and fully seated, whether it's a spade connector or a screw terminal.
Test Before Buttoning Everything Up
Reconnect the battery pack or reinsert the main disconnect. Before reassembling any panels or covers, do a controlled test: set the switch to forward, lightly press the accelerator, and confirm the cart moves in the correct direction. Then stop, shift to reverse, and repeat. If the cart responds correctly in both directions with no hesitation or unusual noise, your installation is successful. If anything feels off — wrong direction, no movement, or a clicking solenoid without motion — disconnect the batteries again immediately and recheck your wiring against your photos before proceeding.
Common Mistakes to Avoid
The most common error is rushing the wiring step and transposing two terminals. Related to that, some people attempt this job without photographing the original wiring and then have to troubleshoot from scratch. Another issue is reusing a corroded or loose wire connector on a new switch — if a spade connector is loose or oxidized, clean or replace it rather than forcing it onto the new terminal. A poor connection is often what burned out the old switch in the first place. Finally, always confirm your replacement switch is rated for the voltage and current demands of your specific cart system before installation.