Golf cart brakes don't fail all at once — they degrade gradually. You push the pedal a little farther each week, and eventually you're pressing it nearly to the floor before anything happens. That slow fade is easy to ignore until it isn't. The good news: most golf cart drum brake systems have a straightforward mechanical adjustment that can restore proper pedal feel without replacing any parts. This guide walks through the general process for cable-actuated drum brakes, which are the most common setup on gas and electric golf carts from the major manufacturers.
How Golf Cart Drum Brakes Work
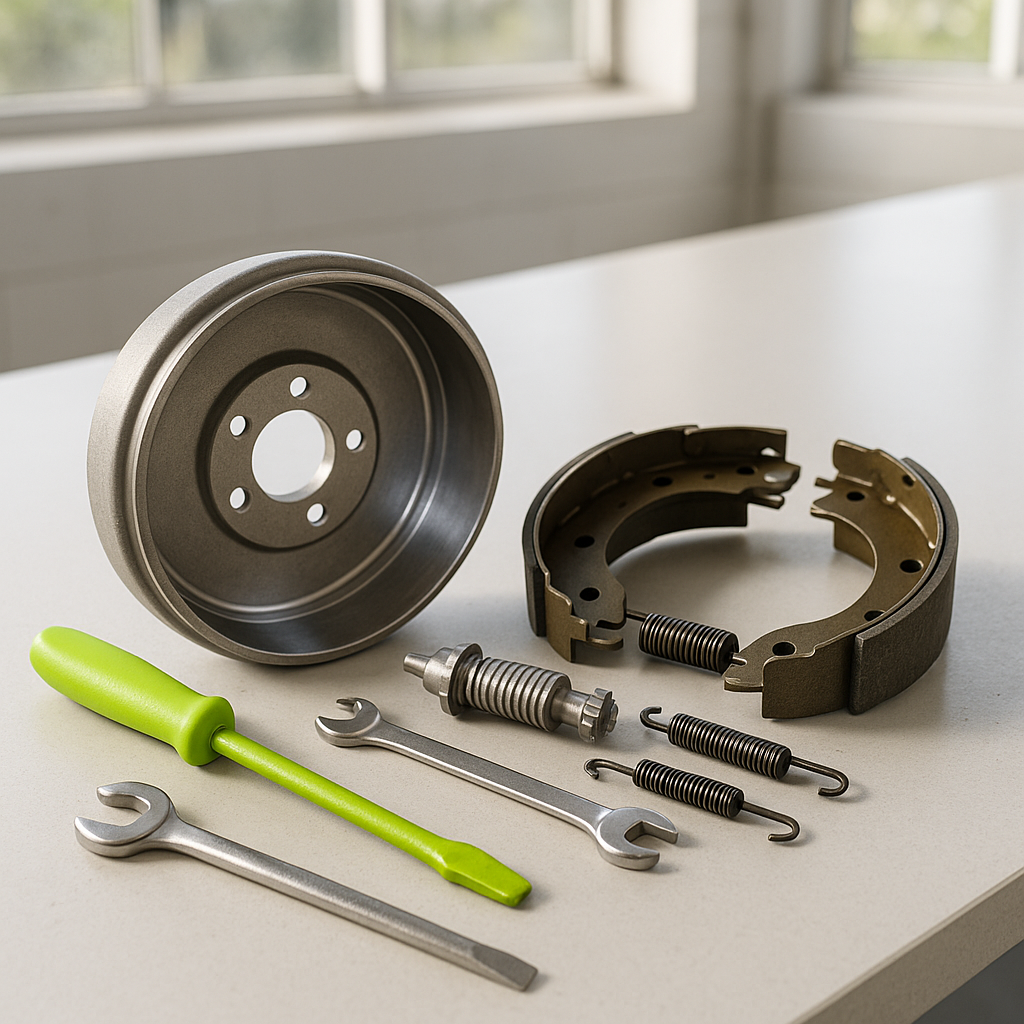
Most golf carts use a drum brake system at the rear wheels. When you press the brake pedal, a cable transmits that force to a lever at each wheel, which pushes brake shoes outward against the inside of a spinning drum. Over time, the brake shoes wear down and the drum surface can glaze, both of which increase the gap the shoes have to travel before making contact. That gap is what you're correcting when you adjust the brakes — you're tightening things up so the shoes engage sooner and more firmly with less pedal travel required.
Signs Your Golf Cart Brakes Need Adjustment
The clearest sign is a brake pedal that travels too far before the cart slows — typically if the pedal goes more than halfway to the floor before you feel significant resistance, it's time to adjust. Other signs include the cart pulling to one side when braking (which usually means one side is adjusted tighter than the other), a grinding or scraping sound at low speeds, or the parking brake not holding on even a mild slope. If you hear a harsh metal-on-metal sound at all speeds, stop and inspect the shoes first — they may be worn through and need replacement before any adjustment makes sense.
What You'll Generally Need
For most golf cart brake adjustments you'll need basic hand tools: a wrench or socket set to loosen cable adjustment nuts, and sometimes a flathead screwdriver if your drums have a star wheel adjuster accessible through an inspection slot. A floor jack and jack stands (or wheel chocks and a solid, level surface) are essential for safety. Never work under or beside a lifted cart without proper support. Have a helper available if possible — it's useful to have someone press the pedal while you observe cable movement or check drum drag.
Adjusting the Brake Cable
The most common adjustment point on golf cart drum brakes is the cable itself. Each rear wheel typically has a cable running from the main pedal or equalizer bar back to the brake actuating lever at the wheel. Where the cable threads through its housing, there's usually an adjuster nut (sometimes two — a jam nut and an adjustment nut). Loosening the jam nut and threading the adjustment nut allows you to effectively shorten the cable, which means the lever moves sooner when you press the pedal. Make small adjustments — a quarter to half turn at a time — and recheck pedal feel before going further. The goal is firm engagement well before the pedal bottoms out, without the brakes dragging when the pedal is fully released.
Adjusting the Brake Shoes (Star Wheel / Self-Adjuster)
Some golf cart drum systems also have a mechanical adjuster inside the drum itself — a toothed star wheel that physically moves the brake shoes closer to the drum surface. If your drums have a small rubber plug or slot on the backing plate, you can insert a flathead screwdriver, engage the star wheel teeth, and rotate it to expand the shoes outward. Turn it until you feel light drag when you spin the wheel by hand, then back off a few clicks until the wheel spins freely. This sets the mechanical baseline; cable adjustment handles the pedal feel from there. Not all golf cart drum setups include this type of adjuster, so check your cart's service documentation if you're unsure.
Equalizing Side-to-Side
One of the most common brake problems after adjustment is uneven braking — the cart pulls left or right when stopping. This happens when one side's cable is tighter than the other. Many golf carts use an equalizer bar or yoke where both rear cables meet, which is designed to distribute braking force evenly. After adjusting, manually check that both cable tensions feel similar and that both wheels have comparable drag when spun by hand after a light shoe adjustment. If one side is noticeably tighter, back it off until both sides match. Taking the time to equalize properly is what separates a good brake job from one that creates a new handling problem.
Test Before You Drive
Once you've made your adjustments, do a thorough check before getting back on the road or course. With the cart on flat ground, press the brake pedal and confirm it engages firmly well before bottoming out. Check that the wheels spin freely when the pedal is released — any dragging means the shoes are too close to the drum and will overheat quickly. Test the parking brake on a gentle slope. Then do a slow rolling stop in a safe area to confirm the cart stops straight and predictably. If anything still feels off — soft pedal, pulling, or grinding — investigate further before use. A properly adjusted golf cart brake system should feel crisp, balanced, and confident every time.