When a golf cart motor controller fails, the cart often just stops moving — no warning, no drama. Before you replace it, make sure you've actually confirmed the controller is the problem. A bad solenoid, a failed motor, or a disconnected throttle sensor can all look identical from the driver's seat. Once you've ruled out those components and pointed the finger at the controller, replacement is a manageable DIY job as long as you respect the electrical system involved.
Safety First: Disconnect the Battery Pack Completely
Golf cart battery packs carry enough voltage and amperage to cause serious injury or destroy electrical components if shorted. Before touching any wiring, disconnect the negative cable from your main battery pack. On most carts, this means removing the lead from the first battery in the series string. Use insulated tools, remove any metal jewelry, and work in a dry environment. It's also wise to leave the key out and — if your cart has one — trip the main disconnect or tow/run switch to the tow position. Don't rush this step.
Document Everything Before You Disconnect Anything
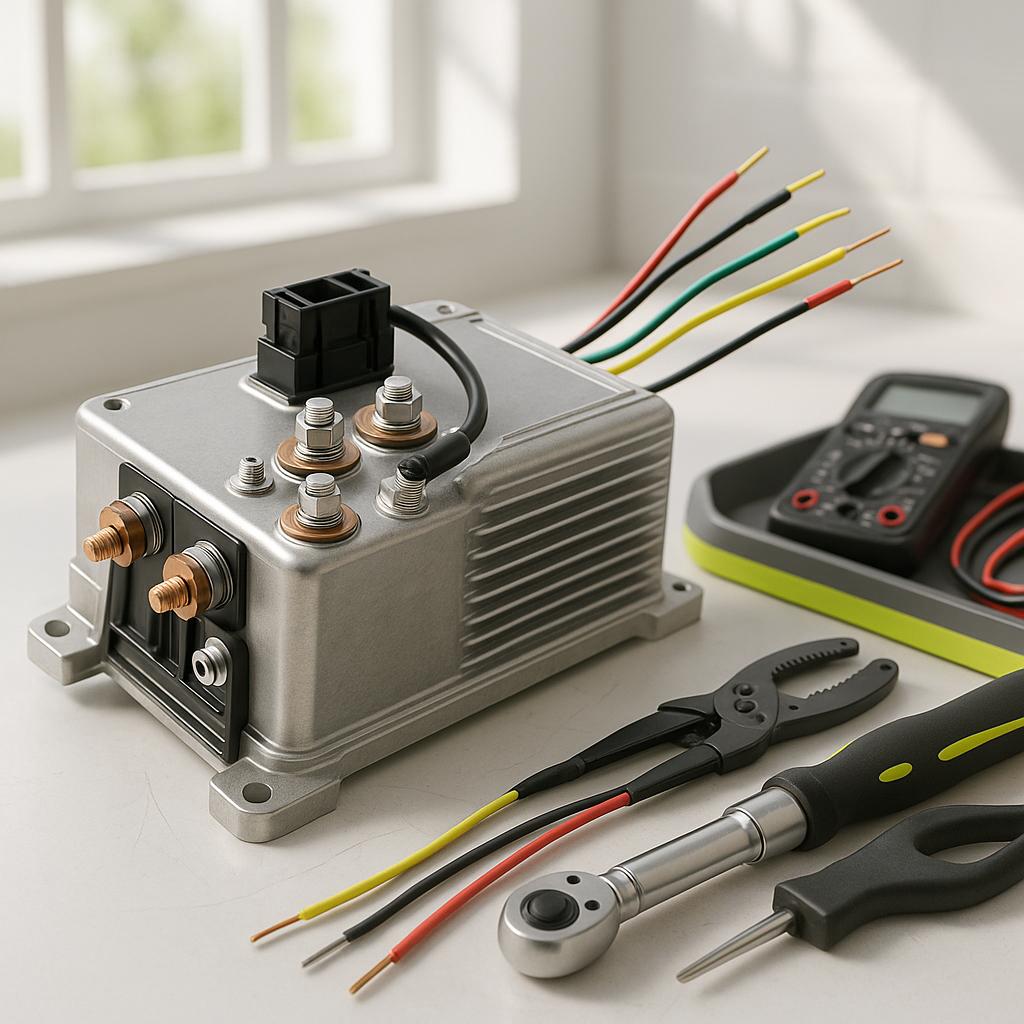
Motor controllers can have a surprisingly large number of wire connections — main battery cables, motor armature and field wires, the throttle or ITS (Inductive Throttle Sensor) connector, solenoid trigger wires, and sometimes additional inputs for reverse buzzers or other accessories. Before pulling a single terminal, take multiple clear photos of every wire on the existing controller from different angles. Label each wire with masking tape and a marker if there's any chance you'll lose track. Reassembling a controller with even one wire in the wrong place can immediately destroy the new unit.
Remove the Old Controller
Controllers are typically mounted under the seat or in the engine compartment area, secured with bolts through a mounting bracket. The large-gauge battery cables attach to clearly labeled studs — often marked B+, B-, A1, A2, and similar designations depending on the type. Loosen the nuts on those heavy cable lugs, then unplug any smaller connectors. Once all wiring is free, unbolt the controller from its mounting surface. Note how it was positioned — airflow and orientation can matter for heat dissipation on some designs.
Match the New Controller to Your Cart
This is the step most people underestimate. A replacement controller must match your cart's battery voltage, your motor type (series-wound motors are wired differently than separately-excited motors), and the current rating appropriate for your use. Using a controller rated for too low an amperage in a demanding application will shorten its life. Using one not designed for your cart's wiring scheme can damage the motor or cause unpredictable behavior. Bring your cart's make, model, model year, and ideally the part number off the old controller when sourcing a replacement.
Install and Wire the New Controller
Mount the new controller in the same orientation as the old one, using the existing hardware where possible. Reconnect your heavy gauge cables first, matching each lug to the correct terminal — refer to your photos and the wiring diagram in your cart's service manual. Torque the terminal nuts firmly; a loose high-current connection generates heat and resistance. Reconnect smaller signal wires and plugs. Double-check every connection against your photos before moving on.
Reconnect the Battery and Test
Once all wiring is confirmed correct, reconnect the main battery negative cable. Turn the key on and — before pressing the pedal — listen and observe. Most controllers perform a brief self-check when powered. If you smell burning or see a spark anywhere other than the main battery reconnect point, disconnect immediately and recheck your wiring. If everything looks normal, engage forward, press the pedal gently, and verify smooth, controlled acceleration. Test reverse as well. If the cart surges, creeps without pedal input, or behaves erratically, shut it down and recheck the throttle sensor wiring and controller programming if your unit has adjustable parameters.
A controller swap done carefully should restore full, reliable performance. Keep your old service manual handy throughout — it's the single most useful reference you have for your specific cart's wiring and specifications, and no general guide replaces it.