A parking brake that won't hold the cart on a slope — or that slowly releases on its own — isn't just annoying. It's a genuine safety risk, especially on anything but flat ground. The good news is that most parking brake failures come down to a short list of mechanical causes, and a systematic check will usually point you straight to the problem without guessing. This guide walks through the common culprits, from the obvious to the easy-to-miss.
Start With the Cable
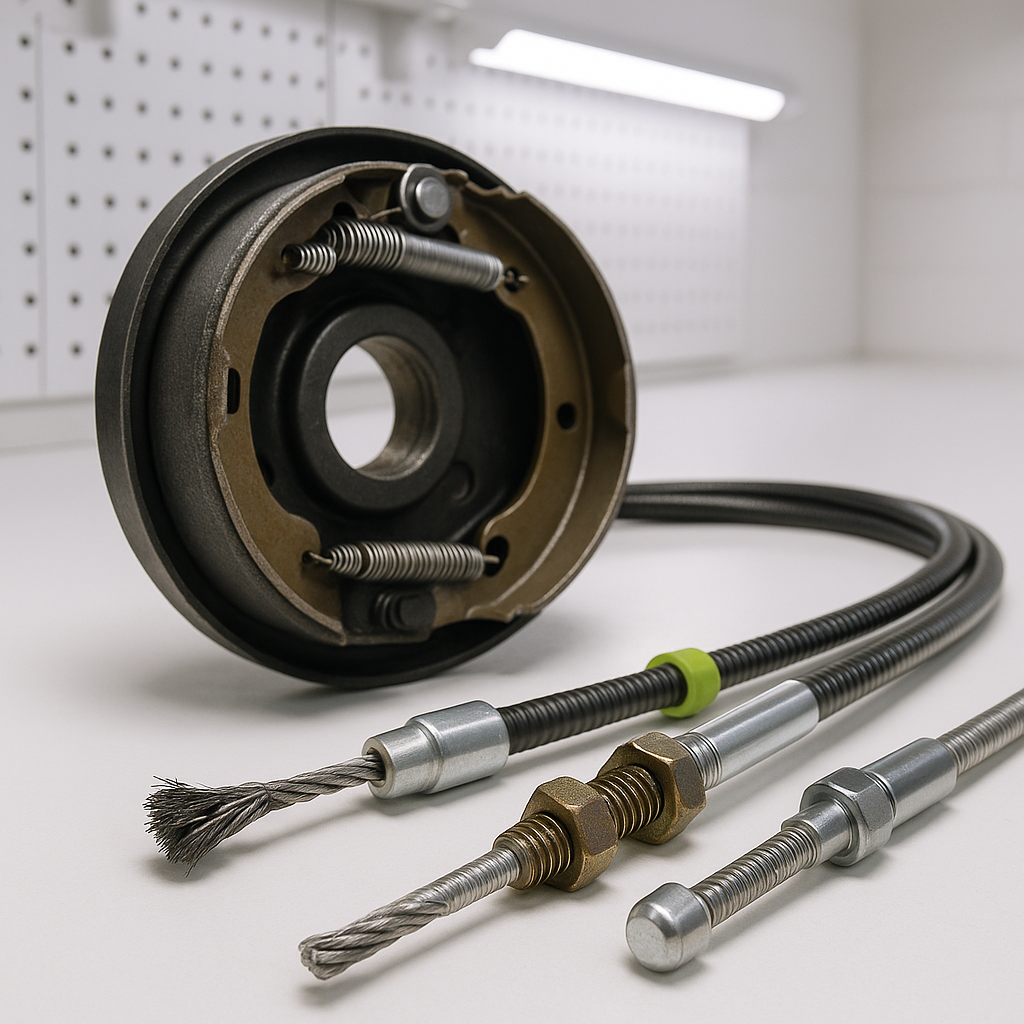
The parking brake cable is almost always the first thing to check. Over time, cables stretch, fray internally, or corrode inside their housing — all of which rob you of holding force even when the lever or pedal feels tight. Pull the slack out of the cable by hand and look at both ends. At the drum end, check that the cable is still properly seated in its anchor and that the adjuster hardware (if present) hasn't backed itself off. At the lever or pedal end, check that the cable hasn't jumped its pulley or routing guide. A cable that's kinked, frayed, or stiff to move through its housing needs replacement rather than adjustment — lubricating a frayed cable is a short-term fix at best.
Check the Adjustment
Most golf cart parking brakes have an adjustment point — either at the cable end near the drum or at the lever itself. If the cable has stretched over time, there may simply not be enough tension to apply the brake shoes firmly against the drum. Adjust until you feel meaningful resistance, then test on a gentle slope before trusting it on steeper terrain. Don't over-tighten to the point where the brake drags while driving — that accelerates shoe and drum wear and can cause the cart to pull. The goal is clean engagement and clean release, with no slop in the middle.
Inspect the Brake Shoes and Drum
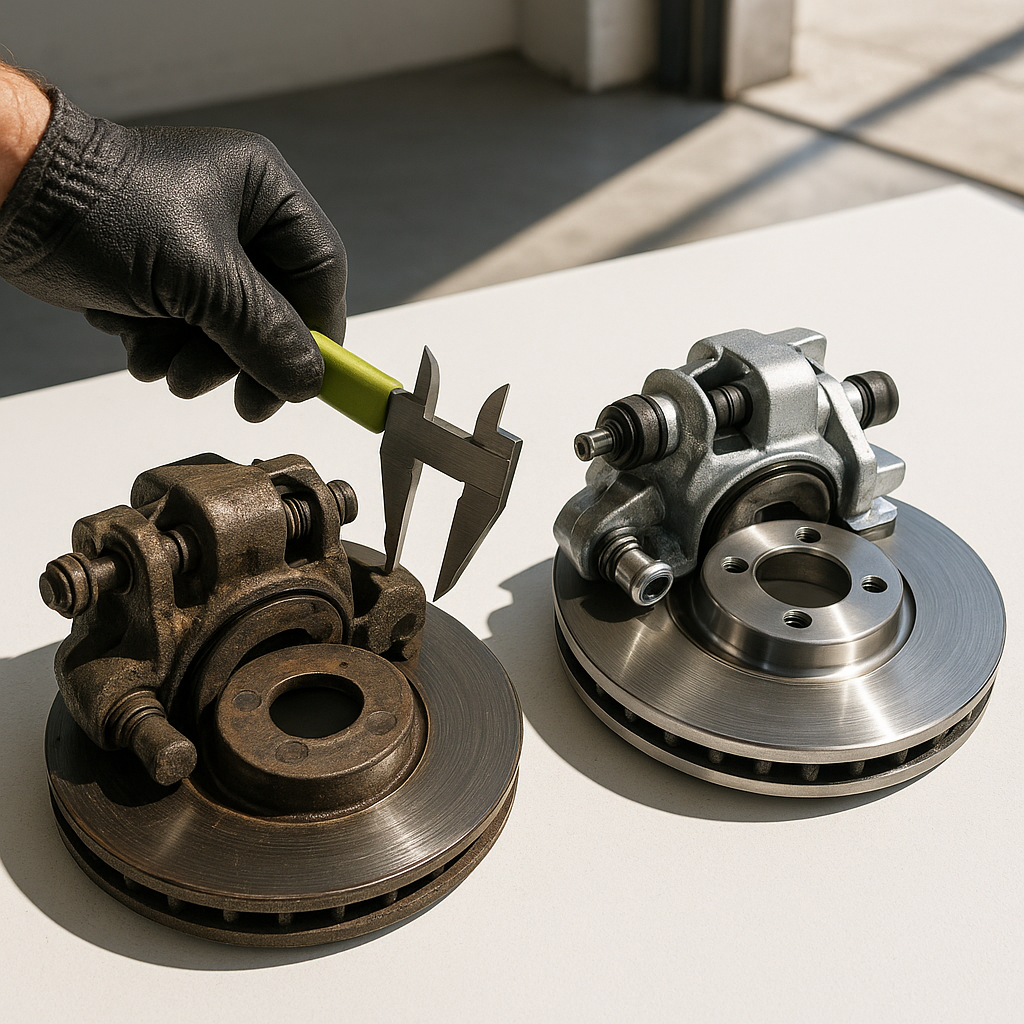
Even a perfectly adjusted cable can't hold if the friction material is worn down or glazed. Pull the drum and take a close look at the shoes. If the lining is worn near or to the metal backing, replacement is overdue. Glazed shoes — which look shiny rather than matte — have lost their grip and should be replaced or carefully scuffed, though replacement is usually the better call. Also check the drum surface itself: deep grooves, heavy scoring, or a lip at the outer edge reduces the effective contact area and makes it nearly impossible for the shoes to hold under load. A drum that's worn past its minimum thickness should be replaced rather than resurfaced.
Look at the Return Springs and Hardware
Inside the drum, the brake shoes are held in place and returned to their rest position by springs and various clips and pins. If a return spring is weak or broken, the shoe may not release cleanly — but it can also cause the opposite problem, where the spring pulls the shoe away from the drum too aggressively and prevents the parking brake from generating enough force to hold. Check that all springs are intact, that shoe anchor pins haven't worn oval, and that any self-adjuster mechanism (if your cart has one) isn't stuck in a retracted position. These small hardware pieces are inexpensive and often overlooked during brake jobs.
Check the Lever or Pedal Mechanism
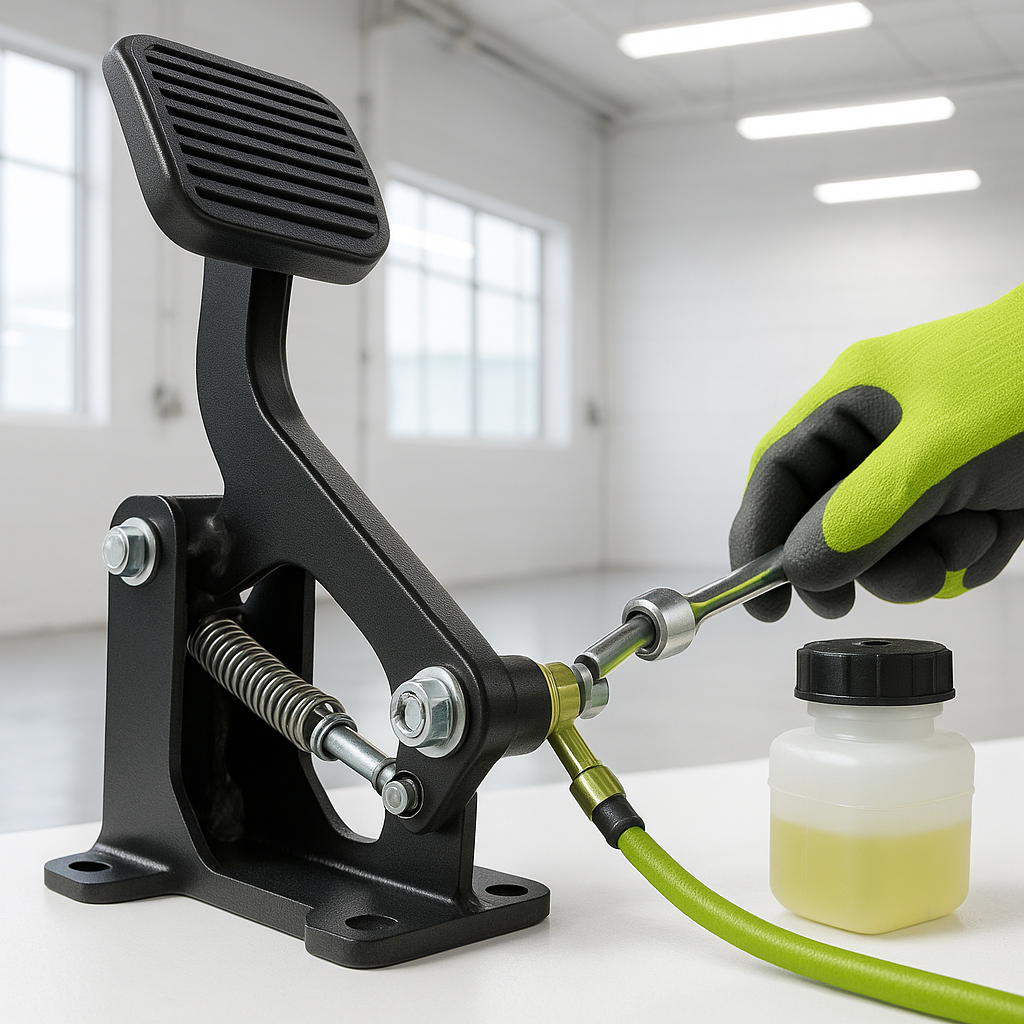
The lever or pedal itself can be a source of failure if the ratchet or locking mechanism that holds it in the applied position is worn. On many golf carts, the parking brake locks into a notched sector — if those teeth are worn or the pawl spring is weak, the lever will creep back under load. Work the lever slowly and feel for whether it's engaging positive clicks or just riding loosely. If it won't stay put without hand pressure, the problem is in the handle mechanism, not the cable or shoes. Replacement handles and lever assemblies are widely available and the swap is usually straightforward.
Don't Overlook the Mounting Points
The bracket that anchors the cable and the backing plate that holds the brake assembly are both load-bearing components. A cracked or bent backing plate lets the whole assembly flex under load, which bleeds off clamping force even when everything else looks fine. Inspect these with the drum removed. Rust, cracks near the mounting holes, or a plate that's obviously out of flat are all reasons to address the backing plate before reinstalling anything. Torquing the drum back on and hoping the brake holds isn't worth the risk.
Test Before You Trust It
After any adjustment or repair, test the parking brake methodically. Apply it on flat ground first, then on a gentle slope. Sit in the cart and let it settle — if it holds for 30 seconds without creeping, move to a steeper grade. Only once you're confident it holds under real load should you trust it for normal use. If the brake holds on flat but creeps on a grade, the adjustment, shoe condition, or drum condition still isn't right. Take the extra time to get it proper — a golf cart rolling away unattended causes real damage and real injury.