A golf cart tire that slowly loses air — or goes completely flat overnight — is one of those problems that's easy to ignore until it causes real damage to your wheel or forces you off the course mid-round. The good news is that most slow leaks have a handful of common causes, and you can diagnose most of them without special equipment. Here's how to work through it systematically.
Start With a Soapy Water Check
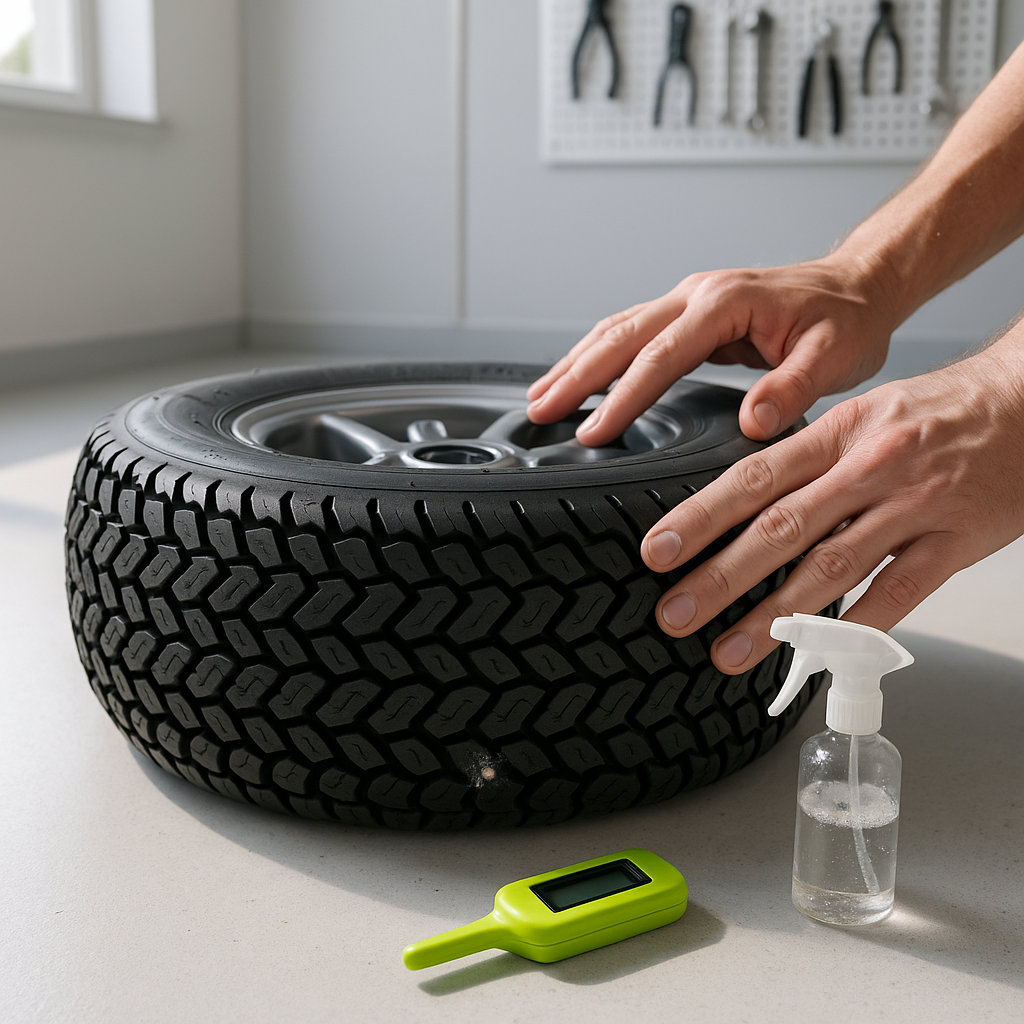
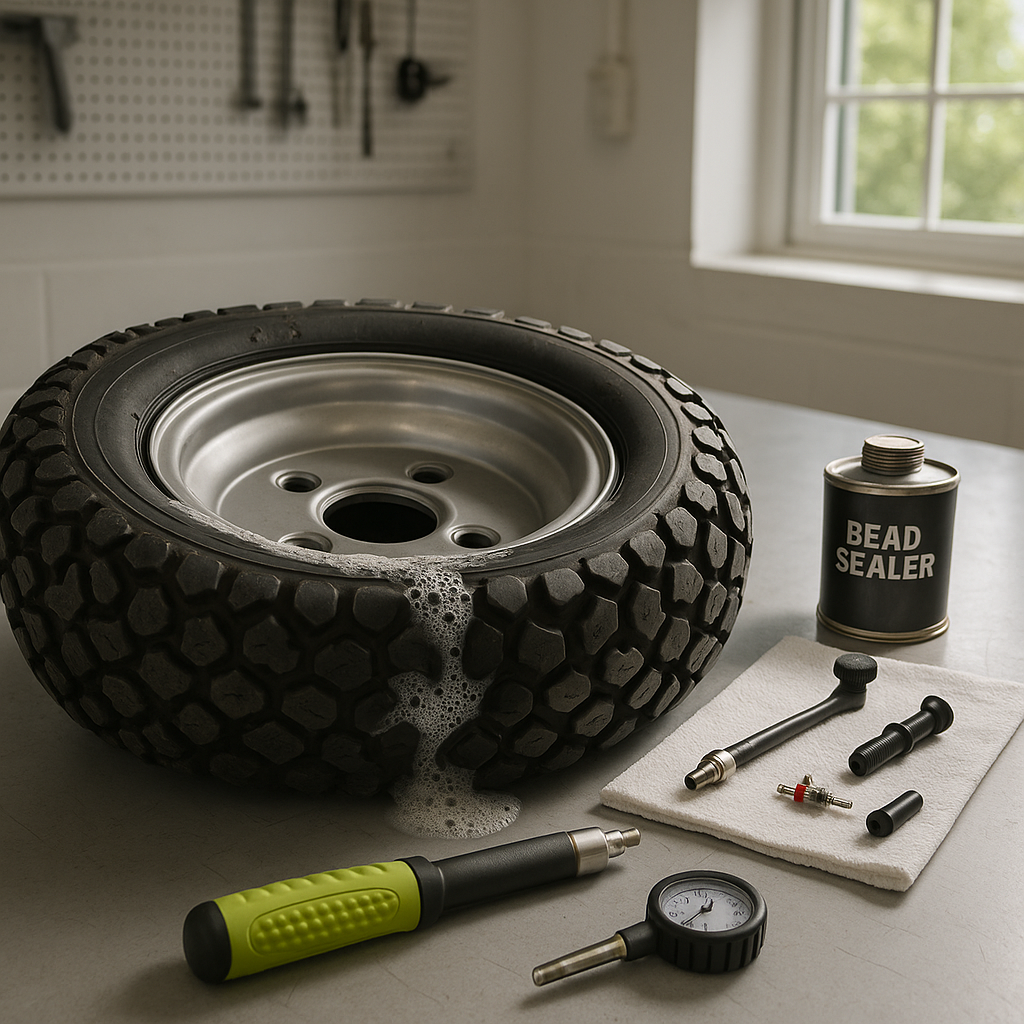
Before assuming the worst, inflate the tire to a safe pressure and coat the entire tire and wheel assembly with soapy water — dish soap mixed with water in a spray bottle works fine. Watch for bubbles forming anywhere. This will reveal leaks at the tread, the sidewall, the bead (where the tire meets the rim), and around the valve stem. Don't rush this step. A very slow leak may take a minute to show itself. Mark any bubble spots with chalk or a marker before the soap dries.
Valve Stem Problems Are the Most Overlooked Cause
A surprising number of slow leaks come from the valve stem itself rather than the tire. The rubber around the base of the stem can crack and shrink over time, especially on carts that sit outdoors in direct sun. The valve core — the small threaded pin inside the stem — can also work itself loose. Spray soapy water directly around the valve stem base and on the valve opening. If you see bubbles, try tightening the core with an inexpensive valve core tool. If the stem itself is cracked or the bubbles persist after tightening, the valve stem needs to be replaced — it's a low-cost fix.
Check the Bead Seal
Golf cart tires run at relatively low pressures, which means bead leaks — air escaping between the tire's inner edge and the rim — are common. This often happens after a tire has been run flat even briefly, after the cart has sat for a long season, or when the rim has minor surface corrosion. You'll see bubbles forming around the entire inner circumference of the wheel. To reseat the bead, the tire typically needs to be dismounted, the rim cleaned of any rust or old rubber residue, and the tire remounted with bead lubricant. Trying to simply reinflate a bead-leaking tire is a temporary fix at best.
Inspect the Tire Carefully for Punctures
Run your hand carefully around the full tread surface and both sidewalls feeling for embedded objects — nails, screws, wire fragments, or thorns. Golf carts cover a lot of terrain that road vehicles don't, and debris pickup is common. A puncture in the tread can often be repaired with a plug or patch, but a puncture in the sidewall generally means the tire needs to be replaced. Sidewall repairs are not considered safe because that area of the tire flexes constantly under load and a patch won't hold reliably long-term.
Look at the Rim Condition
If your cart has steel wheels, check for corrosion, cracks, or visible damage around the bead seat area — the inner ledge of the rim where the tire seals. Surface rust can prevent a proper seal even with a brand-new tire. Light rust can sometimes be cleaned up with a wire brush before remounting, but a badly corroded or cracked rim needs to be replaced. Alloy wheels can develop hairline cracks, especially after impacts, and a cracked alloy wheel will leak no matter how many times you replace the tire. If you can't find any leak source on the tire itself, inspect the rim very carefully.
Consider the Age of the Tire
Golf cart tires age out even if they look fine on the surface. Rubber compounds degrade over time from UV exposure, ozone, and heat cycling. An old tire may develop micro-cracking in the sidewall that's hard to see but allows air to seep through slowly. If your tire is several years old and you're chasing a leak you can't locate with soapy water, age-related permeation may be the culprit. At that point, replacement is more practical than continued diagnosis. Check the DOT date code molded into the sidewall — four digits indicating the week and year of manufacture — to understand what you're working with.
When a Simple Fix Isn't the Answer
If you've checked the valve stem, confirmed a good bead seal, found no punctures, and the rim is in solid shape, consider having the tire dismounted and inspected from the inside. Sometimes a small puncture seals itself temporarily with the object still embedded, only to leak again once removed. An inner tube is also an option for persistent bead-leak problems on older rims — adding a tube turns a tubeless setup into a tubed one and can buy you significant life from a wheel that otherwise seals poorly. Just make sure the rim is completely smooth inside before a tube goes in, since any rough edge can cause pinch flats.