Brake pads wear down gradually, so it's easy to miss the warning signs until stopping distance starts to suffer. If your golf cart is pulling to one side when you brake, making a grinding or squealing noise, or just not stopping as crisply as it used to, the brake pads are the first place to look. Replacing them is one of the more straightforward brake jobs on a golf cart, and doing it yourself saves money while keeping you confident in your stopping power.
Understand Your Brake System First
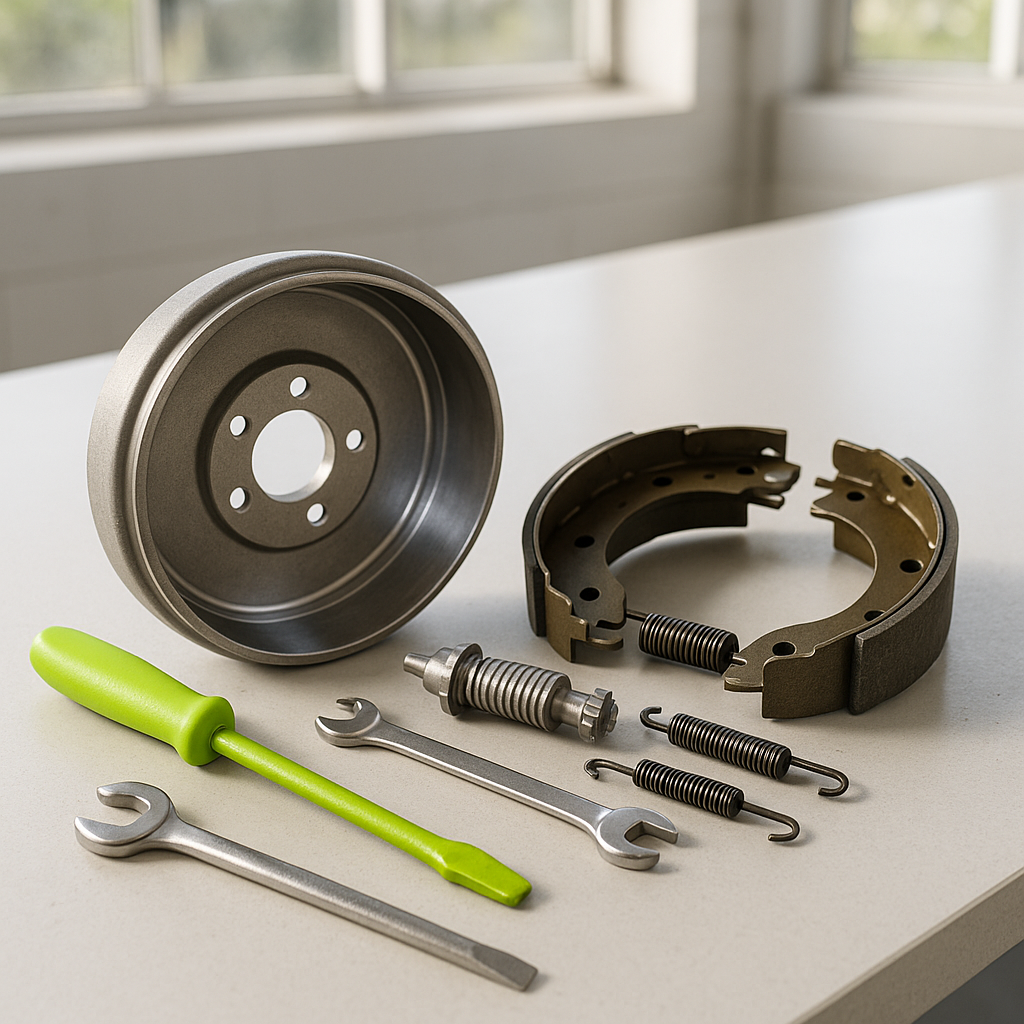
Golf carts use one of two main brake setups: drum brakes or disc brakes. Drum brakes — where curved brake shoes press outward against the inside of a drum — are the most common configuration on older and mid-range carts. Disc brakes, where pads clamp against a rotor, are increasingly common on newer and higher-performance models. This guide focuses on disc brake pad replacement, which is the more familiar format for anyone who has worked on a car. If your cart uses drum brakes, the friction material works on the same principle, but the removal process differs — you're dealing with brake shoes rather than pads.
What You'll Need
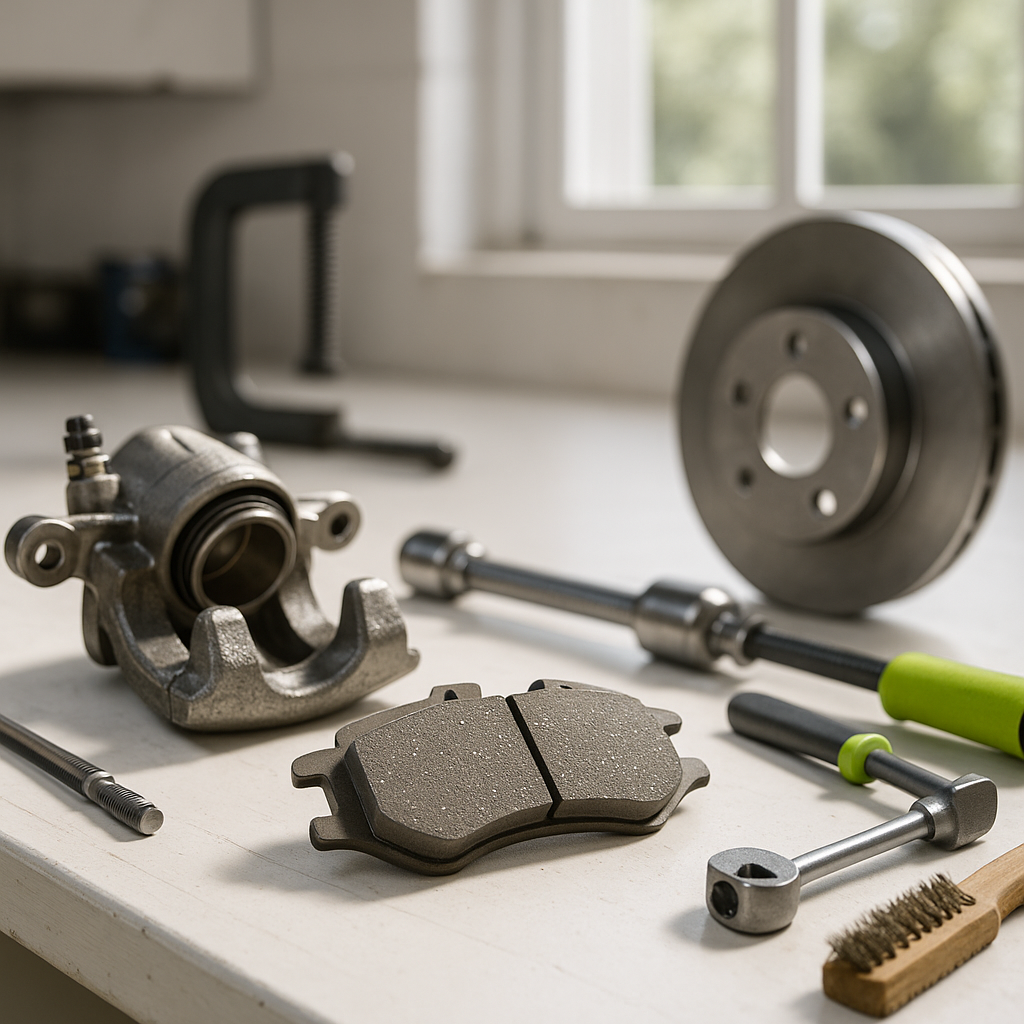
Before you start, gather your tools and parts. You'll typically need a floor jack and jack stands or wheel chocks to keep the cart stable, a lug wrench or impact driver to remove the wheel, a socket set, and a C-clamp or brake piston tool to compress the caliper piston. Have a clean rag on hand for brake dust and a small wire brush for cleaning the caliper bracket. Most importantly, have your replacement pads ready before you pull anything apart — you don't want the cart sitting disassembled while you wait on parts.
Step 1: Secure the Cart and Remove the Wheel
Park on a flat, hard surface. Engage the parking brake — or chock the other wheels if you're working on a rear axle — and disconnect the battery or key to prevent any accidental movement. Loosen the lug nuts slightly before lifting the cart, then jack up the corner you're working on and support it properly on a jack stand. Remove the lug nuts completely and pull the wheel off to expose the brake caliper and rotor.
Step 2: Remove the Caliper and Old Pads
Locate the caliper mounting bolts — usually two bolts on the back side of the caliper — and remove them. Carefully slide the caliper off the rotor. Don't let it hang by the brake line; use a piece of wire or a bungee cord to support it from the suspension or frame. With the caliper free, the old brake pads should slide out of the caliper bracket. Note how they're oriented before removing them so you can install the new ones the same way. If there are any anti-squeal shims, set those aside — you'll reuse or replace them depending on their condition.
Step 3: Compress the Caliper Piston
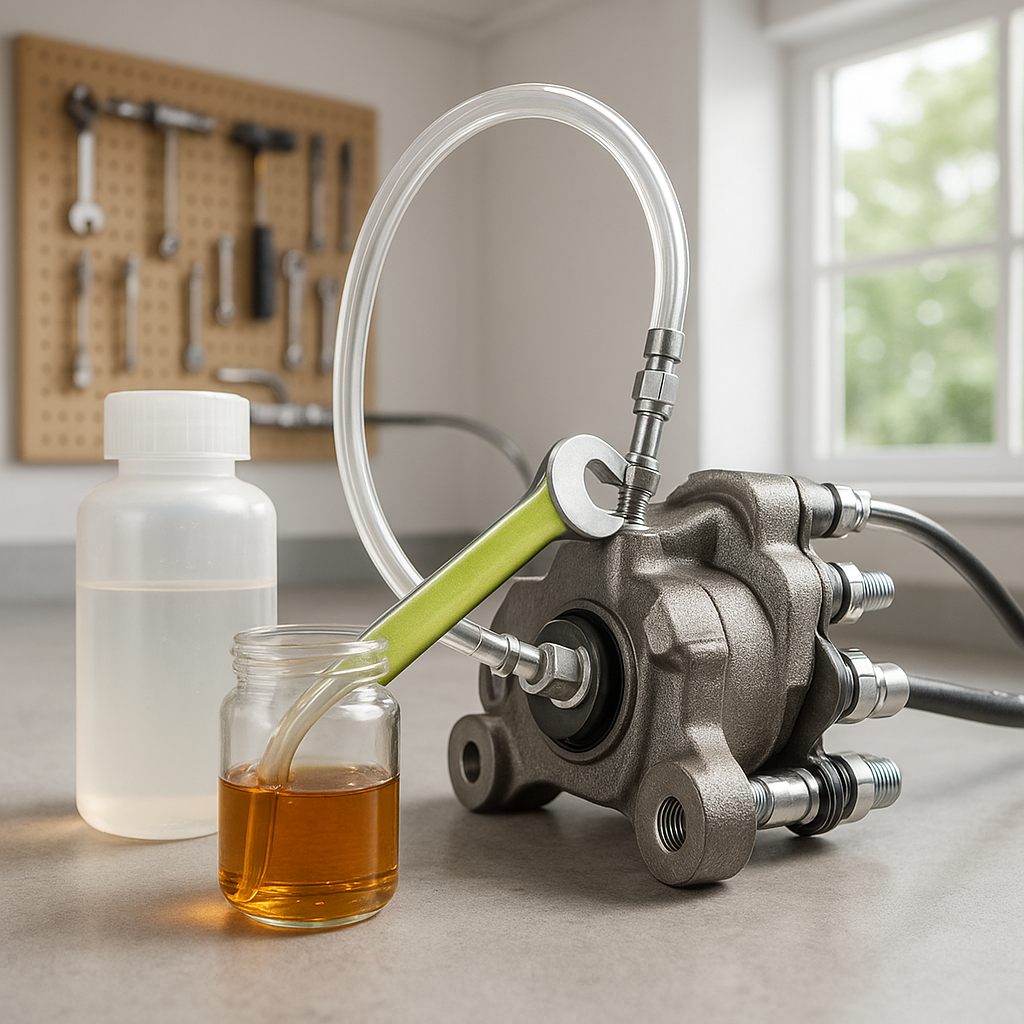
New brake pads are thicker than worn ones, so you need to push the caliper piston back into its bore to make room. Place a C-clamp over the caliper body with one end on the piston and the other on the back of the caliper, then slowly tighten it until the piston is fully compressed. Watch the brake fluid reservoir as you do this — compressing the piston pushes fluid back up the line, and if the reservoir is full, it can overflow. Remove a small amount of fluid beforehand if needed. Never reuse old fluid that has spilled or been contaminated.
Step 4: Install the New Pads and Reassemble
Slide the new brake pads into the caliper bracket, making sure the friction material faces the rotor and any wear indicator tab is positioned correctly (usually toward the top). Reinstall the caliper over the rotor, thread the caliper bolts back in, and tighten them to a snug fit — firm but not gorilla-tight, as over-torquing can crack the caliper housing or distort the bracket. Remount the wheel, tighten the lug nuts in a star pattern, and lower the cart back to the ground. Finish tightening the lug nuts with the wheel on the ground.
Step 5: Bed the Brakes Before Riding
New pads need to be seated against the rotor surface before they perform at full capacity. In an open, flat area, bring the cart up to a moderate speed and apply the brakes firmly but not to a full skid — repeat this several times with a short cooling period between each stop. This process transfers a thin, even layer of pad material onto the rotor surface and dramatically improves brake feel and performance. Skipping this step can lead to uneven wear and reduced stopping power from the start. Check for any brake fluid leaks or unusual noises after bedding, and you're good to go.