If your golf cart's brake pedal feels soft, spongy, or has to travel further than usual before the cart slows down, air in the hydraulic brake lines is the most likely culprit. Bleeding the brakes purges that trapped air and restores firm, reliable pedal feel. This job is well within DIY territory — you don't need special shop equipment, just patience and a helper (or a one-person bleeder kit).
First: Confirm You Have Hydraulic Brakes
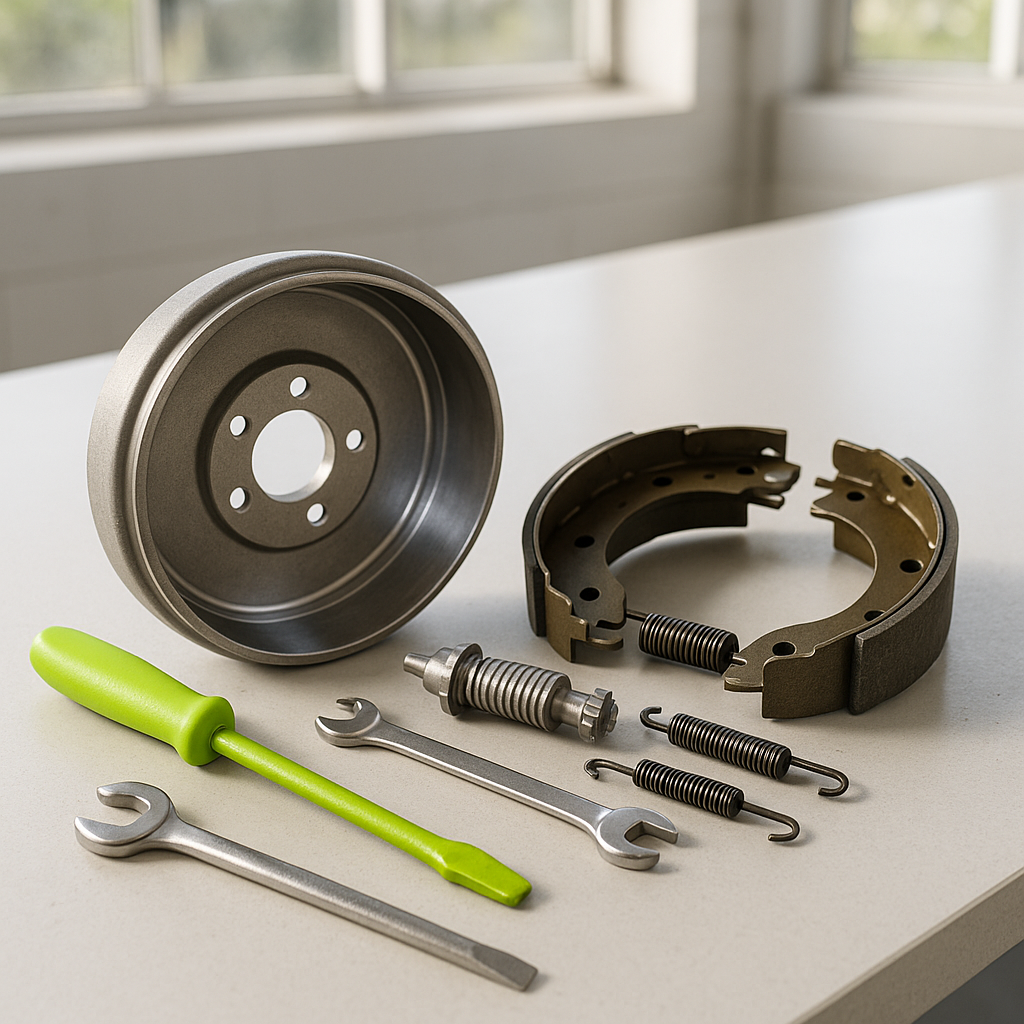
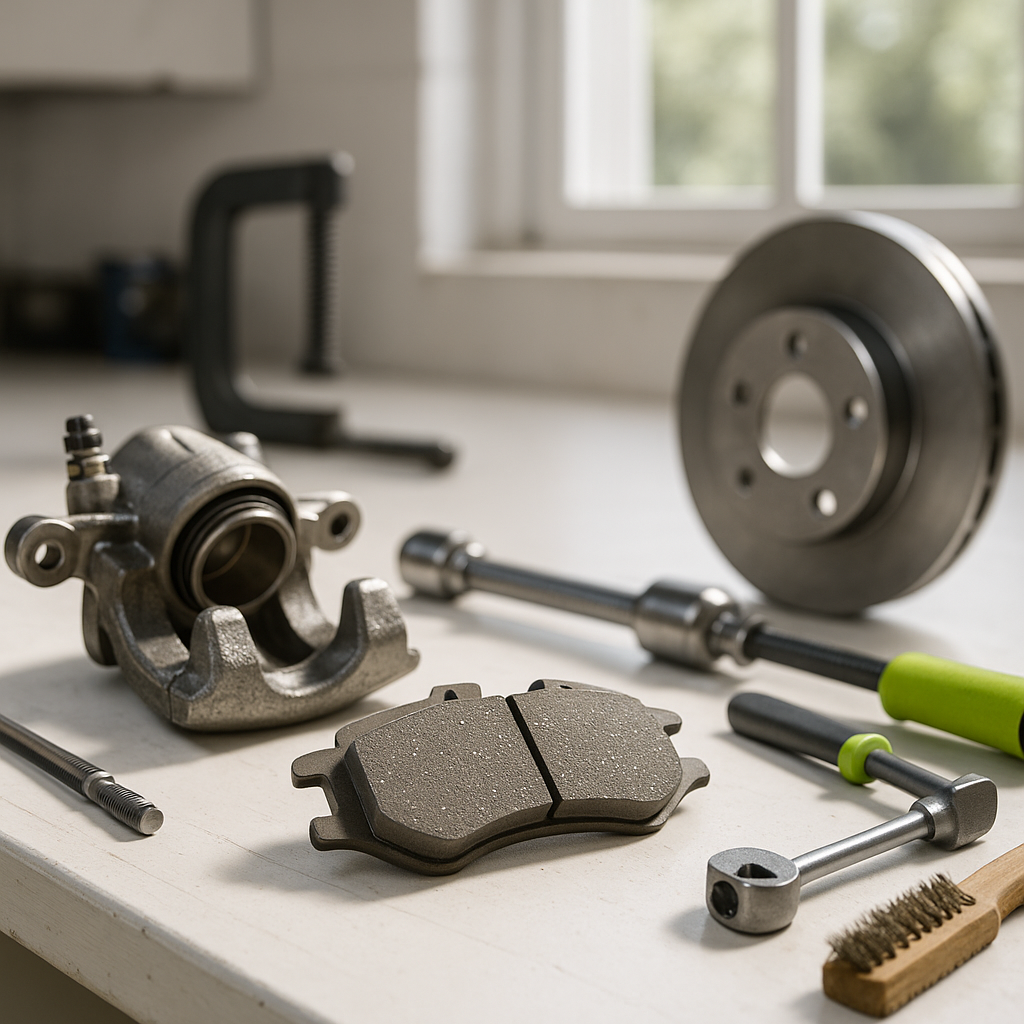
Not every golf cart uses hydraulic brakes. Many older carts — and plenty of current models — use a purely mechanical cable-and-drum system. Before you hunt for a brake bleeder valve, check your brake setup. Hydraulic systems have a brake fluid reservoir (usually mounted near the master cylinder under or behind the dash), brake lines running to each corner, and bleeder screws on the calipers or wheel cylinders at each wheel. If you only see cables running to a drum assembly with no fluid reservoir anywhere, your system is mechanical and does not need bleeding — look into cable adjustment or drum inspection instead.
What You'll Need
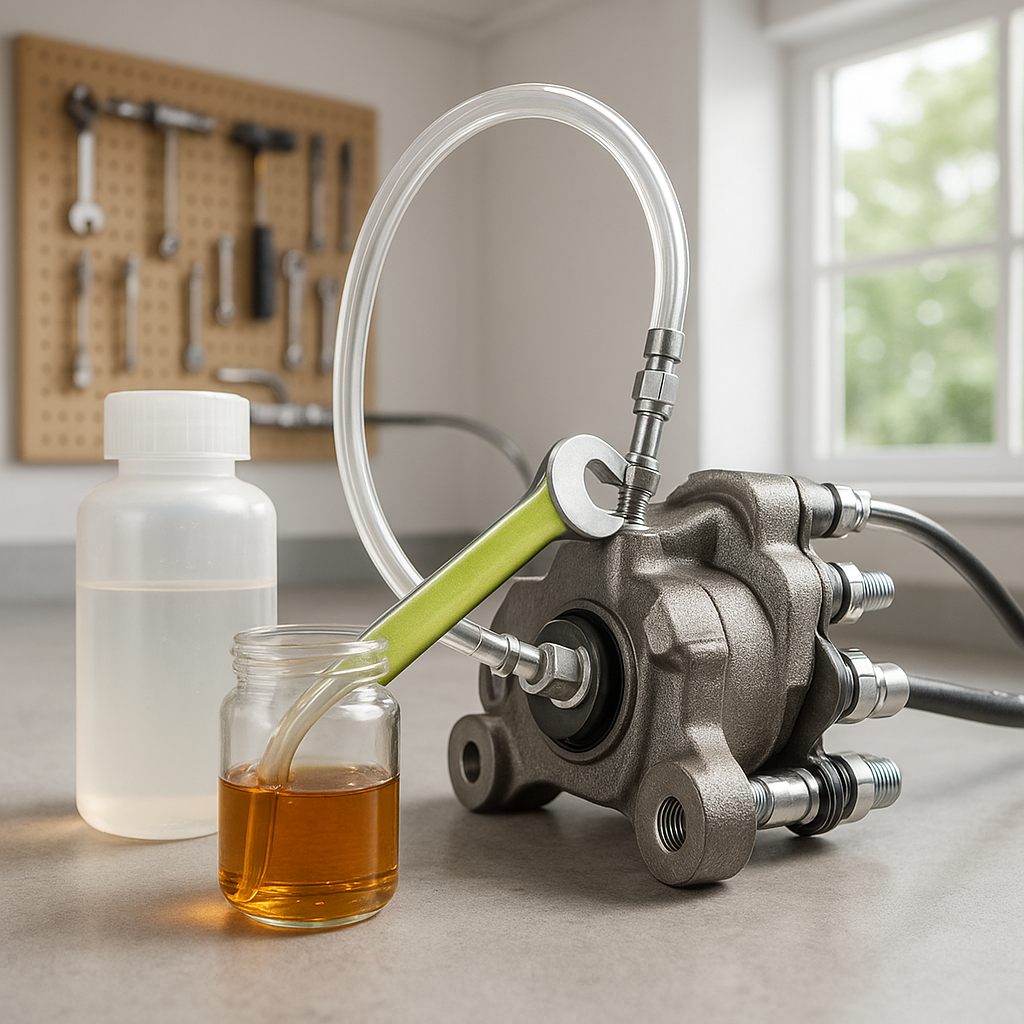
For a hydraulic brake bleed you'll want: the correct brake fluid for your cart (check your owner's manual — most hydraulic golf cart brakes specify DOT 3 or DOT 4, and mixing types causes problems), a clear plastic hose that fits snugly over the bleeder screw nipple, a small catch container, a wrench to open the bleeder screws, and ideally a second person to pump the pedal. You can also use a vacuum-style hand bleeder or a one-man pressure bleeder kit, which make solo jobs much easier. Have rags handy — brake fluid is hard on paint.
Step 1: Check and Top Off the Reservoir
Pop the master cylinder reservoir cap and check the fluid level. If it's low, top it off before you start — and keep an eye on it throughout the process. If the reservoir runs dry while you're bleeding, you'll push air back into the system and have to start over. Set up somewhere you can easily reach the reservoir between wheels.
Step 2: Start at the Wheel Farthest from the Master Cylinder
The standard bleeding sequence starts at the wheel that has the longest brake line run — usually the rear corner farthest from the master cylinder — and works toward the closest. On most golf carts this means starting at the rear and finishing at the front, but consult your service manual if you're unsure. Correct sequence ensures air is pushed out progressively rather than getting redistributed.
Step 3: Open the Bleeder Screw and Purge Air
Attach your clear plastic hose to the bleeder screw nipple and run the other end into your catch container. Have your helper slowly pump the brake pedal several times, then hold it down. With the pedal held, crack the bleeder screw open just enough for fluid to escape — you'll see it flow through the clear hose. Watch for air bubbles. Once the flow looks bubble-free and the pedal feels solid, close the bleeder screw before your helper releases the pedal. Releasing the pedal with the screw open pulls air back in. Repeat this pump-hold-crack-close cycle at each wheel until the fluid runs clear and bubble-free. Check and top off the reservoir between wheels every time.
Step 4: Check Pedal Feel and Inspect for Leaks
Once you've bled all wheels in sequence, press the brake pedal firmly and hold it. It should feel solid and not sink toward the floor. If it still feels spongy, work through the sequence a second time — stubborn air pockets sometimes take two passes. After you're satisfied with pedal feel, inspect every bleeder screw for seeping fluid, and check brake line connections at each corner. Wipe up any spilled brake fluid immediately, especially off painted surfaces and rubber components.
When Bleeding Isn't Enough
Bleeding fixes air in the lines — it doesn't fix the underlying reason air got in. If your brake fluid looks dark, contaminated, or milky, a full fluid flush is smarter than just bleeding. If the pedal goes soft again after a short time, suspect a leaking master cylinder, a cracked brake line, or a leaking wheel cylinder or caliper. Those issues need repair before the system will hold pressure reliably. Brake fluid also absorbs moisture over time, which lowers its boiling point and can cause brake fade — most manufacturers recommend a complete fluid change on a regular maintenance schedule even if you're not having active problems.