Changing a golf cart tire is one of those jobs that looks intimidating the first time but becomes straightforward once you've done it. Unlike a car, golf carts are lighter, slower-moving machines — which actually makes tire changes more manageable at home. That said, the process still demands respect for safety and a methodical approach. Whether you're dealing with a flat, upgrading to a larger tire, or simply replacing worn rubber, this guide walks you through the full process from start to finish.
What You'll Need
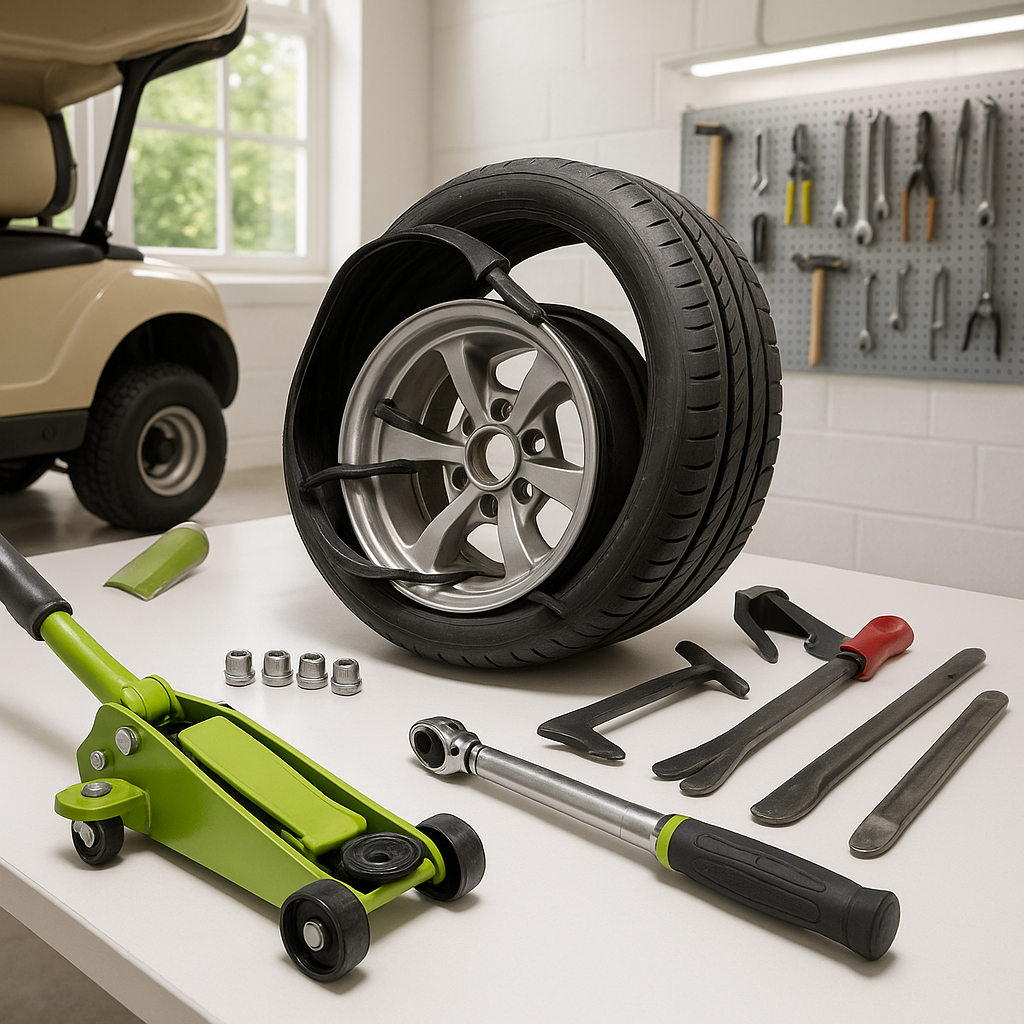
Before you start, gather the basics: a floor jack or bottle jack rated for your cart's weight, jack stands, a lug wrench or impact wrench that fits your lug nut size, wheel wedges or chocks, a bead breaker or tire irons (if you're dismounting the tire from the rim), and soapy water or tire lubricant. If you're simply swapping a complete wheel-and-tire assembly, you won't need bead-breaking tools — just the jack and wrench. If you're pulling the tire off the rim to replace the rubber itself, you'll need a bit more equipment and patience.
Step 1: Secure the Cart
Park the cart on a flat, hard surface. Engage the parking brake and set the forward/reverse switch to neutral. Place wheel chocks behind the tires you're not lifting — this is especially important on carts without strong parking brakes. Never rely on the jack alone to hold the cart while you work under or around it. Once the cart is stable, loosen the lug nuts on the target wheel while the tire is still on the ground. Breaking them loose before jacking prevents the wheel from spinning on you.
Step 2: Jack Up the Cart
Locate a solid frame point near the wheel you're removing — the frame rail is typically your safest jacking point. Avoid placing the jack under plastic body panels, battery boxes, or suspension arms that could bend or crack under load. Raise the cart until the tire clears the ground with a couple inches of clearance, then place a jack stand under a solid frame point nearby. Lower the cart gently onto the stand so the jack is no longer bearing the full load. This is a non-negotiable safety step.
Step 3: Remove the Wheel
Finish removing the lug nuts by hand and keep them somewhere they won't roll away. Pull the wheel straight off the hub. On some carts — especially older EZGO and Club Car models — the wheel may be snug on the hub due to corrosion or debris. A firm pull or gentle prying from opposite sides of the rim usually frees it. Inspect the hub surface, lug studs, and brake drum or rotor face while you have the wheel off. Clean off any rust or debris before mounting the replacement wheel.
Step 4: Dismount the Tire (If Replacing Rubber Only)
If you're replacing the tire itself rather than a complete wheel assembly, you'll need to break the bead — the seal between the tire's edge and the rim. This is the hardest part of a DIY tire change. A manual bead breaker tool makes this manageable; doing it without one typically means using tire irons and a lot of leverage, which risks damaging the rim. Once the bead is broken on both sides, work the tire off the rim with tire irons, starting opposite the valve stem. Take your time — rushing this step scratches rims and can pinch the inner tube if one is present.
Step 5: Mount the New Tire
Apply soapy water or tire mounting lubricant generously around both beads of the new tire. This is what makes seating the tire possible without tearing it. Work the first bead onto the rim by hand as far as you can, then use tire irons for the last section. Repeat for the second bead. Once the tire is fully on the rim, inflate it slowly to seat the beads. You'll typically hear or feel a pop as each bead seats. Don't over-inflate to force a stubborn bead — that's how tires blow off rims dangerously. If the bead won't seat, deflate, re-lubricate, and try again.
Step 6: Reinstall and Torque the Wheel
Slide the wheel back onto the hub, hand-thread the lug nuts in a star or cross pattern to ensure the wheel seats evenly, then snug them down. Lower the cart off the jack stand, remove the stand, and lower the jack fully. With the weight of the cart back on the tire, tighten the lug nuts to a firm, even torque in the same cross pattern. Golf cart lug nuts don't require the extreme torque values of a car, but they should be solidly tight — not just finger-tight. After your first drive of any real distance, re-check the lug nuts. Wheels can settle slightly after initial installation, and loose lugs are a serious safety hazard.