Golf cart seat covers take a beating. UV exposure, rain, mildew, and years of use crack and fade the vinyl long before the rest of the cart shows its age. The good news: replacing seat covers is one of the most beginner-friendly interior jobs you can do. No special mechanical skills required, just some patience, basic tools, and an afternoon. This guide walks you through the full process — removal, prep, and installation — for both front bench seats and rear-facing back seats.
What You'll Need Before You Start
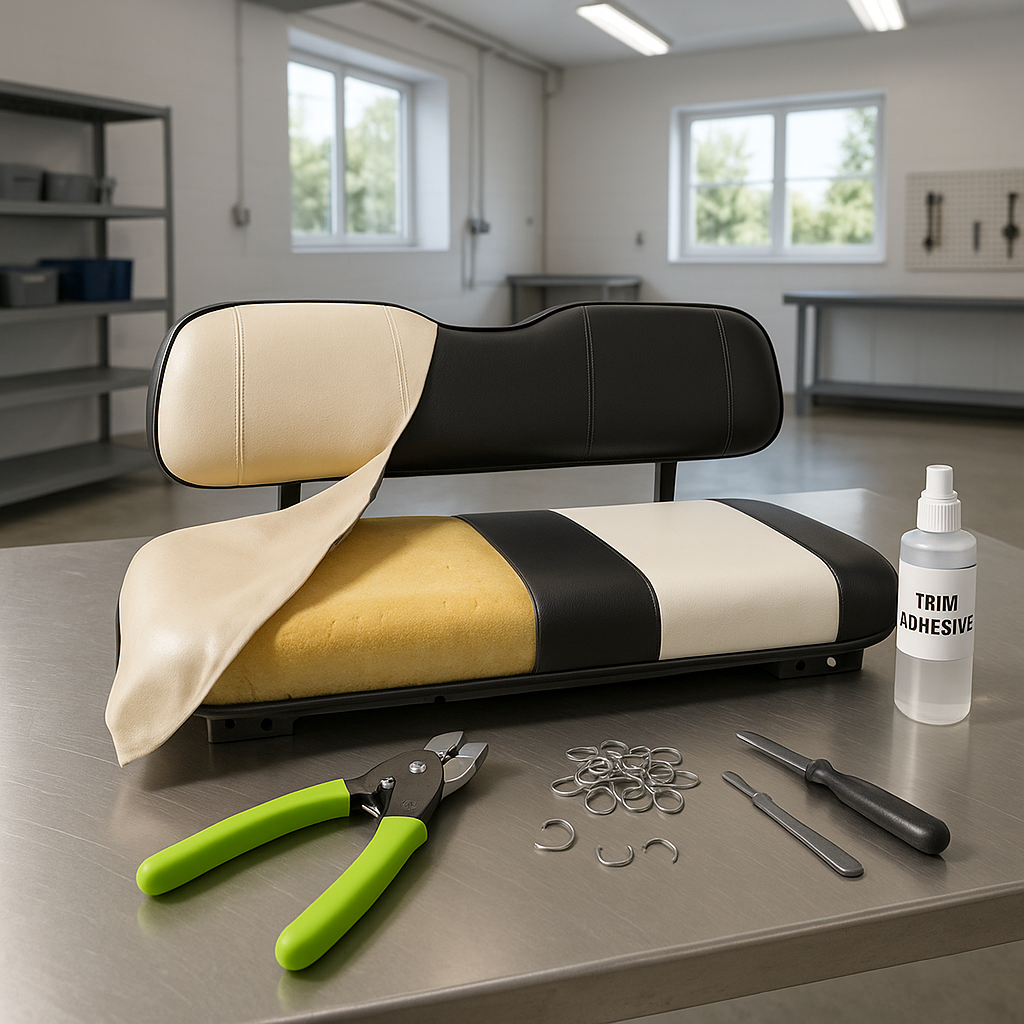
Gather your supplies before pulling anything apart. You'll typically need a flathead screwdriver or hog ring pliers (depending on how your covers are fastened), needle-nose pliers, a hog ring gun and hog rings if your seat uses them, and a staple remover or upholstery tool if the old cover is stapled to a frame. A heat gun or hair dryer is helpful for working stiff vinyl around tight corners. Have a clean workspace ready — pulling foam and frames out on a dirty driveway leads to scuffs and grime that are hard to clean off later.
Step 1: Remove the Seat from the Cart
Most golf cart seats are bolted to a mounting bracket with just a few bolts accessible from underneath. Flip the seat forward or lift it off its hinges depending on your cart's design. Front seats on many carts tilt forward to expose the battery compartment, which also makes the seat mounting hardware easy to reach. Set the seat on a workbench or flat surface so you're not wrestling with it on the ground. Label or photograph how the seat is oriented before you start — it sounds obvious, but front seats with a slight asymmetry can go back in the wrong direction.
Step 2: Remove the Old Cover
Examine how the existing cover is secured. Most factory and aftermarket covers use one of three methods: hog rings looped through the cover and seat frame, staples along the underside of the seat pan, or a combination of both. Use needle-nose pliers or a hog ring removal tool to open and remove hog rings — work slowly to avoid tearing the foam underneath. For stapled covers, a flathead screwdriver and staple remover make short work of it. Once the fasteners are out, peel the cover away from the foam, taking note of how it was tucked and folded at the corners — you'll replicate that on the new one. Inspect the foam while the cover is off. If it's crumbling, cracked, or water-logged, this is the right time to replace it.
Step 3: Prep the Foam and Frame
Before installing the new cover, clean the seat frame and let it dry completely. If the foam is in good shape, wipe it down with a damp cloth and let it air out. For covers that use hog rings, check that the frame's ring channels or wire loops are still intact and not rusted through — replace the frame or repair the ring channels if needed. If you're using a spray adhesive to help the cover stay positioned during install, apply it lightly to the foam and let it tack up before pulling the cover on. This prevents the cover from shifting while you're securing it.
Step 4: Pull the New Cover On
Start by centering the cover on the seat, seam-side down, and work from the center outward. Pull the cover over the front edge first, then stretch it toward the back. The goal is even tension across the entire surface — if you pull too hard on one side, you'll get puckering on the other. For corner work, use the heat gun or hair dryer to gently warm the vinyl so it stretches without cracking. Work one corner at a time, folding the excess neatly underneath the way you'd wrap a package. Rushing this step is the most common cause of a lumpy, uneven finish.
Step 5: Secure the Cover
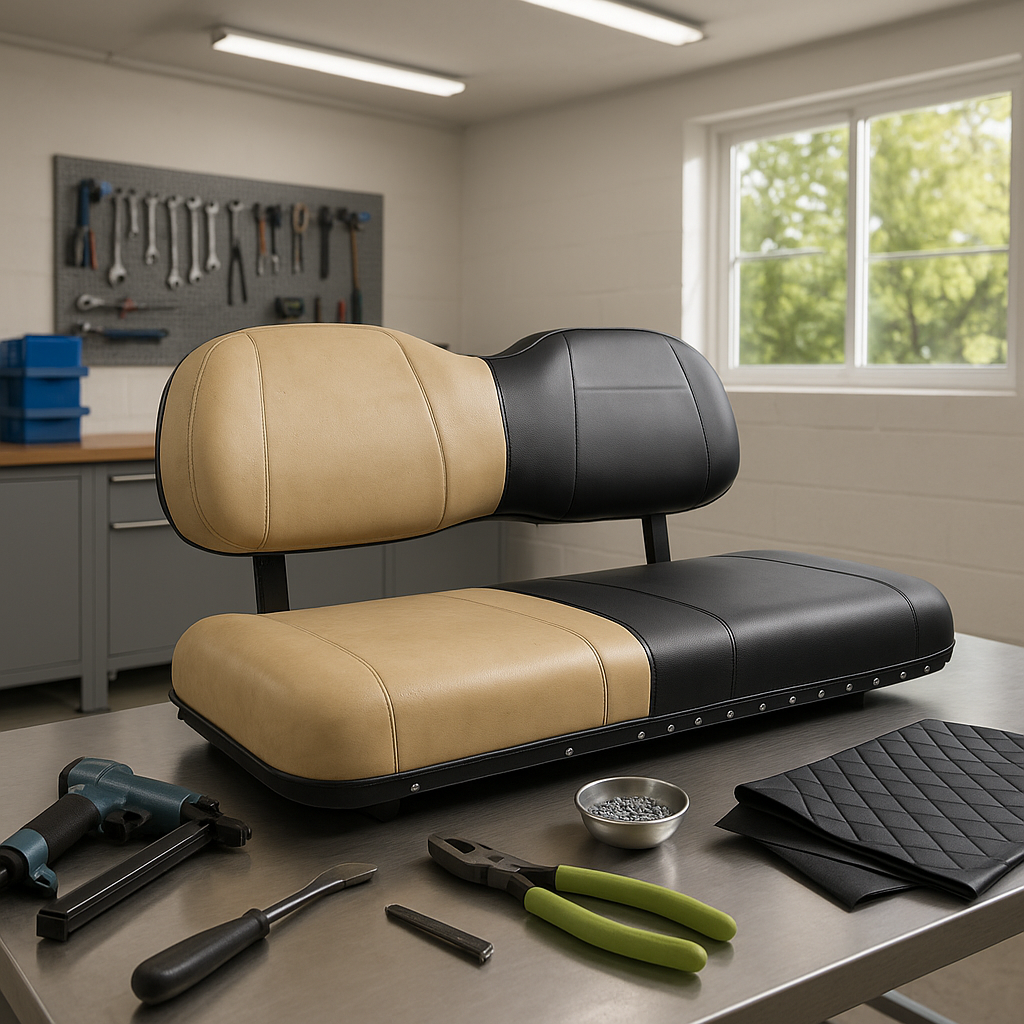
Once the cover is positioned and tensioned evenly, fasten it starting from the center of each edge and working outward — this locks in your alignment before you commit to the corners. If you're using hog rings, a hog ring pliers and a bag of appropriately sized rings is the professional method; it creates a tight, rattle-free connection that holds up over years of use. Staples work for seat pans with a wood or composite base. Whatever method you use, check the top surface after every few fasteners to make sure you haven't introduced any wrinkles — it's much easier to back out two hog rings than to redo the whole side.
Step 6: Reinstall the Seat and Inspect
Bolt the seat back onto the cart and give it a firm press across the entire surface to check for any areas that feel loose or uneven. Sit on it, slide around a bit, and look for any pulling or separation at the edges. A properly installed cover should feel taut but not drumhead-tight, with no visible seams migrating toward the top of the cushion. If the cover shifts during your test, remove the seat again and resecure the problem area before calling it done. A little extra time now beats re-doing the whole job in six months.