Golf cart seat covers take a beating. Sun exposure, rain, spilled drinks, and years of use turn even decent upholstery cracked, faded, and uncomfortable. The good news: replacing seat covers is one of the more approachable DIY jobs on a golf cart. No specialized tools, no electrical knowledge required — just patience and a methodical approach. Here's how to do it right the first time.
What You'll Need Before You Start
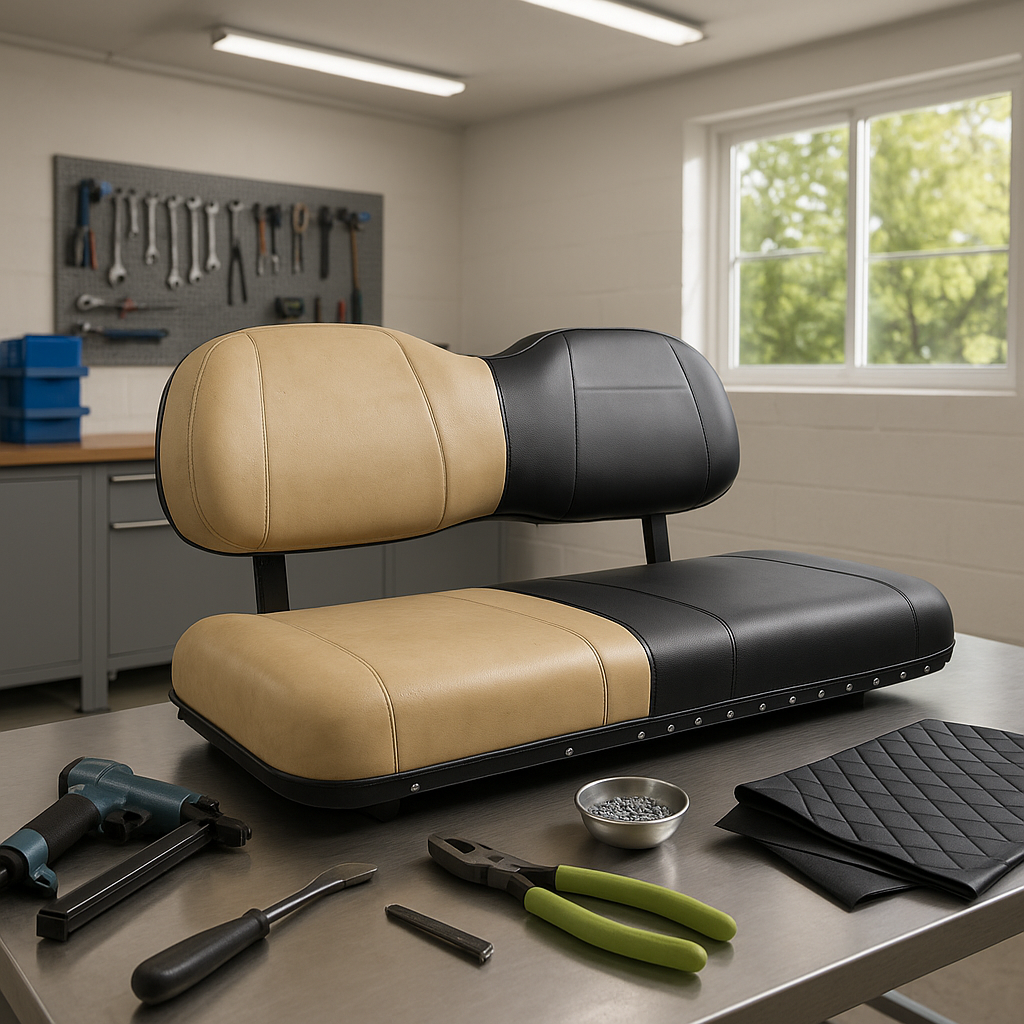
Gather your supplies before you touch the seat. You'll want a flathead screwdriver or trim pry tool, a staple remover or needle-nose pliers, a heavy-duty staple gun (for staple-style installations), marine-grade staples if your seat uses them, a heat gun or hair dryer if you're working with vinyl that needs softening, and spray adhesive if your specific cover calls for it. It also helps to have a utility knife for cutting away old material cleanly. Read your replacement cover's instructions before starting — some mount with staples, some use hook-and-loop fasteners, and some stretch and tuck like a fitted sheet. Know which you're dealing with.
Step 1: Remove the Seat from the Cart
Most golf cart seats — whether on an EZGO, Club Car, or Yamaha — bolt directly to the seat support frame with a handful of bolts underneath. Tilt the seat forward or flip it over to access the mounting bolts, then remove them and lift the seat assembly free. Setting the seat on a workbench or tailgate makes the rest of the job significantly easier than trying to work on it while it's mounted in the cart.
Step 2: Strip Off the Old Cover
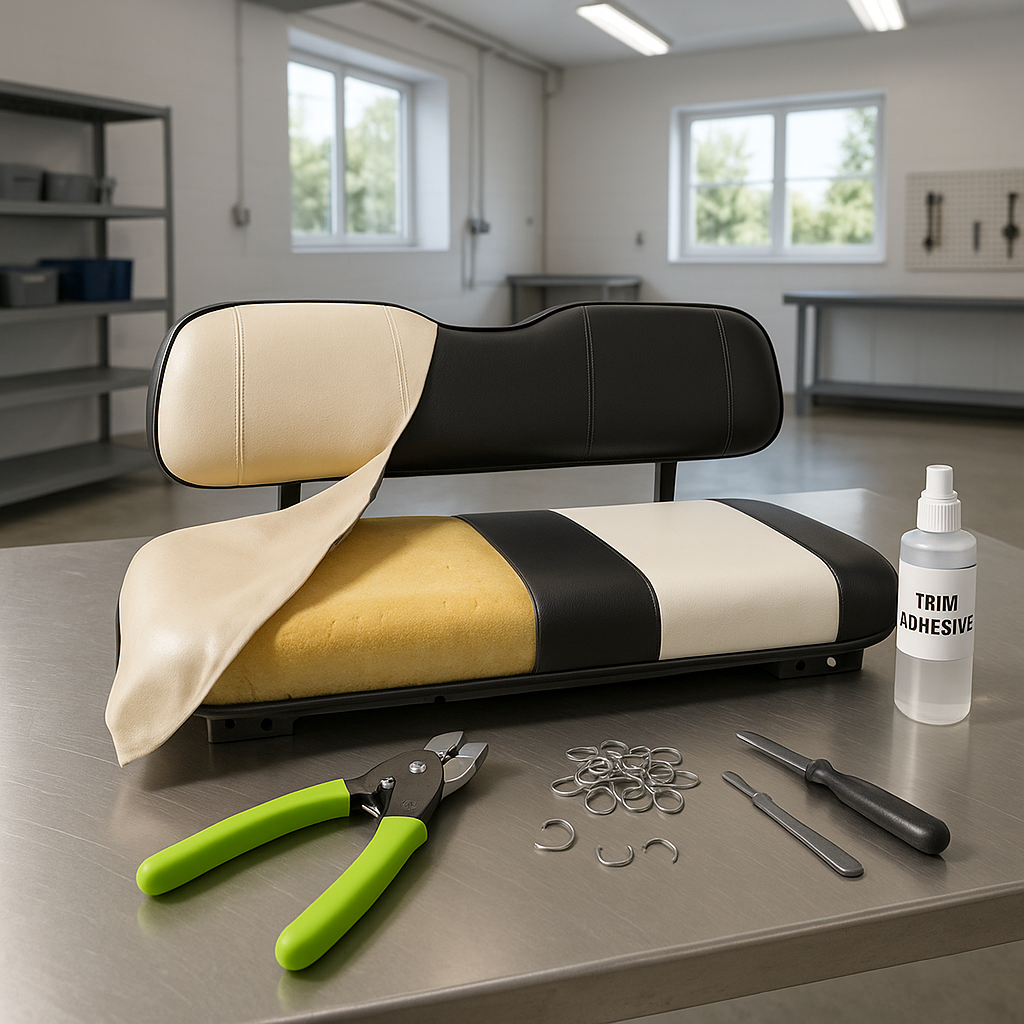
Flip the seat cushion over and start removing whatever is holding the old cover in place. On many OEM seats, this is a row of staples along the bottom edge of the foam base. Use your staple remover or needle-nose pliers to pull each staple out completely — leaving broken staples in the base will cause lumps and make installing the new cover harder. If the old cover was also glued, you may need to carefully work the material free with a flathead tool. Take your time here. Tearing into the foam base will compromise the cushion shape and affect comfort.
Step 3: Inspect and Prep the Foam
Once the old cover is off, look closely at the foam underneath. Golf cart foam is exposed to moisture over time and can develop soft spots, compression set, or even mold in humid climates. If the foam is still firm, uniform, and dry, you're good to go. If it's heavily compressed or shows signs of breakdown, this is the right moment to replace the foam before putting a fresh cover over a failing base. Clean off any adhesive residue from the old cover using a mild solvent so the new material sits flat.
Step 4: Install the New Cover
Center the new cover over the cushion, making sure the seams align with the edges of the foam. Start pulling the material around to the underside from the center of each side — front, back, then the two ends — working your way outward toward the corners. This prevents bunching and keeps the cover taut across the top surface. At the corners, fold the material the same way you'd wrap a gift box: create a clean fold rather than gathering excess randomly. Once the fit looks even and tight, staple the underside at roughly two-inch intervals, or secure it however your specific cover design requires. Corners may need a few extra staples to hold cleanly.
Step 5: Reinstall the Seat and Check the Fit
With the cover secured, set the seat back onto the cart and reinstall the mounting bolts. Sit in it and check for any wrinkles, bunching, or areas where the cover feels loose. Minor adjustments can sometimes be made by loosening a few staples and re-pulling the material tighter. If you used adhesive-assisted installation, give it adequate cure time before heavy use. A properly installed seat cover should look smooth across the top surface with all the seams tracking neatly along the edges.
Tips for Making It Last
Vinyl covers benefit from a UV protectant spray applied every few months — the same kind used on car dashboards. If your cart lives outdoors, a cart cover dramatically extends the life of seat upholstery by blocking UV and keeping moisture out. Avoid harsh chemical cleaners on vinyl seams, as they can degrade the stitching over time. With basic maintenance, a quality replacement cover should give you several solid years before you're doing this job again.