Golf cart floor mats take a beating — dirt, water, grass clippings, and foot traffic all add up fast. A good mat protects the floorboard from moisture damage, rust, and wear, and it also makes your cart look a lot sharper. The good news is that installing or replacing a floor mat is one of the more straightforward interior jobs you can tackle yourself, and it doesn't require specialized tools. Here's how to do it properly from start to finish.
What You'll Need
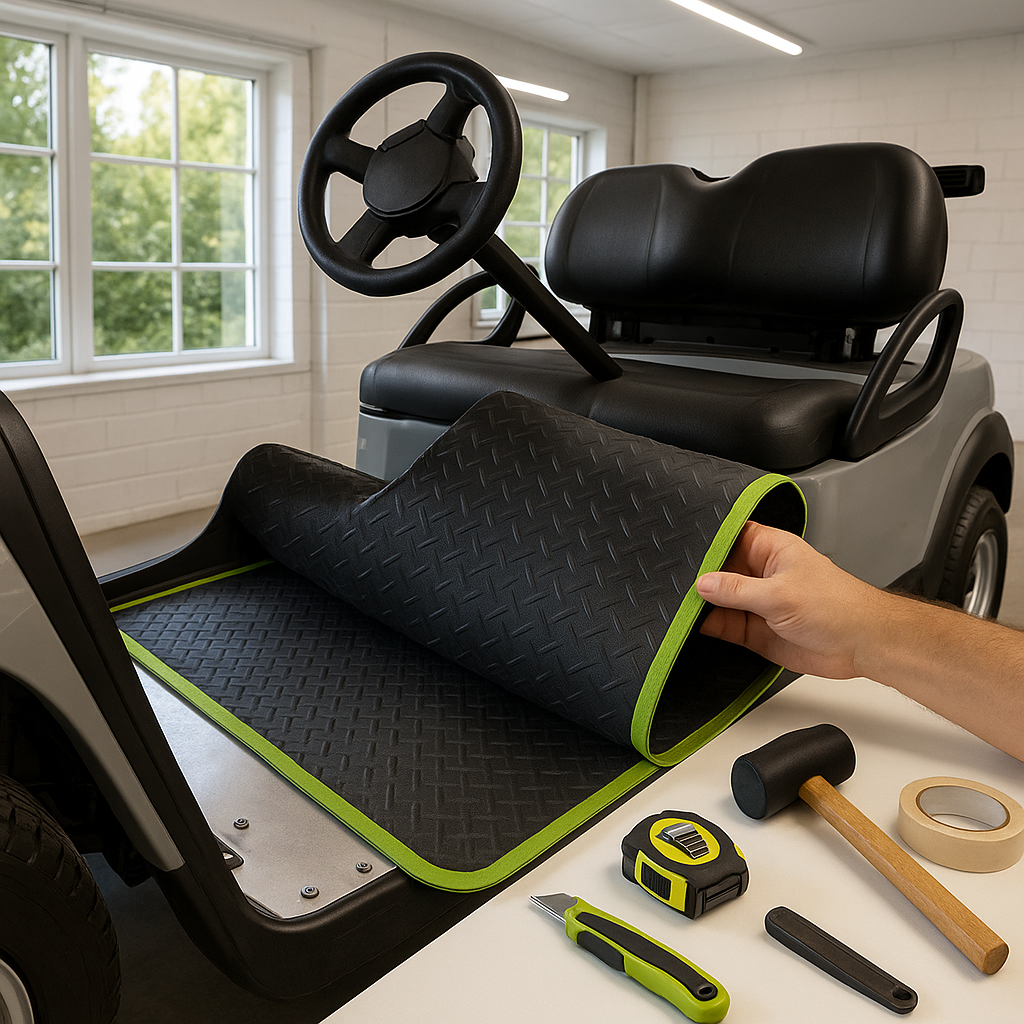
Before you start, gather your supplies. You'll need a replacement mat sized for your cart (more on that below), a utility knife or heavy scissors if trimming is needed, a clean rag or towel, a mild cleaner or degreaser, and optionally a rubber mallet or roller to press the mat flat. Some mats use adhesive backing, so read the product instructions ahead of time to know what you're working with.
Step 1: Remove the Old Mat
Start by pulling out the existing floor mat. Most mats simply lift out — grab a corner and peel it back. If the mat has been down for years, it may be stuck to the floorboard from built-up grime or a manufacturer adhesive. Work slowly and use a plastic scraper if needed to avoid gouging the floorboard underneath. Don't rush this part — you want the surface clean and intact before the new mat goes in.
Step 2: Clean the Floorboard Thoroughly
Once the old mat is out, clean the exposed floorboard completely. This step gets skipped more than it should, and it matters. Dirt, rust, or old adhesive residue left behind will prevent a new mat from lying flat and can trap moisture underneath, accelerating corrosion. Use a mild degreaser or all-purpose cleaner, scrub with a stiff brush, and let the surface dry fully before moving on. If you spot rust, treat it now with a rust converter or primer — it's much easier to deal with while the floorboard is exposed.
Step 3: Dry-Fit the New Mat
Before committing to any adhesive, set the new mat in place and dry-fit it. Most replacement mats are cut for specific makes and models — Club Car, EZGO, Yamaha — and a properly spec'd mat should lay flat with clean edges around the pedals and footrest areas. If yours is a universal mat that needs trimming, use a marker to trace any cutouts or edges needed, then trim with a sharp utility knife. Take your time here; a clean trim edge looks professional and prevents the mat from curling up at the edges over time.
Step 4: Secure the Mat
How your mat gets secured depends on its design. Many aftermarket mats are held in place simply by their own weight and a snug fit around the floorboard — no adhesive needed. Others use a peel-and-stick adhesive backing. If yours uses adhesive, peel the backing and carefully lower the mat into place starting from one end, pressing firmly as you go to avoid air bubbles. A rubber mallet or roller helps here. For non-adhesive mats, press the mat firmly into all corners and around any pedal cutouts so it lies flat with no edges lifting.
Step 5: Check the Pedals and Controls
Once the mat is in, this is the most important safety check: make sure none of your pedals — accelerator, brake, or reverse — are obstructed or have their travel limited by the mat. Press each pedal through its full range of motion. If a mat edge is interfering with a pedal, trim it back or reposition the mat before driving. A mat that catches under a pedal is a genuine safety hazard.
Tips for Getting It Right
A few things experienced cart owners know: always measure your floorboard before buying a replacement mat, especially on older carts that may have non-standard configurations. If you're running a lifted cart with modified pedal hardware, double-check clearances carefully. For carts used in wet conditions, look for mats with drainage holes or grooved channels that let water escape rather than pool. And if your cart has a rear seat kit that extends the usable floor area, measure that zone separately — you may need a second mat piece to cover it properly. Done right, a new floor mat is one of the easiest upgrades that immediately makes your cart feel cleaner and more cared-for.