Installing a lift kit is one of the most rewarding upgrades you can make to a golf cart. It opens the door to larger tires, better ground clearance, and serious off-road capability. But a lift kit installation is also one of the more involved jobs a cart owner can tackle — it touches your suspension, steering geometry, and sometimes your brake system. Done right, the result is a stable, capable machine. Done wrong, it creates handling problems and safety risks. This guide walks you through the general process so you go in with clear expectations.
Before You Start: What You Need to Know
Lift kits are model-specific. A kit built for a Club Car Precedent will not fit an EZGO TXT, and kits within the same brand often differ by year range. Confirm your cart's make, model, and year before purchasing anything. You'll also want to decide on lift height — typically anywhere from a couple of inches up to six inches or more — because that choice affects what tire sizes you can run and how much the suspension geometry changes. Higher lifts generally require more supporting modifications, like longer brake cables or extended shock mounts, and those components are sometimes included in the kit and sometimes sold separately. Read what comes in the box carefully.
Tools and Safety First
You'll need a floor jack and jack stands rated for your cart's weight, a basic set of metric and standard wrenches and sockets, and penetrating oil if your cart has any age on it. Suspension bolts that have never been removed can be stubborn. Work on a flat, stable surface and always support the cart on jack stands — never rely on a floor jack alone while you're working underneath the frame. Disconnect the battery pack before you begin. On a gas cart, disconnect the battery and set the parking brake.
Step 1: Raise the Cart and Remove the Wheels
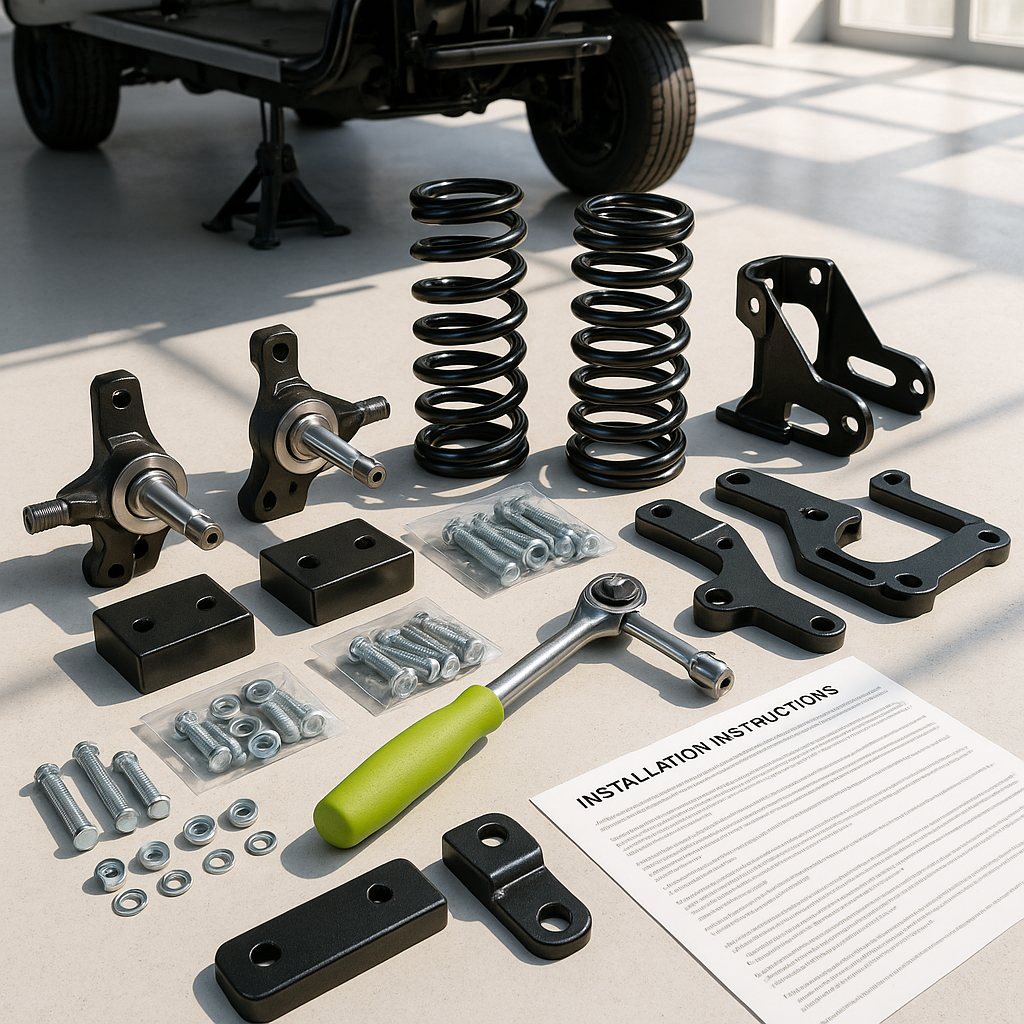
Jack up the front of the cart first and support it securely on jack stands. Remove the front wheels. With the wheels off, you have clear access to the spindles, A-arms or leaf springs (depending on your cart's suspension design), and tie rods. Take a moment to photograph the existing setup from a few angles — it's a simple step that saves real headaches during reassembly.
Step 2: Disassemble the Front Suspension
The exact disassembly process varies by suspension type. Carts with A-arm (independent) front suspension require you to remove the upper and lower A-arms from the frame mounts, then detach the spindle assembly. Carts with leaf spring front suspension involve unbolting the spring from the axle and frame hangers. Either way, keep all hardware organized — use labeled bags or a magnetic parts tray so nothing gets mixed up. Inspect the existing components as you remove them; a lift kit installation is an ideal time to replace worn bushings or ball joints if needed.
Step 3: Install the Lift Spindles or Blocks
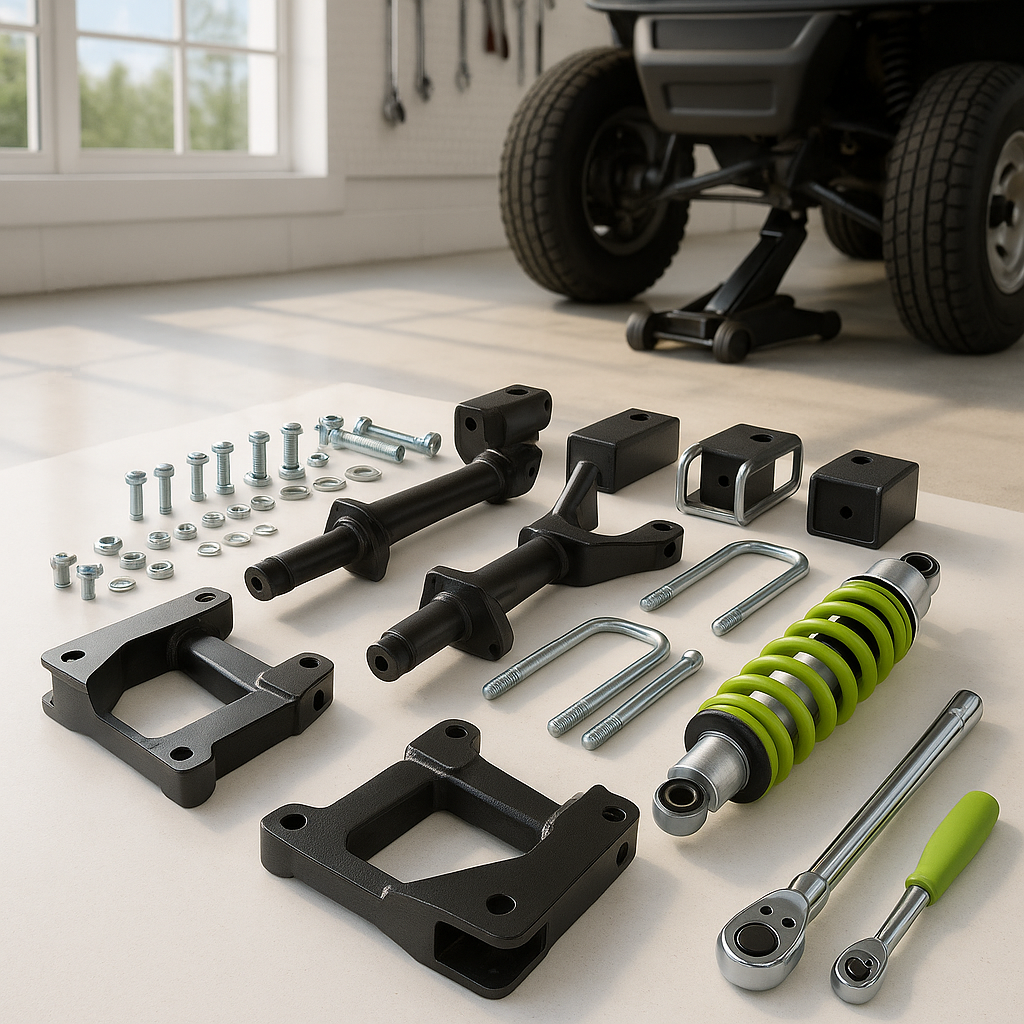
Most bolt-on lift kits work by replacing the factory spindles with taller lift spindles (for independent suspension setups) or by adding lift blocks and longer U-bolts (for leaf spring setups). Install the new components per the kit's hardware layout, threading all bolts by hand before snugging anything down. Torque specifications matter here — consult your kit's instructions for the correct values and use a torque wrench. Under-torqued suspension fasteners are a genuine safety hazard. Once the front lift components are in, reinstall the wheels with lug nuts torqued to spec, then move to the rear.
Step 4: Complete the Rear Lift
Rear suspension on most golf carts is a leaf spring setup. The process is similar to what you may have done up front — lifting the cart, supporting it properly, removing the rear wheels, and either adding lift blocks under the axle or installing new longer shackles to gain height. Check whether your kit requires longer rear brake cables at this stage. A common mistake is completing the install and then discovering the brake cable is now too short to have proper tension. If extended cables are needed, install them now before the rear axle is fully torqued down.
Step 5: Check Steering, Clearance, and Brakes Before Driving
With all four corners complete and wheels reinstalled, lower the cart to the ground. Turn the steering wheel lock to lock and confirm the tires don't contact the fender wells, frame, or any other components at full steering lock. If you're running larger tires, this is especially important. Check that the brake pedal has a firm feel and appropriate travel — a spongy or low pedal after a lift install usually means a brake cable needs adjustment or the system needs to be bled. Do a slow, cautious test drive in a safe area before returning the cart to regular use, and re-torque all suspension fasteners after the first few hours of driving.