A lift kit is one of the most impactful upgrades you can make to a golf cart. More ground clearance means bigger tires, better off-road capability, and a more commanding look. But unlike bolt-on accessories, a lift kit touches your suspension, steering geometry, and potentially your drivetrain — so doing it right matters. This guide walks through the general process, the tools you'll need, and the mistakes to avoid before you ever pick up a wrench.
Understand What You're Working With First
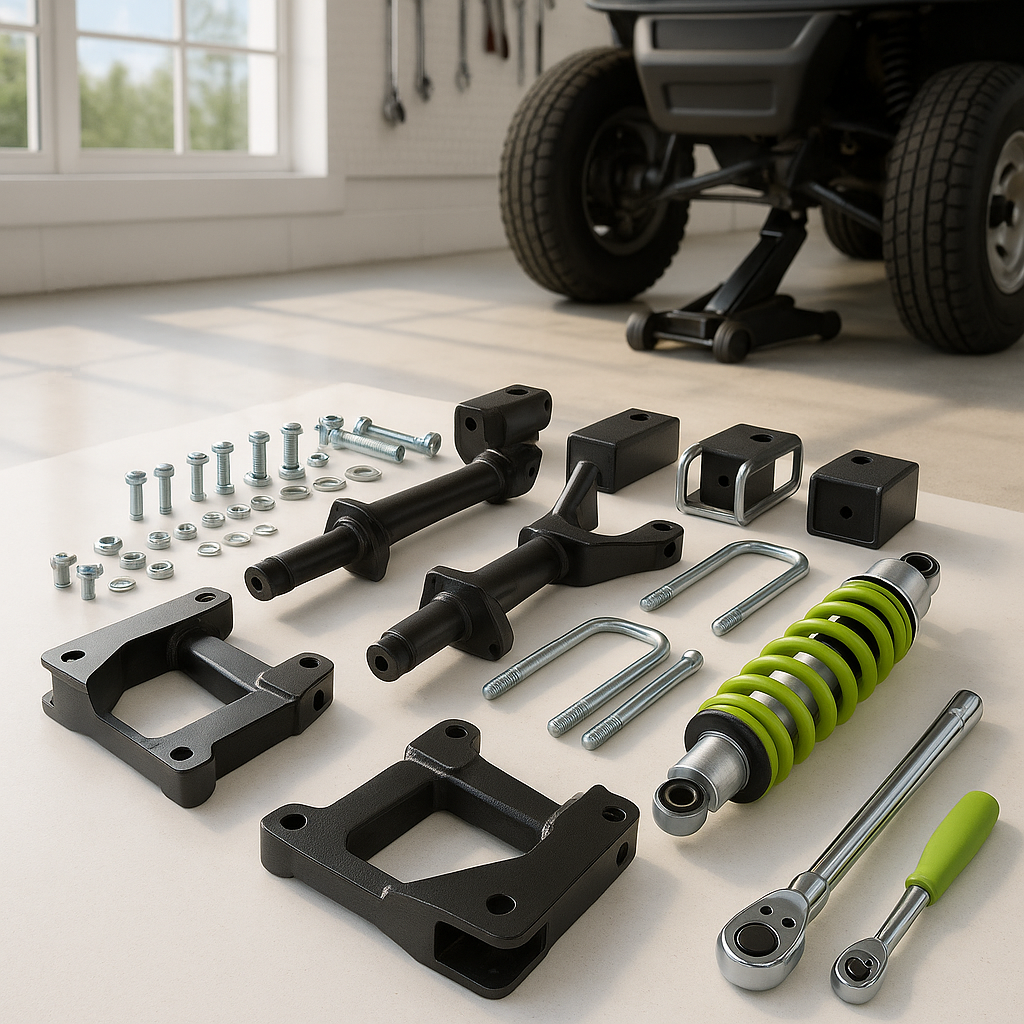
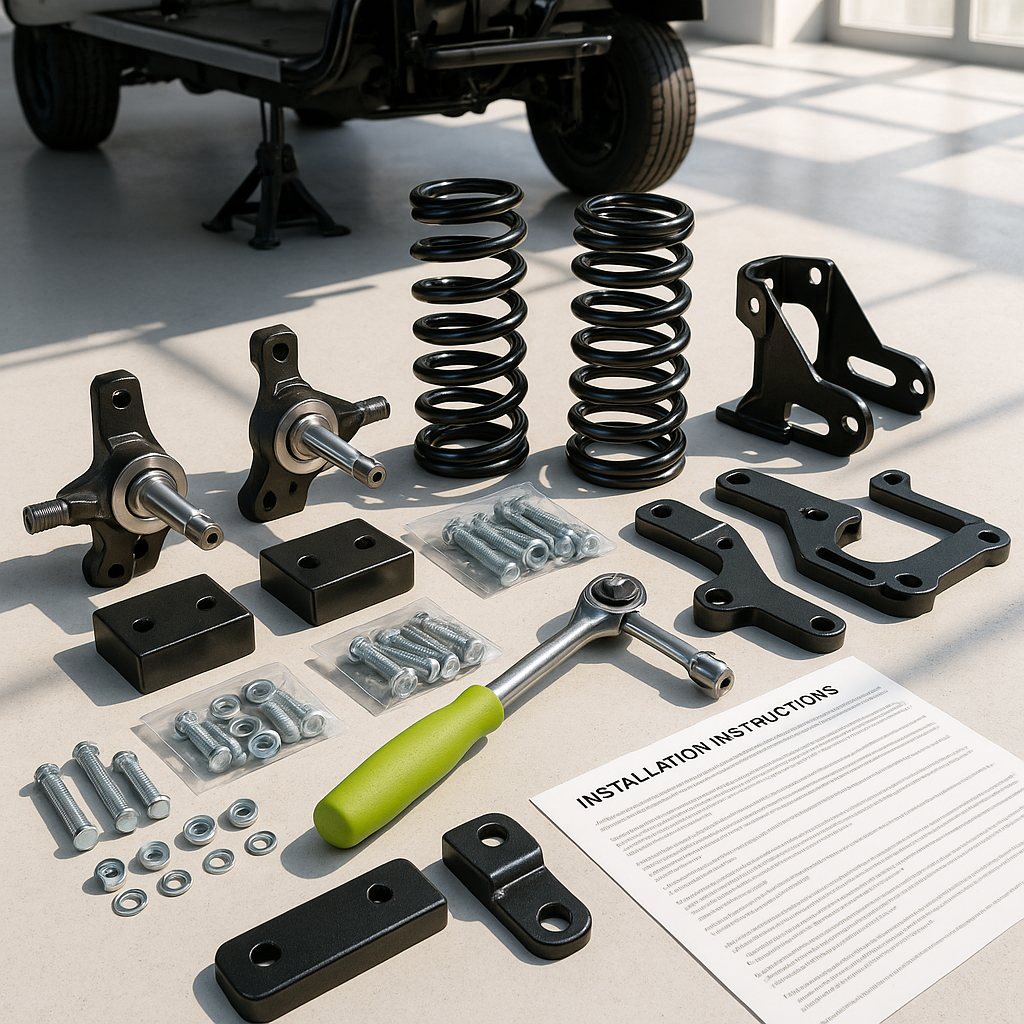
Golf cart lift kits come in two broad types: spindle lifts and A-arm (drop spindle or long-travel) lifts. Spindle lifts are simpler — they replace the front spindle to reposition the hub lower, effectively raising the body without adding suspension travel. A-arm lifts are more involved, replacing the entire front suspension assembly for greater lift height and better ride quality. Rear lifts typically involve extended shackles, flip kits, or replacement leaf springs depending on your cart model. Know which type your kit is before you start, and confirm it's designed specifically for your cart's make, model, and year — lift kits are not universal.
Gather Your Tools and Workspace
You'll need a floor jack and jack stands rated for the weight of your cart, basic hand tools (wrenches, ratchets, sockets), a torque wrench, penetrating oil for any corroded hardware, and ideally a ball joint press or pickle fork if your kit involves replacing ball joints or tie rod ends. A level, open floor surface is important — never work under a cart supported only by a jack. Lay out all kit components before starting and cross-reference them against the instruction sheet so nothing surprises you mid-installation.
Front Lift Installation (General Process)
Start by safely lifting and supporting the front of the cart, then remove the front wheels. From there, the process varies by kit type. For spindle-style kits, you'll typically disconnect the tie rod end from the existing spindle, remove the spindle from the ball joint, and install the new taller spindle in reverse order. For A-arm kits, you'll remove the entire front suspension assembly — upper and lower A-arms, springs, and shocks — and replace them with the new kit components. In both cases, pay close attention to torque specifications in your kit's instructions for ball joints, tie rod ends, and any pinch bolts. These are safety-critical fasteners. Do not guess on torque values.
Rear Lift Installation (General Process)
Rear lift procedures vary more by cart model than front procedures do. On leaf-spring rear suspensions, lifts typically involve replacing the existing leaf springs with taller-arched units or adding lift shackles — metal brackets that extend the connection point between the spring and the frame to push the body higher. On independent rear suspension carts, the process may involve different spindles or extended shock mounts. In all cases, support the rear axle independently so it doesn't drop and stress brake lines or cables when the springs are removed. Reinstall hardware in the correct sequence per your instructions, and again, torque everything to spec.
Reinstall Wheels and Do a Preliminary Check
Once all components are installed, put the wheels back on and lower the cart to the ground. Before driving anywhere, manually turn the steering wheel lock to lock and visually confirm there's no contact between the tires and any suspension or body components throughout the full range of motion — this is especially important if you're running larger tires with the lift. Check that all fasteners are snug and that nothing was left loose or forgotten. Bounce the front and rear of the cart firmly to settle the suspension, then check fastener tightness once more.
Plan for Alignment and Drivetrain Checks
Any lift kit that alters the front spindle or suspension geometry will change your toe angle — the angle at which your front tires point relative to each other. Driving on misaligned toe causes accelerated and uneven tire wear and can make the cart pull or handle poorly. After installation, you should check and adjust front toe alignment before putting the cart back into regular use. If your cart is rear-wheel drive with a solid rear axle, also confirm that your rear axle isn't binding or sitting at an unusual angle after the lift. Gas-powered carts may need to have their engine-to-axle alignment or clutch alignment checked if the lift affected the drivetrain angle.
A Few Things Worth Saying Clearly
Lift kits raise your cart's center of gravity. Taller, wider tires help offset this, but be aware that aggressive turns at speed feel different on a lifted cart than on a stock one. If you plan to use the cart on public roads or paths, check local regulations — some jurisdictions have rules about maximum lift heights or lighting requirements for lifted vehicles. Finally, if at any point during installation you're uncertain about a step — especially around ball joints, brake lines, or steering components — stop and consult a qualified technician. A suspension job done wrong isn't just inconvenient; it's genuinely dangerous.