Installing a lift kit is one of the most rewarding upgrades you can make to a golf cart. Done correctly, it opens the door to larger tires, better ground clearance, and genuine off-road capability. Done sloppily, it creates handling problems, premature wear, and real safety risks. This guide walks you through the general process so you know what to expect before you start turning wrenches — and how to avoid the mistakes that come back to bite people later.
Understand What Kind of Lift You're Installing
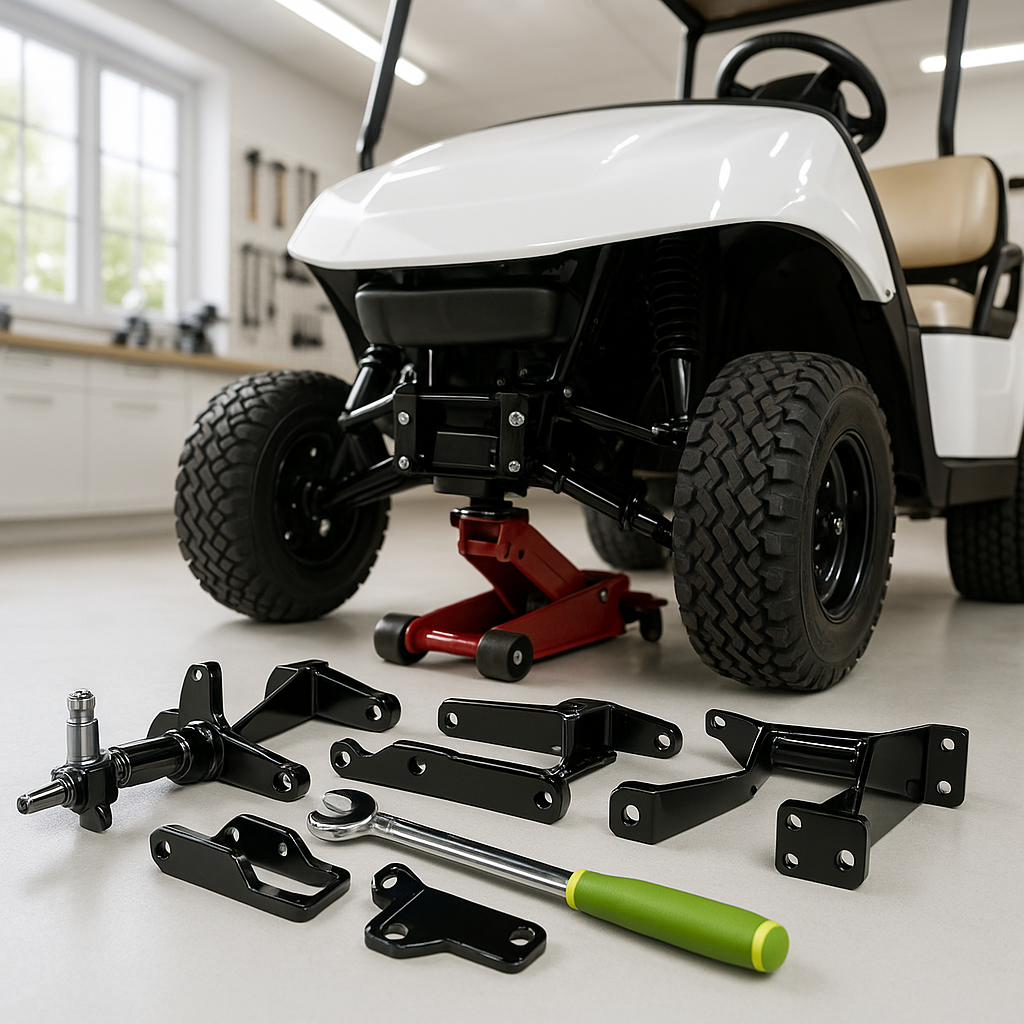
Golf cart lift kits generally fall into two categories: spindle lifts and A-arm (drop) lifts. Spindle lifts replace the factory spindles with taller ones, raising the front end without changing the suspension geometry dramatically — they're simpler to install and typically less expensive, but they offer a more modest lift height. A-arm lifts replace the entire front suspension assembly with new control arms and usually provide more lift and better articulation, but the install is more involved. Knowing which type you have before you start matters because the disassembly and reassembly steps differ significantly between the two.
Gather Your Tools and Read the Instructions First
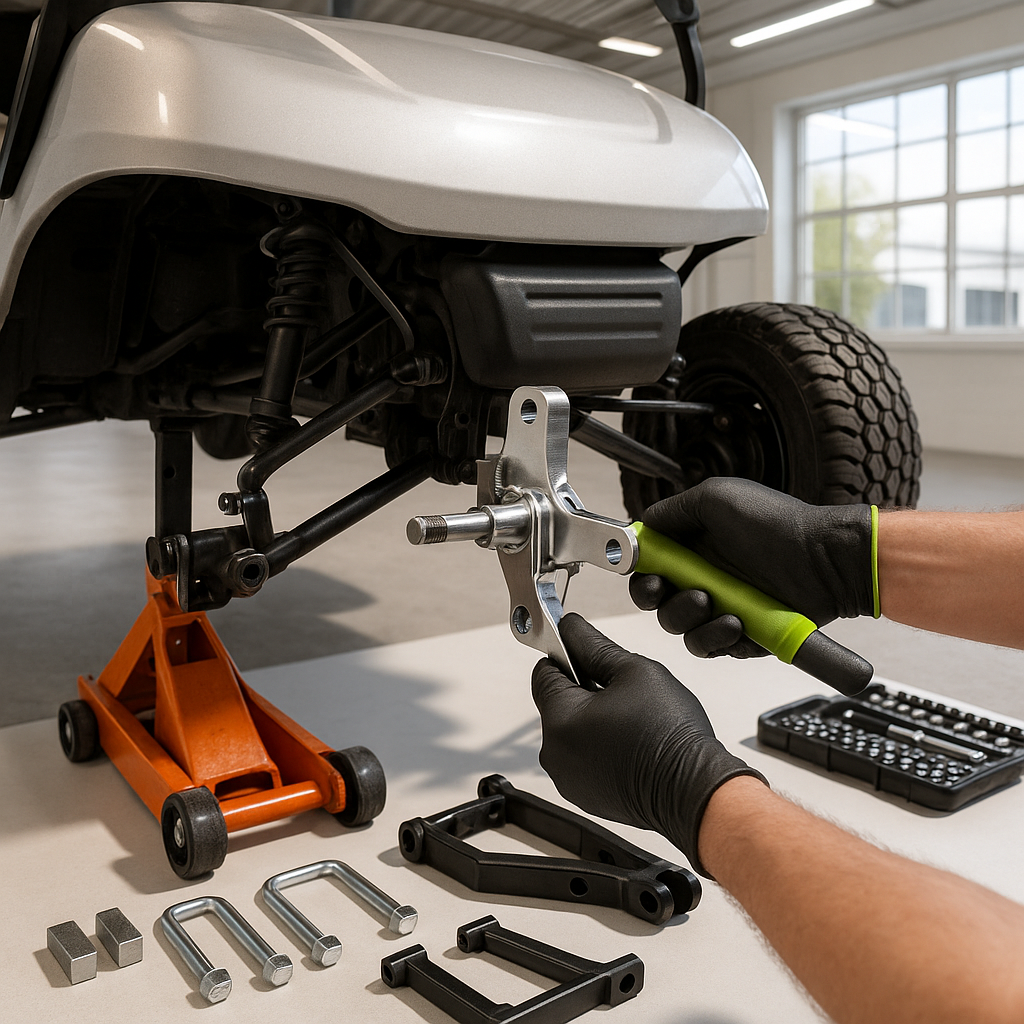
Before you touch the cart, read your kit's instructions cover to cover. This sounds obvious, but it's the step most people skip — and the one that causes the most callbacks. You'll generally need a floor jack, a set of jack stands rated for the weight of your cart, a basic socket set, wrenches in both standard and metric sizes, and penetrating oil for stubborn fasteners. A torque wrench is not optional if you want the job done right. Suspension components that are under-torqued can loosen over time; over-torqued fasteners can crack brackets or strip threads. Have a parts tray or magnetic mat ready to keep hardware organized as you remove it.
Safety Before You Start
Disconnect the battery pack before you begin — on electric carts, this means disconnecting the main negative cable and making sure the key is out. On gas carts, disconnect the battery and make sure the parking brake is set. Work on a flat, solid surface. Never rely solely on a floor jack to support the cart while you're working underneath or around it; always use jack stands. Lift kits require you to remove wheels, which means the cart needs to be securely supported from the frame — not from any suspension or body component.
Front Suspension Removal and Lift Installation
Start at the front. Remove the front wheels and set them aside. Depending on your cart model, you'll typically need to disconnect the tie rod ends, remove the spindle or control arm hardware, and in some cases disconnect the front shocks. Work one side at a time if you're newer to suspension work — it gives you a reference side to compare against. Photograph the stock setup before disassembly if you're unfamiliar with it. Install your lift components according to the kit instructions, paying close attention to the orientation of any spacers, brackets, or bushings. Reattach your tie rods and spindles, snug fasteners by hand, then torque to spec once everything is positioned correctly.
Rear Lift Installation
Rear lift setups vary more widely than front setups across different cart models. Some kits use simple block spacers or shackle extensions for the leaf springs; others involve replacing rear axle blocks or adding longer shock mounts. The core principle is the same: remove the old hardware, install the new components in the correct order and orientation, and torque everything properly. On carts with rear-mounted motors or transaxles, double-check that no wiring or drivetrain components are being pinched or stretched by the new ride height before you reassemble.
Reinstall Wheels and Check Everything
Once the lift components are in place on all four corners, reinstall your wheels and torque the lug nuts to the manufacturer's spec in a star pattern. Lower the cart to the ground and reconnect the battery. Walk around the cart and visually inspect every connection point — look for anything that appears misaligned, under tension, or not fully seated. Bounce the front and rear of the cart a few times and look for anything that moves unexpectedly. Before you drive it, turn the steering wheel lock to lock and confirm the tires don't contact any part of the frame or body at full turn.
Break-In, Re-Torque, and Alignment
New suspension hardware settles after its first few miles of use. Plan to re-torque all of your suspension fasteners after the first 25 to 50 miles of driving — this is a step that's easy to skip and easy to regret. Any fastener that has backed off at all should be a red flag that something wasn't seated correctly during installation. You'll also want to have the front end aligned after a lift install; the changed geometry almost always affects toe, and driving on out-of-spec toe will eat through your new tires faster than you'd expect. Most alignment shops can handle golf carts, or you can measure and adjust toe yourself if you're comfortable with the process.