Installing a lift kit is one of the most rewarding upgrades you can do to a golf cart — more ground clearance, bigger tires, and a more aggressive stance. But it's also one of the more involved jobs you can tackle in your driveway. Plan for a full day the first time around, work with a helper if you can, and read through the kit's instructions completely before you pick up a wrench. This guide covers the general process and the steps most people get wrong.
What You'll Need Before You Start
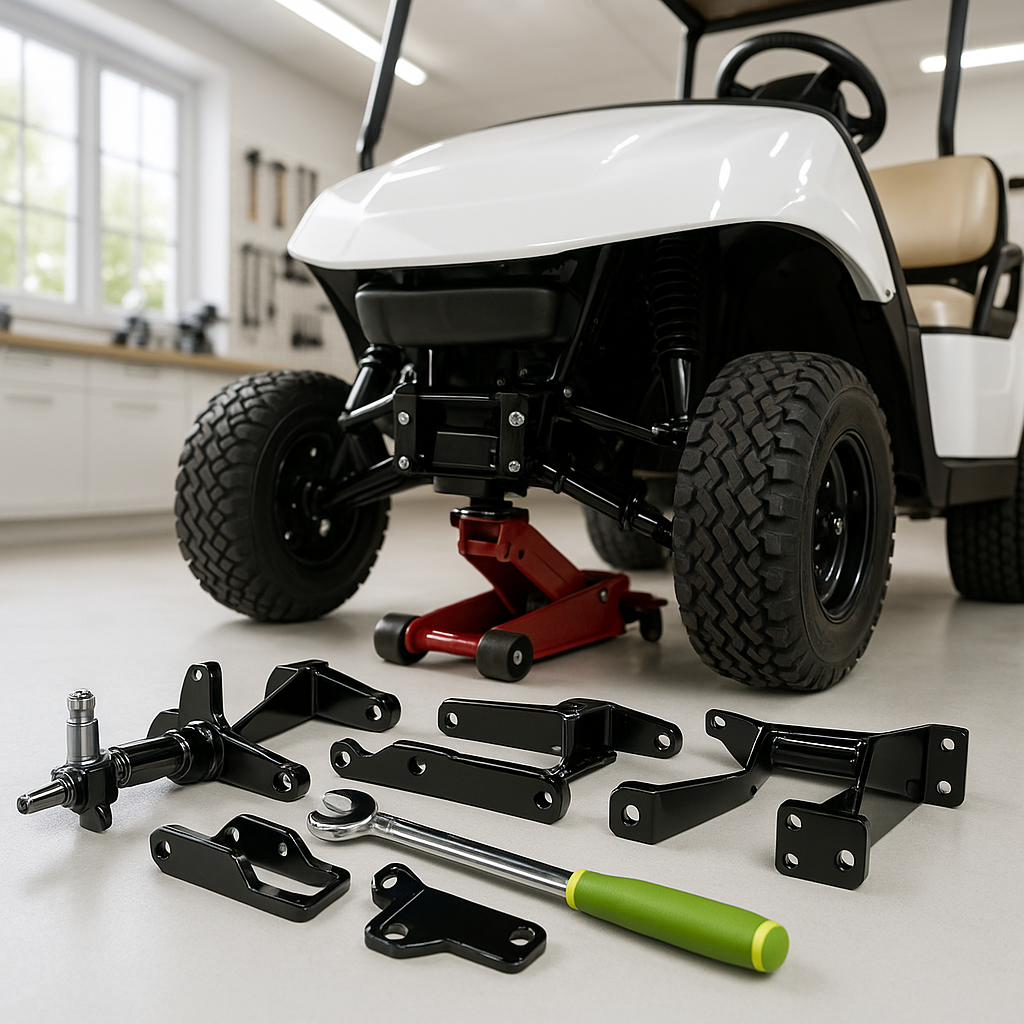
Before you begin, confirm the lift kit is designed for your specific cart make, model, and year — lift kits are not universal. Have a floor jack and jack stands rated for the weight of your cart, a full socket set including both standard and metric sizes, penetrating oil for stubborn fasteners, a torque wrench, and a helper available for the heavier lifting steps. If you're planning to swap tires and wheels at the same time (which most people do), have those ready to go so you can complete the job in one session.
Step 1: Safely Raise and Support the Cart
Disconnect the battery pack or turn the key off and engage the parking brake before doing anything else. On electric carts, disconnect the main negative cable. Position your floor jack under a solid frame rail — never under a body panel or plastic cover — and raise the cart evenly. Place jack stands under the frame on both sides before going under or leaning into the suspension. Never rely on a floor jack alone to hold the cart while you work.
Step 2: Remove the Front Wheels and Disassemble the Front Suspension
Start at the front. Remove the wheels, then work through the front suspension components your lift kit requires you to remove or replace — this typically includes the spindles, A-arms or leaf spring hardware, and any factory spacers or blocks. Label or photograph how everything comes apart, especially if this is your first time working on cart suspension. Components can look similar and go back in wrong if you're not paying attention. Keep all hardware organized so nothing gets lost.
Step 3: Install the Front Lift Components
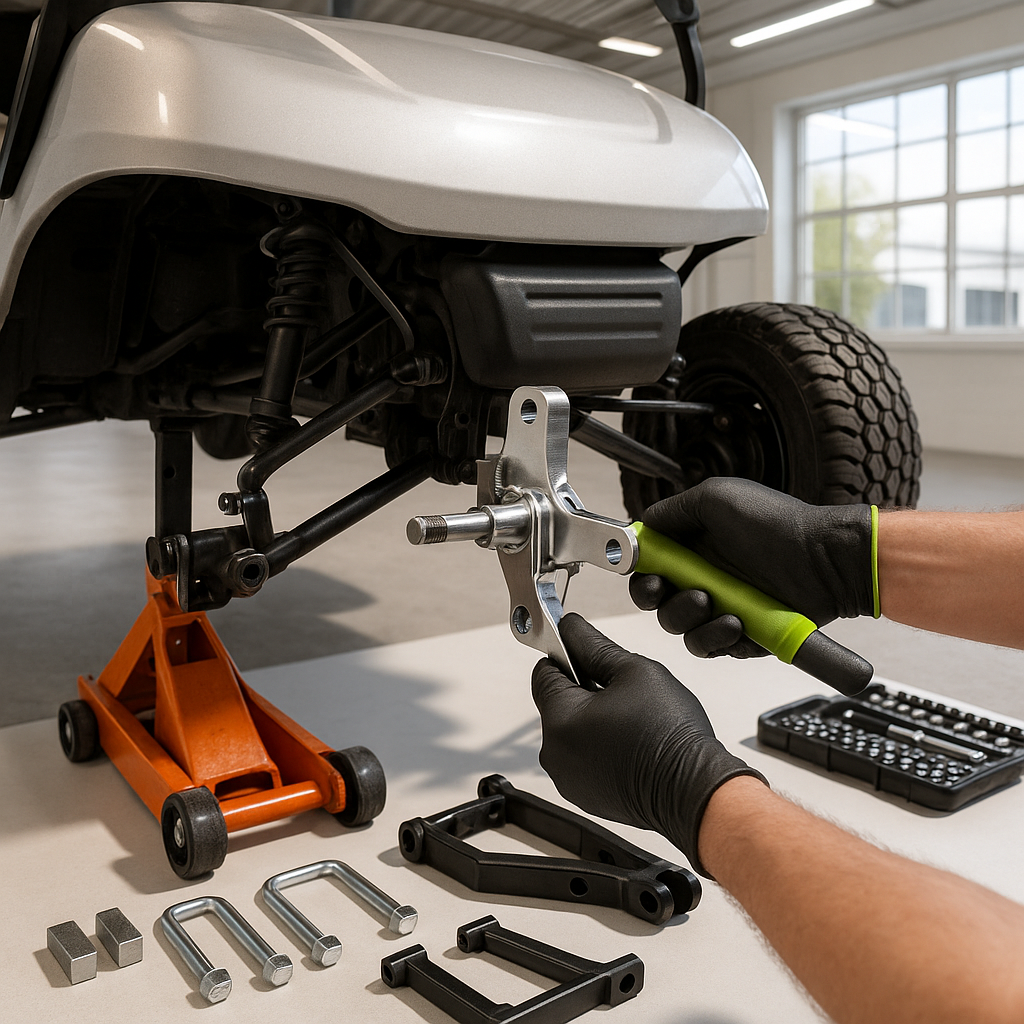
Lift kits generally use one of two approaches at the front: a spindle-based lift (which replaces the factory spindles with taller ones to drop the suspension pickup points) or a A-arm drop bracket system (which repositions the A-arm mounting location on the frame). Follow your kit's instructions for which components go where. Hand-thread all fasteners before torquing anything — this lets everything settle into position naturally before you lock it down. Once all components are in place, torque fasteners to spec in the sequence your instructions recommend.
Step 4: Handle the Rear Suspension
Rear lift methods vary more than front. Leaf-spring rear suspensions typically use add-a-leaf kits or block spacers to add height. Independent rear suspension setups use different hardware. Some kits include rear drop brackets similar to the front. Whatever system your cart uses, the principle is the same: support the rear axle with your jack while you disassemble, install the new components, and reassemble. Pay attention to the orientation of any U-bolts or spring clamps — installed backwards, they can contact other components under suspension travel.
Step 5: Reinstall Wheels and Check Everything Before Lowering
Before you lower the cart off the jack stands, do a visual check of every fastener you touched. Look for anything that appears misaligned, any brake lines or cables that may have shifted out of their original routing, and any hardware that didn't get fully tightened. Reinstall your wheels — if you're going to larger tires, now is the time — and torque the lug nuts to spec. Lower the cart slowly and let the suspension settle under its own weight.
Step 6: Test Drive and Follow-Up Inspection
Take a slow, controlled test drive — just a few hundred feet — and listen for any clunking, rubbing, or unusual steering feedback. Check that the steering returns to center naturally and that nothing is contacting the tires through the full range of turns. After the first real-world drive, get back under the cart and re-check your fastener torque. Suspension components can settle and shift slightly under load, and a re-torque after the first drive is good practice on any lift install. You'll also want to get a proper alignment done shortly after — lifted carts shift their geometry enough that alignment matters more than ever.