Golf cart hubcaps are one of the simplest cosmetic upgrades you can make, but a loose or improperly fitted cap can pop off mid-ride and create a road hazard. Whether you're replacing a cracked or missing cap or upgrading to something sharper-looking, the process is straightforward — as long as you understand a few key fitment details before you start.
Understand Fitment Before You Buy or Install
Not all hubcaps fit all wheels. Golf cart hubcaps are generally sized to match the wheel's center bore diameter — most commonly designed for 8-inch wheels, though 10-inch and larger wheels are increasingly common as lifted carts with bigger tires have grown in popularity. Fitment also depends on whether the hubcap is designed for a specific brand (like EZGO, Club Car, or Yamaha) or is a universal-fit design. Universal caps rely on a friction-retention system — internal clips or a spring ring — to grip the wheel. Brand-specific caps may clip into dedicated mounting points on the factory wheel. Know what you have before you start.
What You'll Need
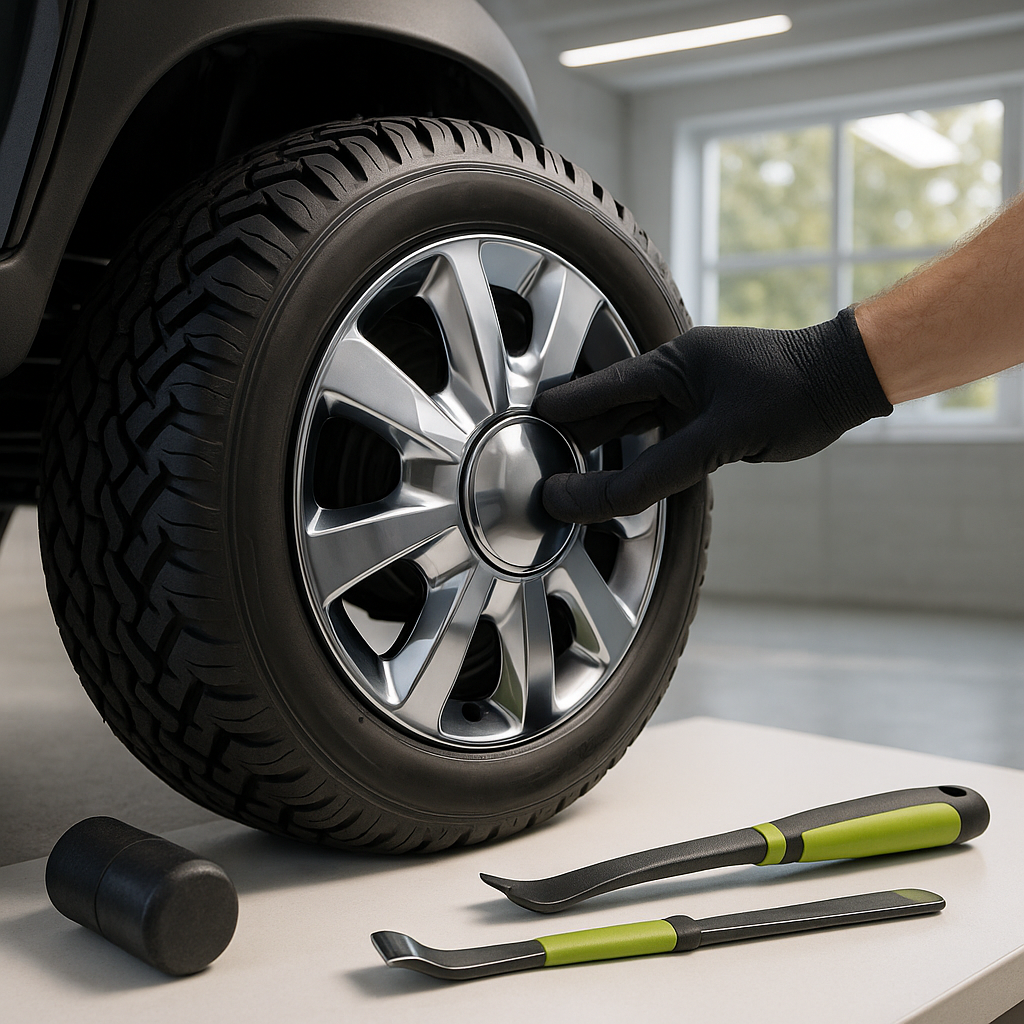
Hubcap installation is typically a no-tools job for snap-on styles, though having a rubber mallet on hand is useful if a cap seats tightly. For some retention-ring designs, a flathead screwdriver helps with removal. You may also want a clean rag to wipe down the wheel face before the new cap goes on — dirt and debris can prevent a clean, flush seat.
Step 1 — Clean the Wheel Surface
Before installing, wipe the center of the wheel face where the hubcap will contact the rim. Grit, old grease, or corrosion buildup can prevent the cap from seating flush and cause it to pop free over time. Pay particular attention to the retention groove or lip around the wheel's center bore if one is present.
Step 2 — Align the Hubcap
Hold the hubcap flat against the wheel center and make sure it's centered before applying any pressure. If the cap has a logo or design that needs to be oriented a specific way, get that aligned now. On caps with clip or tab retention, identify where the tabs are and make sure they're lined up with the wheel's edge before you push.
Step 3 — Seat the Hubcap
For snap-on friction-fit caps, apply firm, even pressure around the perimeter of the cap — pressing the center first and then working outward helps avoid cocking the cap to one side. You should feel or hear a distinct click or snap when the retention clips engage. If the cap feels loose or wobbles after pressing, it hasn't fully seated — don't drive on it. A rubber mallet tapped gently around the edge (never directly in the center) can help fully engage stubborn clips without cracking the cap.
Step 4 — Check Every Cap Before Driving
Once installed, give each hubcap a firm tug by hand. A properly seated cap should resist pulling straight off with moderate hand pressure. If it comes free too easily, check whether the wheel bore is the correct size for that cap — a cap that's even slightly too large for the bore won't grip reliably. Driving with a loose hubcap risks losing it on the road, and on a shared path or course that's a safety issue for others.
Tips for Keeping Hubcaps Secure Long-Term
Even well-fitted hubcaps can work loose over time, especially on carts that see rough terrain or regular off-pavement use. Inspect your caps periodically and reseat any that have developed noticeable play. If a cap keeps coming loose despite correct sizing, a small wrap of foam tape around the inside retention ring can add friction — it's an old trick that works well on plastic-to-metal fits. Avoid high-pressure washing directly at the edge of the hubcap, as sustained water pressure can gradually work caps loose from the inside out.