Once you've confirmed your golf cart solenoid is the problem — dead click, no click, or a solenoid that's welded shut — replacement is one of the more straightforward electrical jobs you can do yourself. That said, you're working near high-voltage battery packs, so doing it right matters. This guide walks through the general process that applies to most 48V electric golf carts, including popular Club Car and EZGO platforms. Always consult your cart's service manual for model-specific wiring diagrams before you start.
Safety First: Disconnect the Batteries
Before touching any wiring, disconnect the negative cable from your battery pack. On a 48V cart, you have a serious amount of stored energy in those batteries, and an accidental short across the solenoid terminals can cause a dangerous spark, damage components, or worse. Some techs prefer to disconnect the main negative at the battery furthest in the series string. Either way, confirm there's no voltage at the solenoid before proceeding. A basic multimeter is your friend here. If your cart has a main disconnect plug — common on many EZGO models — pull that too.
Document Your Wiring Before You Remove Anything
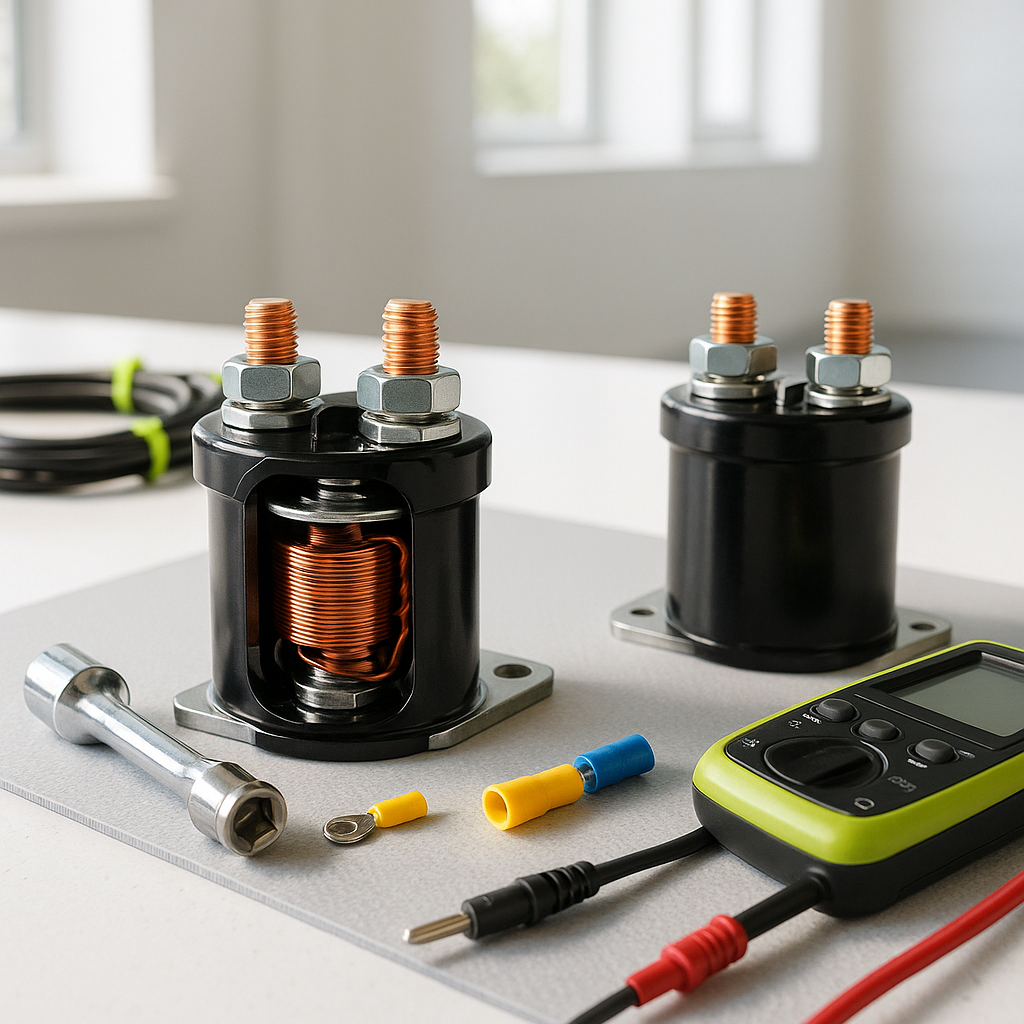
Take clear photos of how every wire is connected to the old solenoid before you loosen a single terminal. Solenoids typically have four terminals: two large heavy-gauge terminals that carry the main battery current to the motor controller, and two smaller terminals that carry the low-voltage activation signal from the key switch and throttle circuit. Mixing these up during reinstallation is one of the most common mistakes and can damage your controller or prevent the cart from operating correctly. Label the wires with tape if it helps.
Remove the Old Solenoid
The solenoid is usually mounted to a bracket near the battery pack or motor controller, secured with bolts or screws. Loosen and remove the large cable terminals first, then the small signal wires. Keep track of any hardware — washers, lock washers, and nuts matter here because a loose high-current connection will cause heat and resistance problems down the road. Once all terminals are free, unbolt the solenoid from its mount and remove it. If the old solenoid shows signs of burned contacts, melted plastic, or a fused internal contact (you can often hear it if you shake it — it'll rattle), that confirms it was the culprit.
Verify Your Replacement Is Correct
Before installing the new solenoid, confirm it matches your cart's voltage system. A 48V solenoid in a 48V cart, a 36V solenoid in a 36V cart — mixing these up means the activation coil inside won't operate at the right voltage and the solenoid either won't click at all or won't last. Also check that the current rating (measured in amps) on the replacement meets or exceeds the original. The terminal configuration should match your old unit so your existing wiring reaches comfortably without being stretched or kinked.
Install the New Solenoid
Mount the new solenoid to the bracket and snug down the fasteners — don't overtighten on plastic-bodied units. Reconnect the small signal wires first, referencing your photos or labels to get the polarity right. Then reconnect the large main cables. On the large terminals, a solid, tight connection is critical: use the correct hardware, make sure the cable lugs sit flat against the terminal posts, and tighten firmly. A loose high-current connection will arc, heat up, and eventually fail — sometimes damaging the new solenoid in the process.
Reconnect the Batteries and Test
Reconnect your battery negative cable (or plug in the main disconnect). Before you climb in and drive, do a quick functional test: turn the key to the on position and listen for the solenoid click when you gently press the accelerator pedal or move the forward/reverse switch to a drive position. That audible click is the solenoid closing and completing the main power circuit. No click suggests a wiring issue or a problem upstream (key switch, throttle sensor, controller). A solid click followed by normal cart operation means you're done. Take it for a slow test drive and confirm everything feels right before putting it back into regular use.
A Note on Solenoid Lifespan
Solenoids don't last forever — they're electromechanical switches that open and close thousands of times over a cart's life. Factors that shorten their lifespan include consistently loose cable connections, batteries that are chronically undercharged or in poor condition, and carts that are frequently operated under heavy load. If you're replacing a solenoid on an older cart, it's also worth inspecting the main battery cables and cable connections at the same time. Corroded or undersized cables put extra strain on every electrical component, solenoids included.