Golf cart hubcaps are one of the easiest cosmetic upgrades you can make, but a sloppy install leads to caps that rattle, pop off mid-round, or scratch up your wheels. Done right, the whole job takes less than an hour and no special tools. Here's how to approach it properly — from checking fit before you commit, to seating the cap so it actually stays put.
Understand Fit Before You Buy (or Install)
Hubcaps for golf carts are sized by wheel diameter — most commonly 8-inch, though 10-inch and 12-inch wheels exist on lifted carts and street-legal models. Before installation, confirm your wheel size and check whether the cap is designed for your specific rim lip profile. A universal-fit cap will use a flexible retention ring or clip system to grip a range of rim styles, while brand- or model-specific caps (such as those made for EZGO) are machined to match the original rim dimensions more precisely. Either can work well; the key is verifying the cap sits flush all the way around without any visible gaps between the cap edge and the rim face before you press it home.
What You'll Need
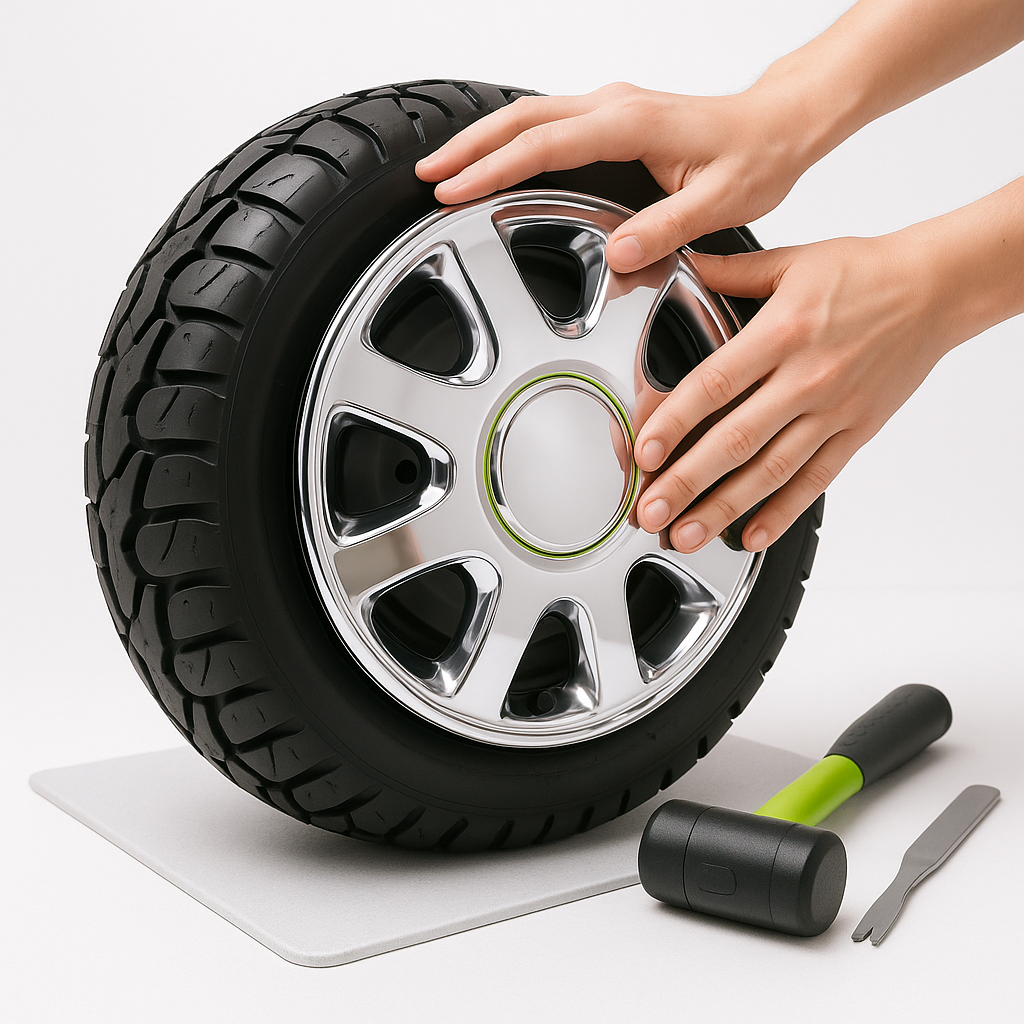
For most snap-on hubcap installs, you won't need much: a rubber mallet or a block of wood to tap the cap evenly, a flathead screwdriver or plastic trim tool for removal if you're swapping old caps out, and a clean rag to wipe down the wheel face first. Some threaded or lug-nut-style caps require a socket or wrench — check what retention system your caps use before starting.
Step 1 — Remove Any Existing Hubcaps
If you're replacing old caps, pry them off carefully. Insert a flathead screwdriver or plastic trim tool into the gap between the cap edge and the rim, work around the circumference slowly, and pop the cap free. Avoid levering from one spot only — that bends the retention ring and can gouge the wheel. Once the old cap is off, inspect the rim edge for rust, bent metal, or damage that could prevent a clean seat on the new cap.
Step 2 — Clean the Wheel Face
Dirt, grease, and old adhesive residue are the most common reasons hubcaps won't sit flush or stay put. Wipe the entire wheel face and the inner rim lip with a clean cloth — a mild soap-and-water solution handles most grime. Let it dry fully before fitting the new cap. This step takes two minutes and saves you the frustration of a cap that seats unevenly.
Step 3 — Align and Seat the Hubcap
Hold the cap flat against the wheel face and center it by eye or by aligning any valve stem cutout with the actual valve stem — most caps have one, and this is your built-in alignment reference. Once centered, press firmly and evenly around the outer edge using your palm. If the cap needs more force to fully seat, use a rubber mallet and a block of wood: place the wood flat against the cap face and tap gently, working in a star pattern (top, bottom, left, right) to drive it home without warping the retention ring. You'll hear and feel it click into place all the way around when it's fully seated.
Step 4 — Verify the Fit on All Four Wheels
After installation, tug the cap firmly from several points around the edge to confirm it's locked in. There should be no movement, no rocking, and no visible gaps. Spin the wheel if the cart is safely jacked up — or simply drive slowly and listen for any rattling. A cap that rattles is either the wrong size or not fully seated; remove it and re-seat it rather than ignoring it, because a loose hubcap at speed will separate from the wheel.
A Note on Retention Systems
Snap-on caps with a spring-steel or plastic retention ring are the most common and easiest to work with. Some aftermarket caps use small screws that thread into holes in the wheel — these are more secure but require drilling if your wheels don't have pre-existing holes. Lug-nut-cover style caps thread onto the lug nuts themselves and offer very firm retention. Know which system you have before starting so you're not improvising mid-install.
That's the full process. Clean wheel, correct size, even pressure, and a confirmed click — do those four things and your hubcaps will stay exactly where you put them.