Side mirrors are one of the most practical upgrades you can make to a golf cart, especially if you use it on public paths, campgrounds, or anywhere you're sharing space with other vehicles or pedestrians. Unlike a rearview mirror mounted to the roof or windshield frame, side mirrors give you angled views down the flanks of the cart — useful for lane changes, backing into tight spots, and general situational awareness. The good news is that installing them is a straightforward job most cart owners can handle with basic tools in under an hour.
Understand Your Mounting Options First
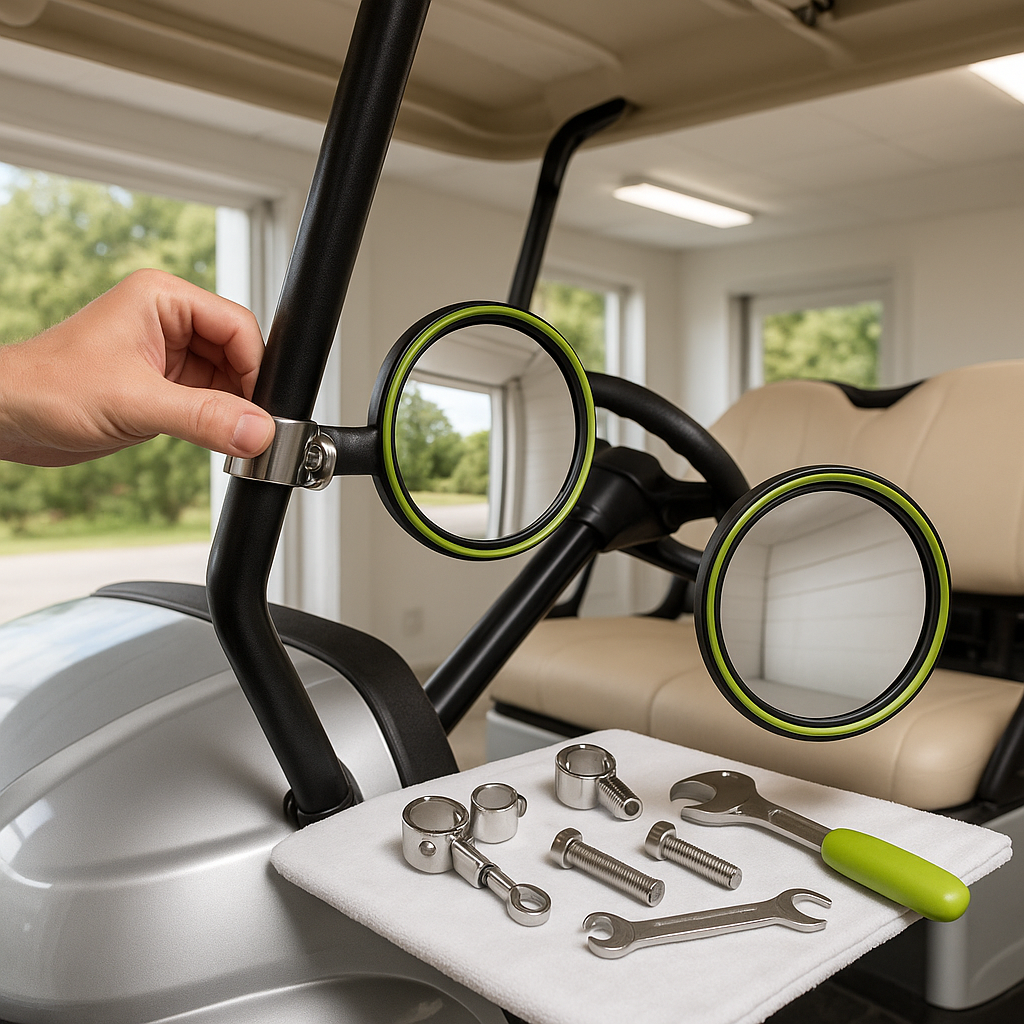
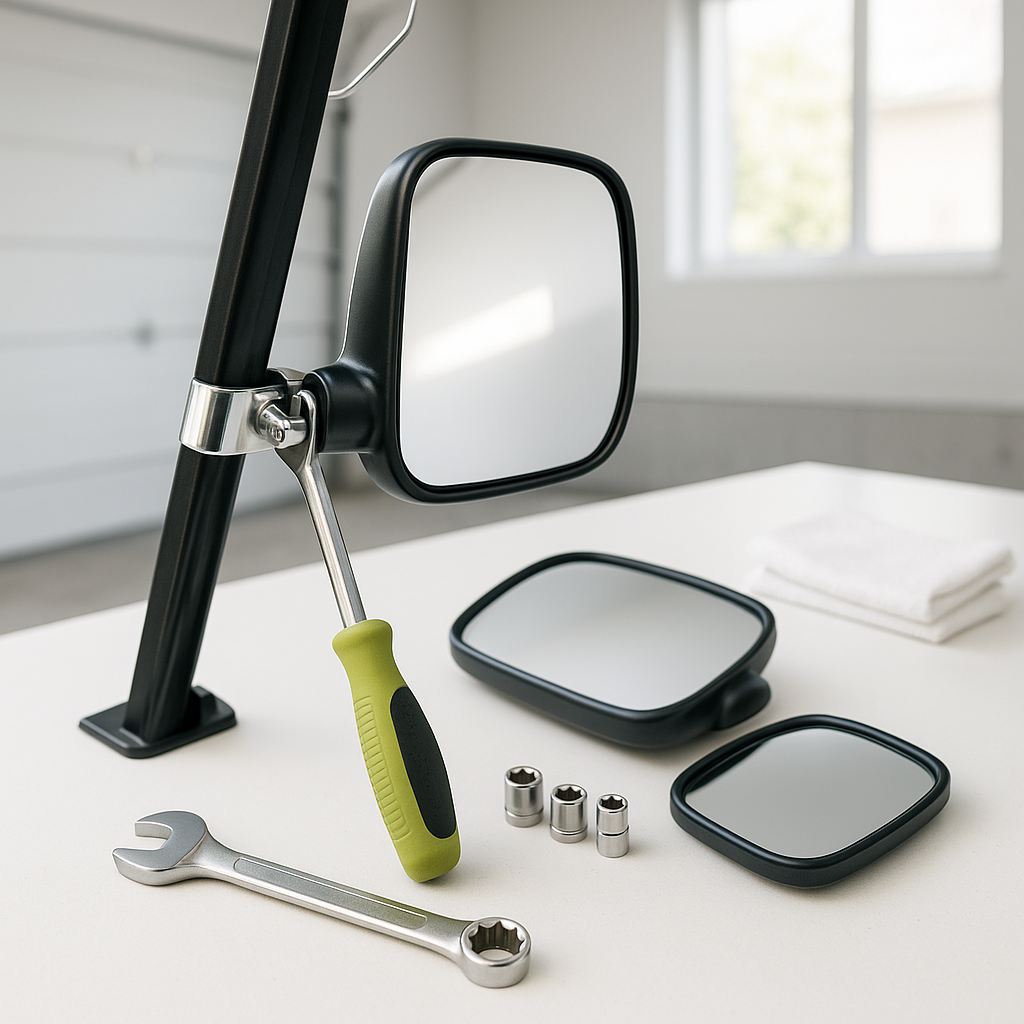
Golf cart side mirrors typically mount in one of two ways: clamp-style mounts that attach to the roof support struts or uprights, or bolt-on mounts that attach to existing holes or brackets on the cart's body panels. Clamp-style mirrors are the most universal and work on the widest range of carts — they wrap around a round or square tube and tighten with a bolt or knob. Panel-mount mirrors are more secure but require you to either use pre-existing holes or drill new ones. Before you buy mirrors, measure the diameter of your cart's uprights or identify whether your body has suitable mounting points, so you get hardware that actually fits.
What You'll Likely Need
For most clamp-style installations you'll need a wrench or socket set to tighten the clamp hardware, and possibly a screwdriver depending on the mirror's adjustment mechanism. If you're drilling new mounting holes for panel-mount mirrors, add a drill, the correct bit for your cart's body material, and a marker or punch to locate your holes accurately. It's worth having a helper on hand to hold the mirror in position while you check the angle and tighten — getting the position right before locking everything down saves a lot of back-and-forth.
Step 1 — Choose Your Mounting Location
Sit in the driver's seat before you touch any hardware. Hold the mirror up in a few candidate positions and look through it to gauge what you can actually see. For side mirrors, the most common positions are on the front uprights of the roof frame, roughly at shoulder height or just above. You want enough outward angle to see past the body of the cart, but not so far out that the mirror is a hazard or catches on things. Mark your preferred location lightly with tape or a marker so you have a reference when you go to attach the clamp.
Step 2 — Attach the Clamp or Bracket
For clamp-style mirrors, open the clamp, position it at your marked location on the upright, and thread the hardware finger-tight. Don't fully tighten yet — you'll want some movement to dial in the final angle. If you're drilling new holes for a panel mount, measure twice, use a punch to prevent the bit from walking, and drill slowly to avoid cracking or distorting the panel material. Thread the mounting bolt through the mirror bracket and panel, then add a backing washer and nut on the inside if the panel is thin or flexible.
Step 3 — Set the Mirror Angle
With the clamp or bracket loosely in place, sit back in the driver's seat and physically rotate the mirror to the angle where you can see the rear quarter of the cart and the ground alongside it. A good starting point is being able to see from just behind the rear wheel outward. Once you're happy with both the vertical tilt and the horizontal swivel, hold the mirror steady and tighten the clamp or pivot bolt just enough to hold it — then check the angle one more time from the seat before fully snugging everything down.
Step 4 — Final Tighten and Check
Tighten all fasteners firmly, but don't overtorque — you can crack a clamp or strip threads on aluminum hardware. Give the mirror a firm shake to confirm it doesn't shift or vibrate. If it moves easily, incrementally tighten until it holds position. Repeat the whole process for the mirror on the other side, using the driver's seat as your reference each time. Once both mirrors are installed, take the cart for a slow test drive and glance at both mirrors — vibration at speed can reveal looseness that wasn't obvious when stationary.
Tips for Getting the Most Out of Your Mirrors
Convex mirrors give you a wider field of view but make objects appear farther away than they are — keep that in mind when judging distance. Flat mirrors are more accurate for distance but have a narrower view angle. In wet or muddy conditions, the mirror face will get dirty quickly; mirrors with a slight downward tilt shed water better than fully vertical ones. If vibration is a persistent issue, a small piece of rubber or foam tape between the clamp and the upright acts as a damper and reduces rattle without affecting holding strength. Check your mirror hardware periodically — especially if the cart sees rough terrain — since vibration gradually works fasteners loose over time.