Battery cables are easy to overlook until something goes wrong — sluggish acceleration, intermittent power loss, or a cart that won't move at all. Corroded, cracked, or undersized cables create resistance in the circuit, which robs your motor of the current it needs and generates heat that can damage terminals, controllers, and even the batteries themselves. Replacing worn cables is one of the highest-impact maintenance jobs you can do on an electric golf cart, and it's well within reach for a careful DIYer.
Safety First: What to Know Before You Touch Anything
Golf cart battery packs carry serious voltage — 36V, 48V, or higher depending on your system — and the amperage available at the terminals is enough to cause severe burns, fires, or worse if cables are shorted together. Always wear safety glasses and insulated gloves. Never allow metal tools to bridge two terminals at once. Work in a ventilated area, since batteries can off-gas hydrogen. Before you start, turn the key off, remove it, and set the forward/reverse switch to neutral. If your cart has a main disconnect or tow/run switch, move it to the off or tow position to open the circuit.
What You'll Need
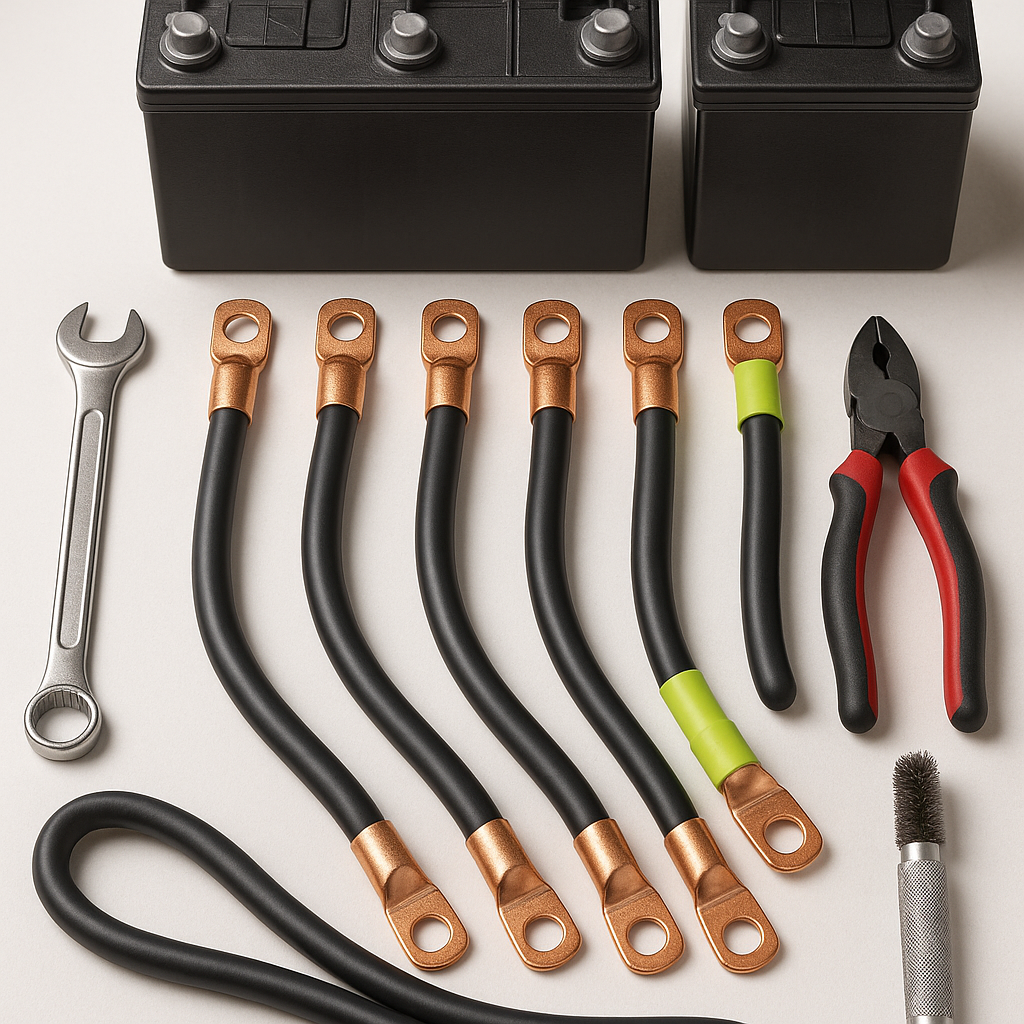
You'll need replacement cables in the correct gauge and length for your cart's battery configuration. Battery cables come in a range of gauges — heavier gauge wire (lower AWG number) carries more current with less resistance, which matters especially on higher-voltage and higher-performance carts. Tin-plated copper terminals resist corrosion better than bare copper and are worth seeking out. Beyond cables, gather a battery terminal wrench or the correct size combination wrenches, a wire brush or terminal cleaning tool, baking soda and water (for cleaning up corrosion), anti-corrosion spray or grease, and a camera or phone — you'll want photos before you disconnect anything.
Step 1: Document the Existing Wiring
Before loosening a single bolt, photograph the entire battery bank from multiple angles. Capture each cable connection clearly, including which terminal (positive or negative) each cable runs to on every battery. Electric golf carts wire their batteries in series to build voltage, and getting the sequence wrong will cause your cart to not work — or behave dangerously. Your photos are your roadmap back. If your manual is available, pull it up as well.
Step 2: Disconnect the Cables — Negative Side First
Start by disconnecting the cable at the most negative point in the series string. On most carts, there's a main negative cable that runs from the pack to the controller or motor. Loosen the terminal bolt, wiggle the cable free, and fold it safely away from the terminal. Work your way through the inter-battery cables one at a time, always keeping track of where each one goes. Removing them one at a time rather than all at once reduces the chance of confusion. Use a wire brush and a baking soda solution to clean any corrosion off the battery terminals as you go — green or white buildup means resistance.
Step 3: Install the New Cables
Match each new cable to the one it's replacing in terms of length and routing path before you commit. New cables should follow the same routing as the originals, away from heat sources and moving parts, with gentle bends rather than sharp kinks. Apply a thin coat of anti-corrosion grease to each terminal before seating the cable lug. Start every connection by hand-threading the bolt so you don't cross-thread it, then snug it firmly — the terminal should not rotate or wiggle. Do not overtighten to the point of cracking the battery post. Reconnect in the reverse order from how you removed — positive connections last, and the main connection to the system last of all.
Step 4: Double-Check Everything Before Powering On
Once all cables are installed, compare your finished work against your photos. Every terminal should have exactly one cable per post (unless it's a shared connection point on your specific cart's wiring). Look for any cable that's rubbing on metal, pinched under the battery, or routed near a heat source. Make sure all terminal nuts are properly tightened. Then — and only then — switch your tow/run switch back to run, insert the key, and test the cart at low speed in a safe area. If anything feels wrong (hesitation, unusual heat near terminals, burning smell), shut it down immediately and recheck your connections.
When to Call It Done — and When to Dig Deeper
A clean cable replacement should give you noticeably snappier throttle response and more consistent performance, especially if the old cables were heavily corroded. If you still have performance issues after fresh cables, the problem likely lives elsewhere — check your battery state of charge, test each battery individually with a load tester, and inspect the controller and motor connections. Cables are often the culprit, but they're rarely the only thing worth looking at on a cart with high mileage. Make terminal inspection part of your regular seasonal maintenance and you'll catch problems before they become expensive ones.